How iPhone 14 Logic Board Repair DIY Made Me a Diagnostic Expert
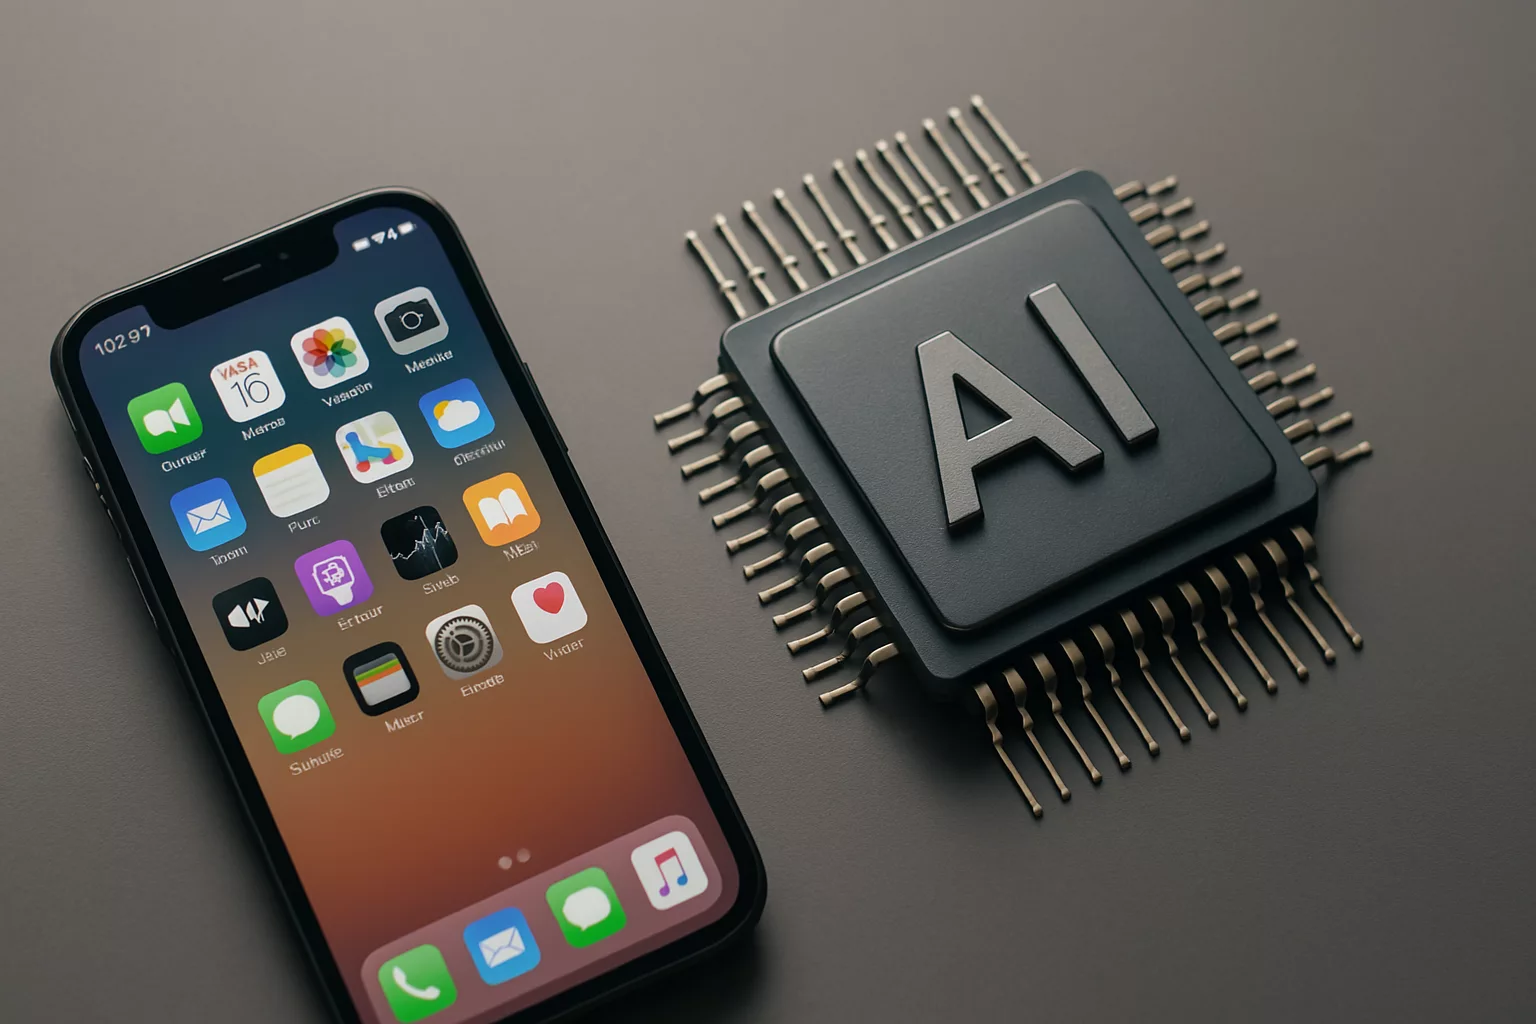
Ever wondered how iPhone 14 logic board repair DIY (very advanced, focus on diagnostics) can transform you into a tech guru? “Knowledge is power,” as they say, and diving into the inner workings of your iPhone 14 can indeed empower you. You might feel daunted at first, but this journey into diagnostics is not just a repair task; it’s a path to expertise. Equipped with the right information, you can tackle iPhone 14 motherboard troubleshooting and learn about the logic board components that make your device tick.
With curiosity and determination, you can master iPhone 14 internal diagnostics and circuit repair without feeling overwhelmed. But where do you start? By exploring your iPhone 14’s internal world, you will learn to distinguish between hardware issues and software quirks. You’ll also gain insights into the tools and techniques needed for effective PCB analysis and board soldering. Understanding these details transforms each fix into a learning opportunity, boosting your confidence with every step.
Feeling ready to embark on this DIY adventure and become your own diagnostic expert? Dive into the article to uncover techniques and tips that can elevate your technical skills to new heights. Let’s get started!
Within the story
Understanding iPhone 14 Logic Board Repair DIY
Importance of Diagnostics
When you’re diving into the world of iPhone 14 logic board repair DIY, understanding diagnostics is crucial. Diagnostics help you pinpoint issues early on. This is important because it saves you time and resources. Instead of randomly guessing what’s wrong, you can have a clear idea of what needs fixing. Imagine knowing exactly where the problem is before you even start taking things apart.
Think about how much easier and faster it is to solve a puzzle when you have all the pieces in front of you. Diagnostics are like that; they give you all the information you need to address the issues efficiently. Plus, it’s satisfying to know you’re fixing exactly what’s broken.
Key iPhone 14 Logic Board Components
To become effective at repairing logic boards, you need to recognize the major parts. Knowing these components and their functions helps you navigate repairs smoothly. It’s like being an explorer with a map; you need to know your landmarks. Each component plays a crucial role in the overall performance of your device.
Understanding where each part is located on the board is also essential. This knowledge makes the repair process much smoother. You’ll want to make sure not to damage any nearby components while working on one particular area. This means you need to know where everything is.
iPhone 14 Internal Diagnostics Tools
Diagnostics tools offer insights into the health of your iPhone. They provide guidance on which areas require attention during repairs. For instance, specialized software can help you see battery health, processor status, and even the condition of other critical components.
Having the right tools is like having a trusted guide on your repair journey. These tools ensure that you’re not missing anything important and aid you in making informed decisions. They’re essential for anyone serious about becoming proficient at iPhone 14 internal diagnostics.
Motherboard Troubleshooting Techniques
Troubleshooting is the process of identifying the problem areas of a motherboard. It’s a bit like detective work; you need to use clues to find the source of the issue. Conductive testing methods are very effective here. They help you isolate problems and understand what might be causing them.
Getting good at iPhone 14 motherboard troubleshooting requires practice and patience. You’ll need to pay attention to small details and use various techniques to pinpoint the exact issue. This makes the whole repair process much more manageable since you know exactly what to fix.
Essential Tools for iPhone 14 Circuit Repair
When working on an iPhone 14 logic board repair DIY, having the proper tools is essential. The right tools ensure a successful repair process and help avoid further damage.
- Use screwdrivers for removing screws.
- Magnifying glass assists with fine work.
- Soldering equipment for circuit repairs.
Each tool has a unique role to play. Using the proper tool for each task is key. For example, a magnifying glass helps you see tiny details clearly, ensuring you don’t make mistakes. Screwdrivers help you take things apart safely. Soldering equipment is crucial when you need to connect or disconnect components.
Step-by-Step DIY iPhone 14 Repair Guide
Preparation and Precautions
Before you start, make sure you gather all your tools and materials. Preparation is very important because it saves you from headaches later on. A well-prepared workspace makes the repair process more efficient and reduces risks.
Always ensure you’re working in a safe environment. This means having proper lighting and a clean area to keep your tools and components organized. Being careful is crucial to avoid accidents or damaging parts unintentionally.
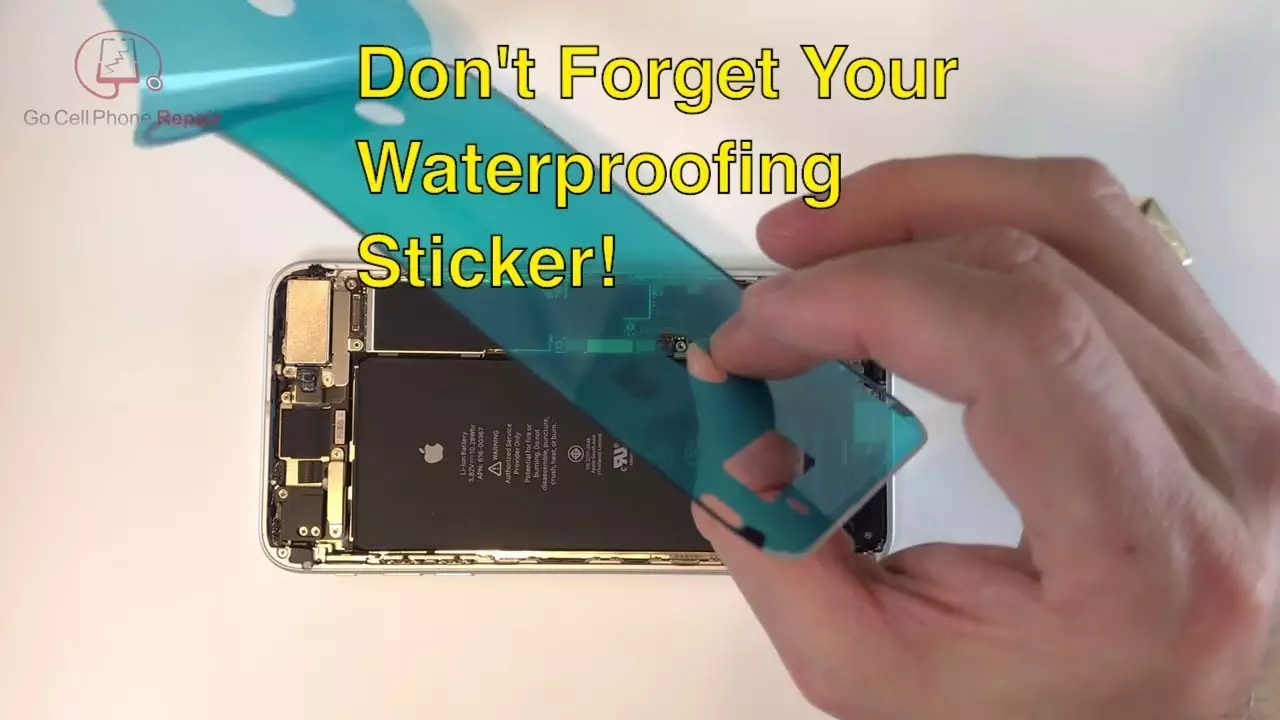
Disassembly Process
The disassembly process requires you to remove screws and components carefully. This step is vital because it allows you to get to the logic board without harming anything. Each screw and part has its place, so track each part’s location carefully to make reassembly much easier.
Keeping parts organized is essential. You can use small containers or labeled trays to store screws and components as you remove them. This prevents you from losing anything and ensures a smooth reassembly process later on. Staying organized helps you avoid frustration and save time.
Soldering Techniques for iPhone 14 Board
Soldering is a critical skill in the DIY iPhone 14 repair guide. Precise soldering work ensures you don’t damage the board. Make sure your soldering equipment is at the right temperature and take your time to avoid mistakes. It’s better to go slow and be accurate than to hurry and have to redo your work.
You can practice soldering on spare pieces or old electronics to build your confidence. This practice helps you handle the actual job with ease. Soldering might seem challenging at first, but with patience and practice, it becomes more manageable.
Analyzing iPhone 14 PCB Issues
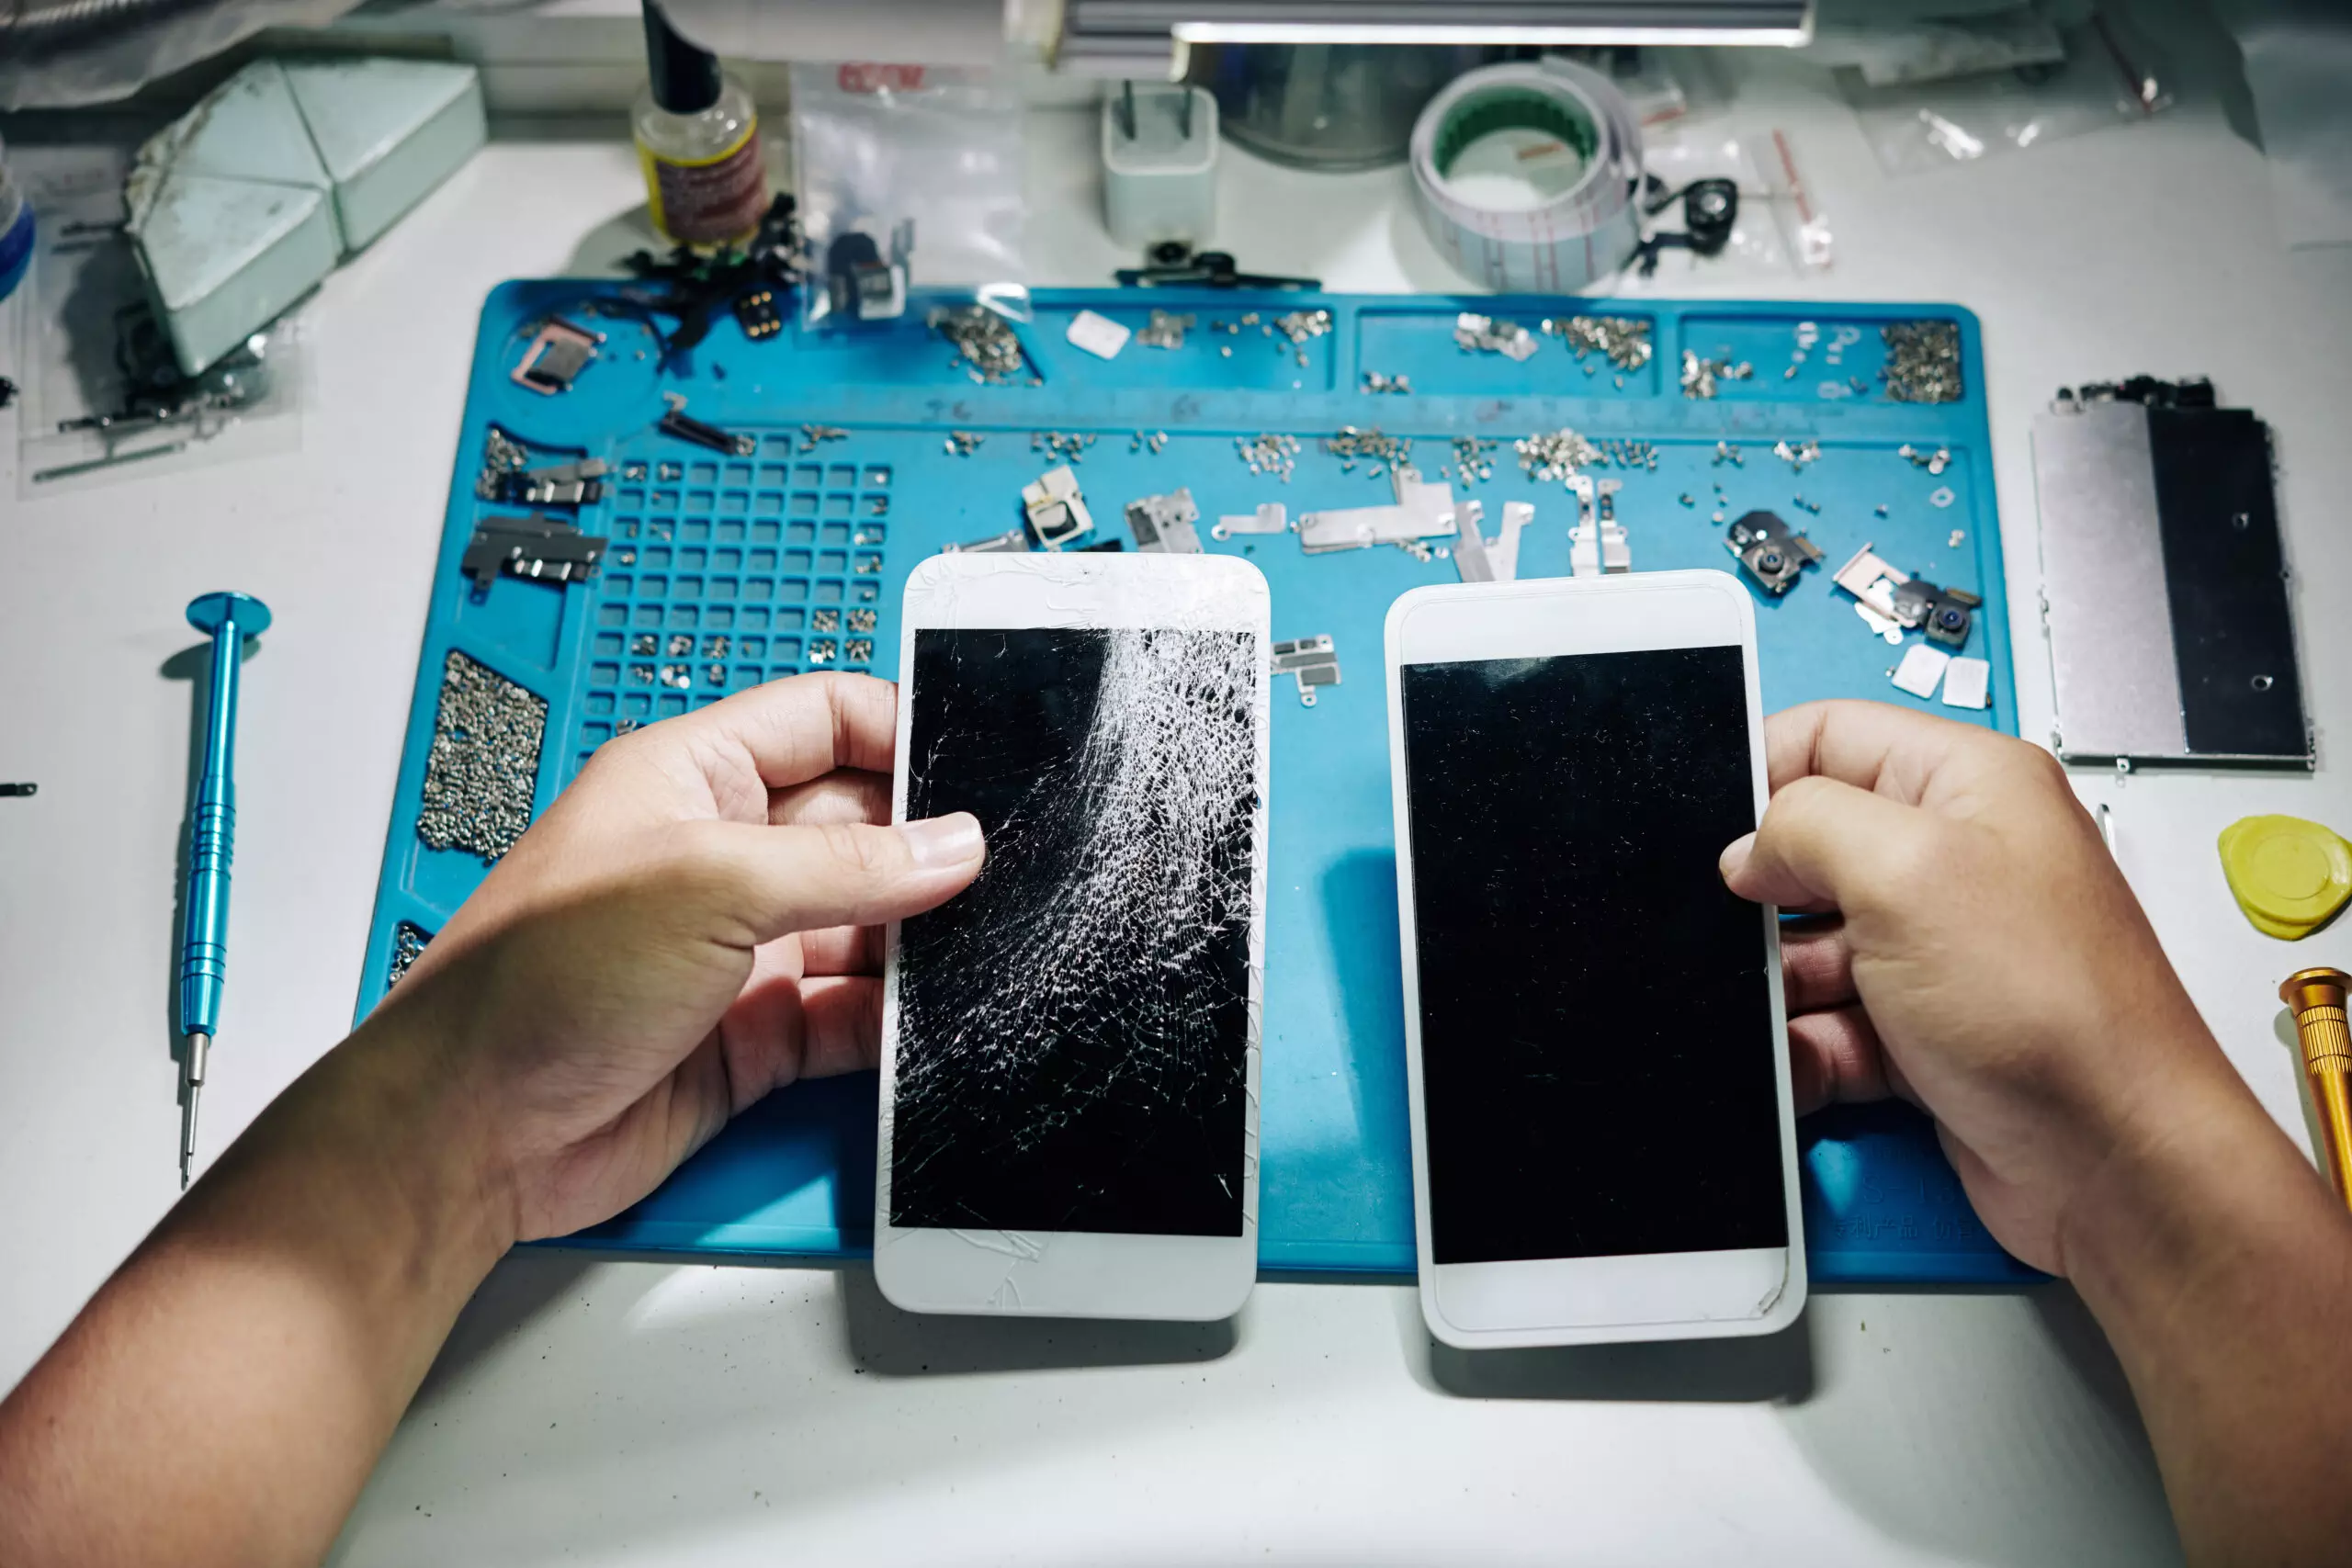
Identifying PCB Damage
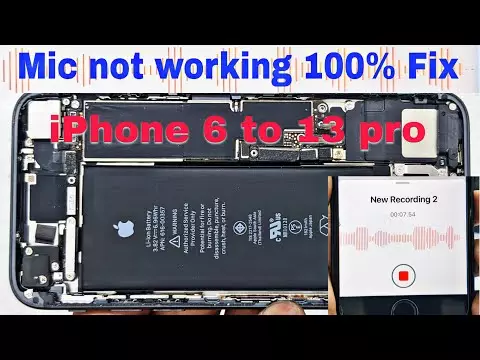
PCB or Printed Circuit Board damage is common in phones. Identifying these issues early makes repairs easier. Check for visible damage like burnt areas or broken traces. Also, watch out for any unusual smells when the phone is on, as these can indicate damage.
If you notice anything out of the ordinary, it’s time to dig deeper. You can use your diagnostic tools to confirm any suspicions. Thorough analysis will ensure that you address all issues effectively.
Common PCB Problems and Fixes
One frequent issue you may encounter is short circuits. Short circuits can cause your phone to behave erratically or not power on at all. To diagnose these, you can use a multimeter. This tool helps you measure electrical resistance and identify faults.
Using a multimeter provides an accurate diagnosis of electronic problems. It helps you know exactly where the issue lies, making the repair process straightforward. With practice, you’ll get quicker at identifying and fixing these problems.
Advanced PCB Analysis Methods
For advanced analysis, you might use infrared cameras to detect heat anomalies. Heat anomalies can show you where excess heat is being generated, which could indicate a problem. These cameras are especially helpful in pinpointing issues that aren’t visible to the naked eye.
Another method is microscopic examination. A microscope reveals tiny faults that might be causing big problems. You can see cracks or breaks that are invisible without magnification. Using these advanced methods ensures a comprehensive assessment of your device.
Solving iPhone 14 Hardware Issues
Hardware problems can often affect the performance of your iPhone significantly. Once you identify the issue, addressing it quickly helps maintain your phone’s functionality.
Evaluating Hardware Malfunctions
When evaluating malfunctions, observe symptoms like non-responsiveness or odd noises. These signs can point to specific issues. For instance, if your phone isn’t responding, the battery might be the problem, or it could be a more complex issue.
Testing each component individually can give you better insight into what might be wrong. It’s like solving a mystery by piecing clues together. By understanding what works and what doesn’t, you can make informed decisions on how to proceed.
Effective Repair Strategies
Having effective repair strategies minimizes the risk of causing more damage. Start with the most obvious and straightforward repairs. These could be replacing a part or cleaning a connection. Strategic repairs help you systematically deal with each issue as it arises.
Once you address the basic problems, move on to more complex repairs if necessary. Always have a plan and follow it closely. This approach ensures you don’t miss anything and make the repair process as smooth as possible.
Mastering iPhone 14 Diagnostics
Leveraging Diagnostic Software
Diagnostic software is a powerful tool in the world of iPhone 14 logic board repair DIY. These programs scan your device and provide detailed reports. They assist in identifying the root causes of problems, which is very helpful.
When using the software, pay close attention to the results. The data provided can guide you in pinpointing the exact problem and planning your repair steps. With practice, interpreting these results becomes easier and more intuitive.
Interpreting Diagnostic Results
Interpreting diagnostic results correctly leads to effective solutions. Focus on recurring errors as these often provide the most valuable insights. By analyzing patterns, you can spot underlying issues that need addressing.
Adjust your repair plans based on what you learn from the diagnostics. Often, you’ll find that the root cause is something unexpected. Embracing this information helps you improve your skills over time.
Continual Learning and Improvement
Staying updated with new diagnostic tools is vital for anyone serious about iPhone 14 logic board repair DIY. There’s always something new to learn, and technology evolves rapidly. Continuously improving your skills keeps you prepared for any challenge.
Practice is another key factor. The more you practice, the better you become at handling repairs. Consider joining repair forums where enthusiasts share tips and solutions. This community engagement provides valuable insights and enhances your overall understanding.
Take Charge of Your Repair Skills
Embarking on your journey to diagnose and understand intricate hardware problems transforms your approach toward electronics. By diving into the troubleshooting and analysis of circuit components, you develop a keen eye for detail. This new skill set opens up doors to solve complex issues with confidence and precision.
Now that you’ve gained insight into this advanced process, consider building your toolkit. Acquire essential repair tools and practice identifying various board issues on simpler devices. Start small and gradually take on more challenging repairs to solidify your understanding and efficiency.
Don’t wait any longer to hone your skills. Embrace this opportunity to expand your expertise by tackling a logical board issue on your next project. You’ve got this!