5 iPhone SE (2nd Gen) Cracked Screen Repair DIY Safe Methods You Can’t Miss
Have you ever found yourself staring at your iPhone SE (2nd Gen) with a cracked screen, wondering what to do next? You’re not alone. With more people turning to DIY methods for repairs, finding safe options to fix your iPhone can be a real game-changer. Whether it’s a minor crack or something more serious, knowing effective techniques can save you both time and money.
Staying on top of the latest trends, you’ll notice that DIY phone repair is gaining popularity. With the right tools and a bit of patience, you can tackle screen issues without a hitch. Understanding how to safely repair your phone screen boosts your confidence and keeps your device in top shape. Imagine swapping out a shattered screen with ease or preventing further damage with key tips!
Are you ready to dive into practical and safe methods for fixing your iPhone SE screen? Discover approaches that empower you to handle your device with care and skill!
Within the story
Understanding Your iPhone SE Screen Damage
Signs of a Cracked Screen
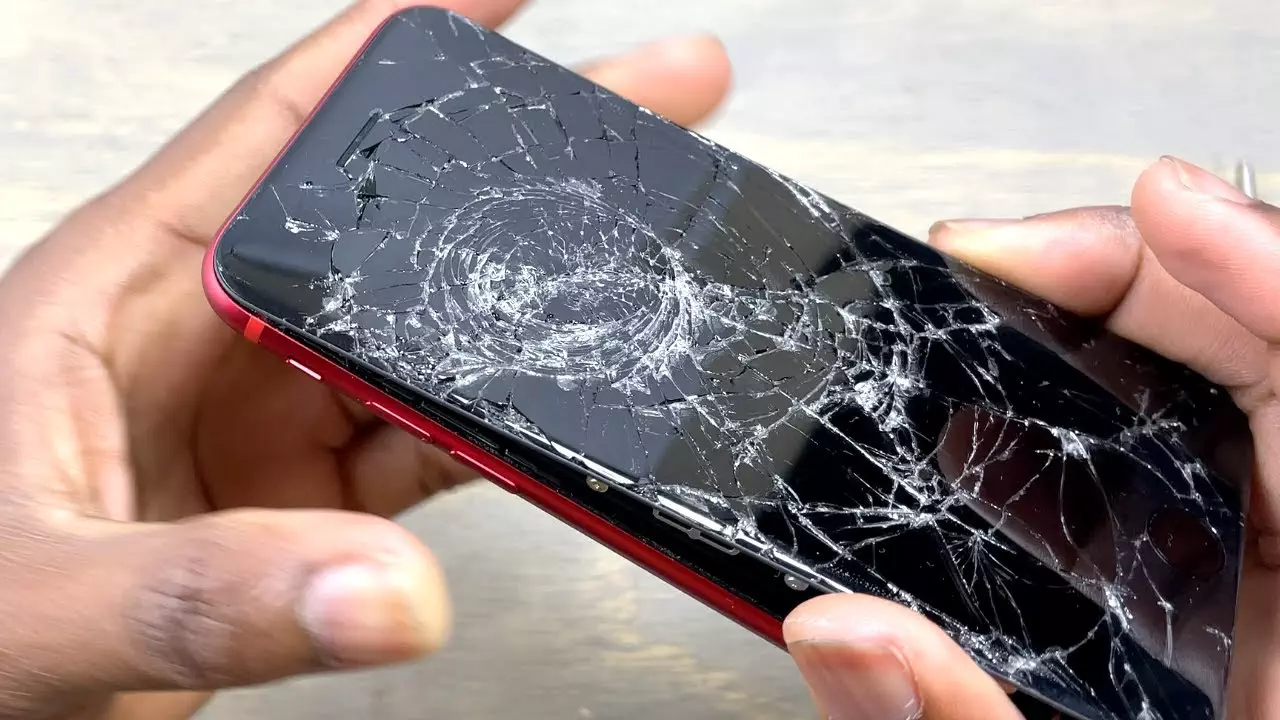
When trying to figure out if your phone screen is cracked, the first thing you should do is look for visible cracks. Even the smallest crack can be a sign that your screen needs some attention. Sometimes, these cracks might not be easy to see, so make sure you check carefully under good lighting.
Another thing you should pay attention to is touch issues. If you notice that your screen is not responding as it should or if it’s acting weirdly, it could be a sign of damage. Sometimes, these touch issues can make your phone hard to use. If your phone is not responding correctly to your touch, it might be time for a closer look.
Assess Damage Severity
Before diving into repair, you need to determine if repair is possible. Check how severe the cracks are. If the damage is minor, you might be able to fix it yourself. But, if the screen is shattered or if you see black spots or lines, the repair might be more complicated.
Consider whether a DIY iPhone screen repair is the way to go or if professional help is needed. It’s important to know your limits. If the thought of opening up your phone makes you nervous, you might want to think about getting it fixed by someone else.
Evaluate your skill level honestly. If you are comfortable with tools and following instructions, a DIY approach could work for you. But if you are not experienced with repairs, you might risk causing more damage.
Benefits of DIY Repair
There are several reasons why you might want to fix your phone screen yourself. One big benefit is that you can save money on repairs. Professional repairs can be costly, so doing it yourself can be more budget-friendly.
Plus, when you attempt the DIY screen repair, you gain new skills. You can learn a lot about how your phone works and how to fix other small issues that might come up in the future.
Finally, understanding your device better is a great advantage. You become more knowledgeable about your phone, which can help you take better care of it and maybe even help friends or family with their phone issues later on.
Method 1: Preparing for DIY Screen Repair
To start your DIY repair, you need to gather necessary tools and materials. Here’s a list of what you will need:
- iPhone SE screen repair kit
- DIY phone repair tools
- Protective gear
Make sure to have everything ready to prevent any interruptions during the repair process. Once you have your tools ready, ensure a clean workspace. Clutter can cause confusion and lost parts, so clear a space where you can focus on your repair job.
Take time to read repair guides carefully. There are many guides available online that can walk you step by step through the process. Make sure you understand each step before you start taking your phone apart.
Safety Precautions
Safety should always come first when you are working with electronics. Wear protective gloves to avoid cuts from glass shards or injury from tools. Gloves can also help you keep a firm grip on small parts.
Keep small parts secure. As you disassemble your phone, place screws and small components in a safe spot. Losing even one tiny screw can be a big problem.
Most importantly, follow instructions closely. Taking shortcuts might seem tempting, but they can lead to mistakes or additional damage to your device.
iPhone SE (2nd Gen) Cracked Screen Repair DIY Safe Methods
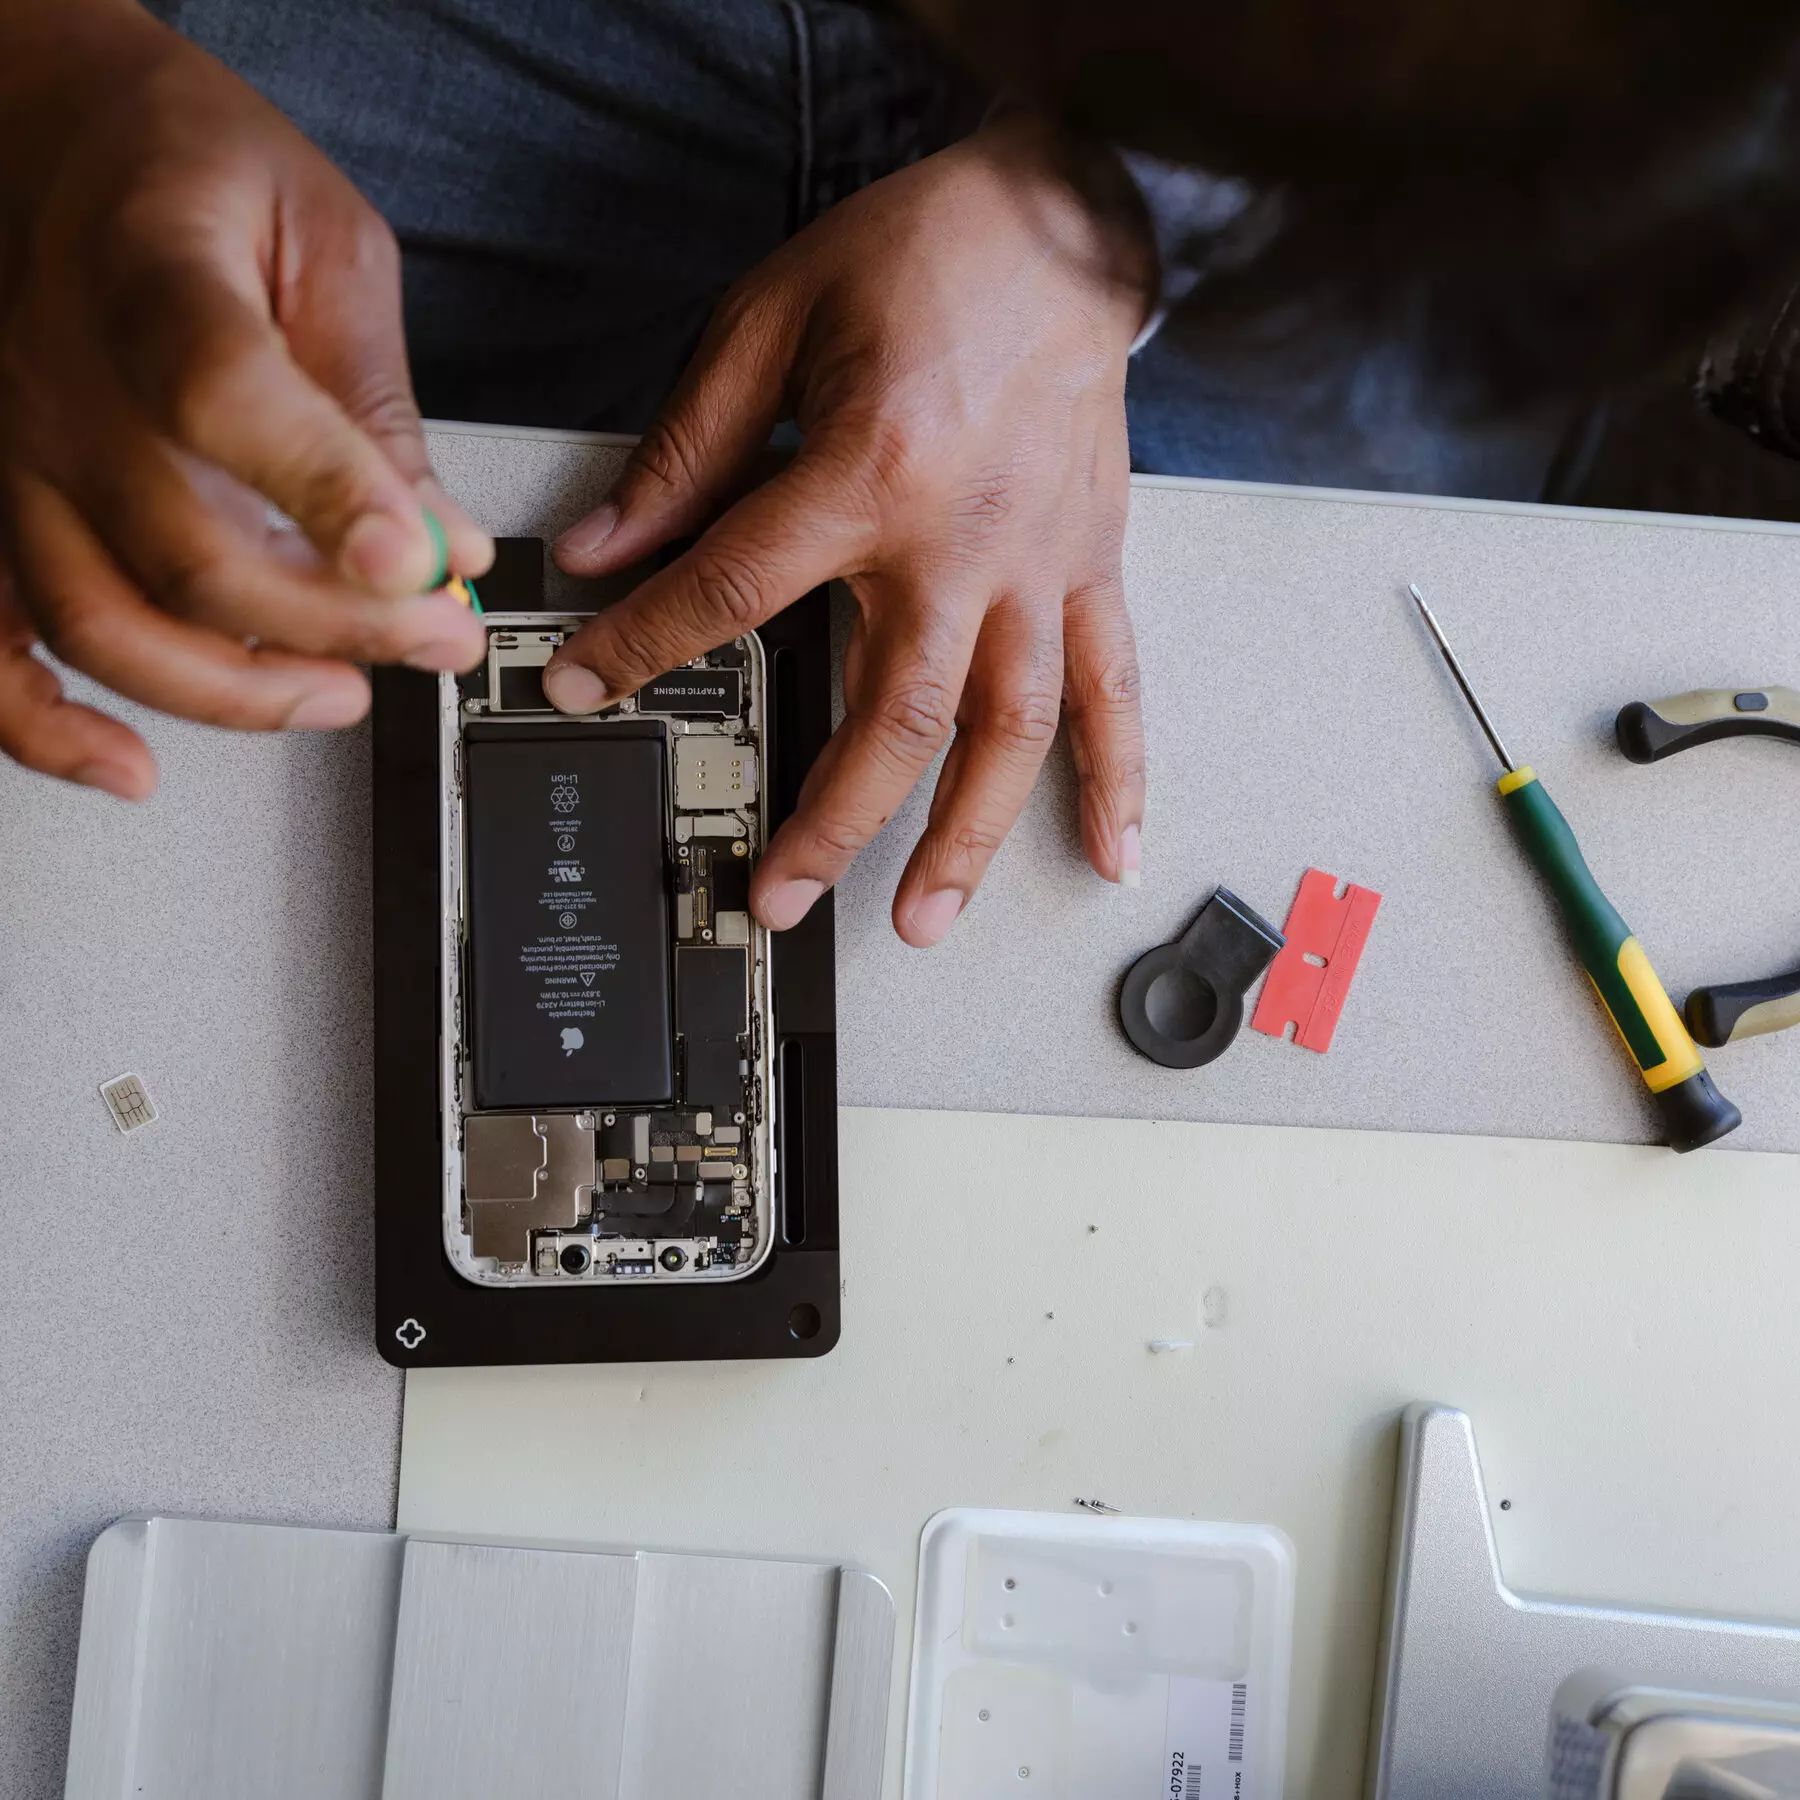
Replacing the Screen
One of the key steps in the iPhone cracked screen fix process is detaching the old screen carefully. This part requires a gentle touch to prevent further damage to your phone. Use the right tools to unscrew and gently pry the screen away from the device. Make sure all cables are disconnected safely.
Method 2: Using a Screen Repair Kit
Using a screen repair kit can make the process simpler. Choose a quality repair kit to ensure the best results. Here’s what you should look for in a good kit:
Components of a Good Kit
A quality kit includes high-quality screen that matches your phone’s specifications. A cheap screen might not work well or last long, so investing in a decent kit is worth it.
It should come with necessary tools like screwdrivers and pry tools. Having the right tools makes the job easier and helps prevent accidental damage.
Look for kits that offer clear instructions. Sometimes, these instructions can be even more helpful than a video guide since you can read at your own pace and refer back easily during your repair.
Method 3: Screen Protection Tips
Preventing Future Damage
Once your phone is fixed, you’ll want to keep it that way. Use a strong case to protect your phone from future drops or bumps. A good case absorbs impact and keeps your device safe.
Apply a screen protector to provide an extra layer of protection against scratches and cracks. Screen protectors are affordable and easy to replace when they get worn out.
Regular Maintenance
Regular maintenance is key to prolonging your phone’s life. Clean your screen often to remove dirt and oils that can interfere with touch sensitivity. A clean screen also looks better and reduces the risk of damage.
Moreover, try to avoid harsh conditions. Extreme temperatures or moisture can harm your phone. Keep your device safe by storing it in a cool, dry place.
Method 4: Safely Fixing Your iPhone Screen
Step-by-Step Guide
For a successful repair, follow steps for safe repairs. Start by carefully laying out all the parts you’ll need. Use the guide to help you remember which screws go where.
Handle components carefully. Most phone parts are delicate, so don’t rush. Take your time and make sure you’re using the right tool for each step.
Common Mistakes to Avoid
One of the most common mistakes is forcing parts. If something doesn’t fit easily, double-check your steps instead of using force. Forcing parts can lead to damage that’s even harder to fix.
Double-check connections as you reassemble your phone. Loose connections can lead to malfunctions. Making sure everything is securely in place will help your phone work smoothly.
Repair Tips and Tricks
While fixing your phone, be patient and precise. Rushing can lead to mistakes, but taking your time helps ensure everything is done correctly.
Keep organized by setting up a parts tray or box to hold small components. This way, you won’t have to worry about losing anything important.
Method 5: Professional Help
When to Consult a Professional
Sometimes, the damage might be too severe for you to handle on your own. Severe damage requires experts who have the experience and tools to do the job right. If your phone is beyond your skill level, it’s okay to seek professional help.
Also, if you lack tools or confidence, it’s better to find a professional repair service. There’s no shame in seeking help when it’s needed.
Choosing a Repair Service
When picking a service, look for certified technicians. Certifications show that the technician has the right skills and knowledge to repair your device.
Don’t forget to check reviews and ratings. See what others have said about their experiences. This can give you an idea of the service quality you can expect.
Take Charge of Your Screen Repair
Repairing your iPhone gives you more control over your device’s lifespan. You save money by tackling the issue yourself, and it feels good to learn new skills. Each method you’ve explored helps minimize risks, ensuring your repairs are both effective and safe.
Start by gathering the tools you need. Look for a reliable screen repair kit that suits your phone model. Set aside some time when you’re not rushed, and follow the steps step-by-step with patience. Remember, there’s no need to hurry; a steady hand achieves great results.
Now, take the first step toward fixing your screen. Unpack your kit and get started. You’ve got this! Dive into this repair journey with confidence and enjoy the satisfaction of a job well done.