The Beginner’s Guide to iPhone SE (3rd Gen) Battery Replacement DIY
Did you know the average smartphone battery loses about 20% of its capacity after just 500 charging cycles? If you’ve noticed your iPhone SE 3rd Gen struggling to keep up throughout the day, a battery issue might be the culprit. Tackling an iPhone SE (3rd Gen) battery replacement DIY isn’t as daunting as it sounds. You’ll save money and keep your favorite device running smoothly. With the right tools and some patience, you can extend your phone’s life without visiting a repair shop.
You might be wondering why your iPhone SE 3rd Gen needs this attention. Battery life can be tricky, especially if your daily demands are high. Understanding how to perform a DIY battery change offers peace of mind and practical skills. You’ll learn about battery compatibility, proper tools, and even some teardown secrets that make the process less intimidating. Plus, mastering these tips means fewer trips to the store for repairs.
Ready to dive into the world of iPhone maintenance? Explore this guide to unlock the secrets of battery care and make sure your phone runs like new again. Let’s get started!
Within the story
Understanding the iPhone SE 3rd Gen Battery
iPhone SE 3rd Gen Battery Life Expectations
When you first get your iPhone SE 3rd Gen, you might wonder how long the battery will last. Typically, a lithium-ion battery lasts around two to three years. After this time, you might notice a drop in performance. Therefore, planning for your DIY battery change is a smart move. If you prepare ahead of time, you’ll avoid the stress of sudden battery failures.
iPhone SE 3rd Gen Battery Issues
Batteries can have issues over time. You might notice your phone not lasting as long as it used to. Common problems include your phone taking longer to charge or losing its charge quickly. You can track these performance changes by monitoring your usage. It’s great to know what to look for so you can replace the battery before it becomes a bigger issue.
iPhone SE Battery Compatibility
Choosing the right battery is crucial for your phone’s health. You need a battery specifically made for the iPhone SE 3rd Gen. This ensures your device runs smoothly. Make sure to select the correct battery type and verify it fits your phone model. Not all batteries are the same, so double-check compatibility before making a purchase.
Preparing for iPhone SE (3rd Gen) Battery Replacement DIY
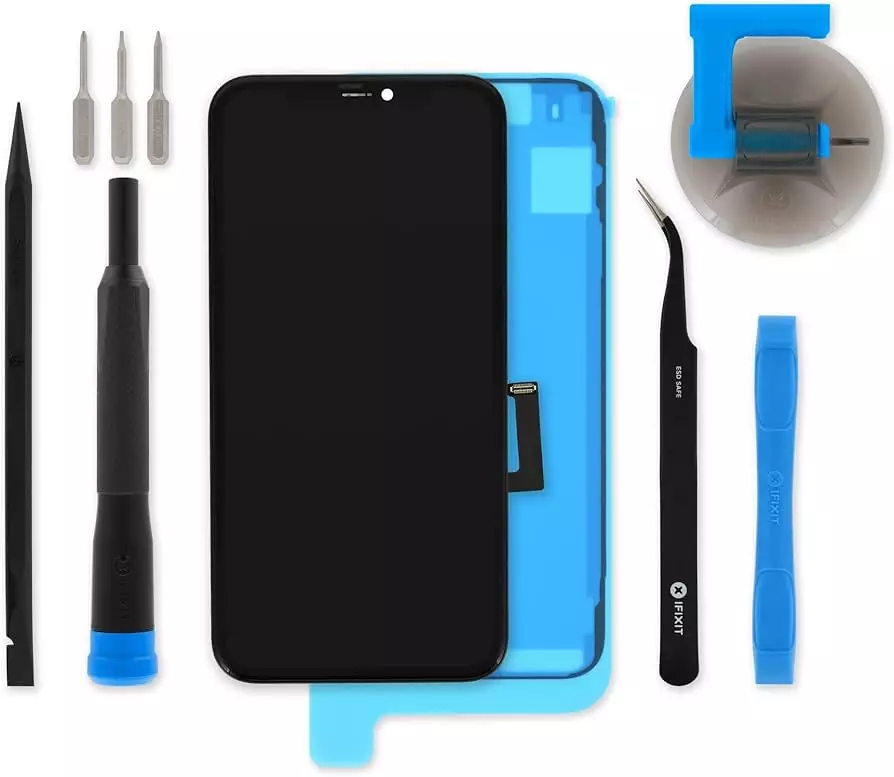
Replacing your battery yourself can be a rewarding task. First, gather the essential tools. You’ll need a set of screwdrivers for removing screws, plastic picks to pry open the phone gently, and adhesive strips for securing the new battery in place. These tools are part of a typical DIY battery kit for iPhone SE.
- Screwdrivers
- Plastic picks
- Adhesive strips
Next, set up a clean workspace. A clutter-free area makes it easier to focus on what you’re doing. Organize your equipment, so everything is easy to find during the process. This simple preparation step can make the entire task smoother and faster.
Safety Measures
Safety is vital during any DIY project, especially when dealing with electronics. Before you start, turn off your iPhone completely. This lowers the risk of electrical issues. Handle all components with care to avoid damage. Additionally, take steps to prevent static damage by grounding yourself. These measures help protect both you and your phone.
Step-by-Step Battery Replacement Process
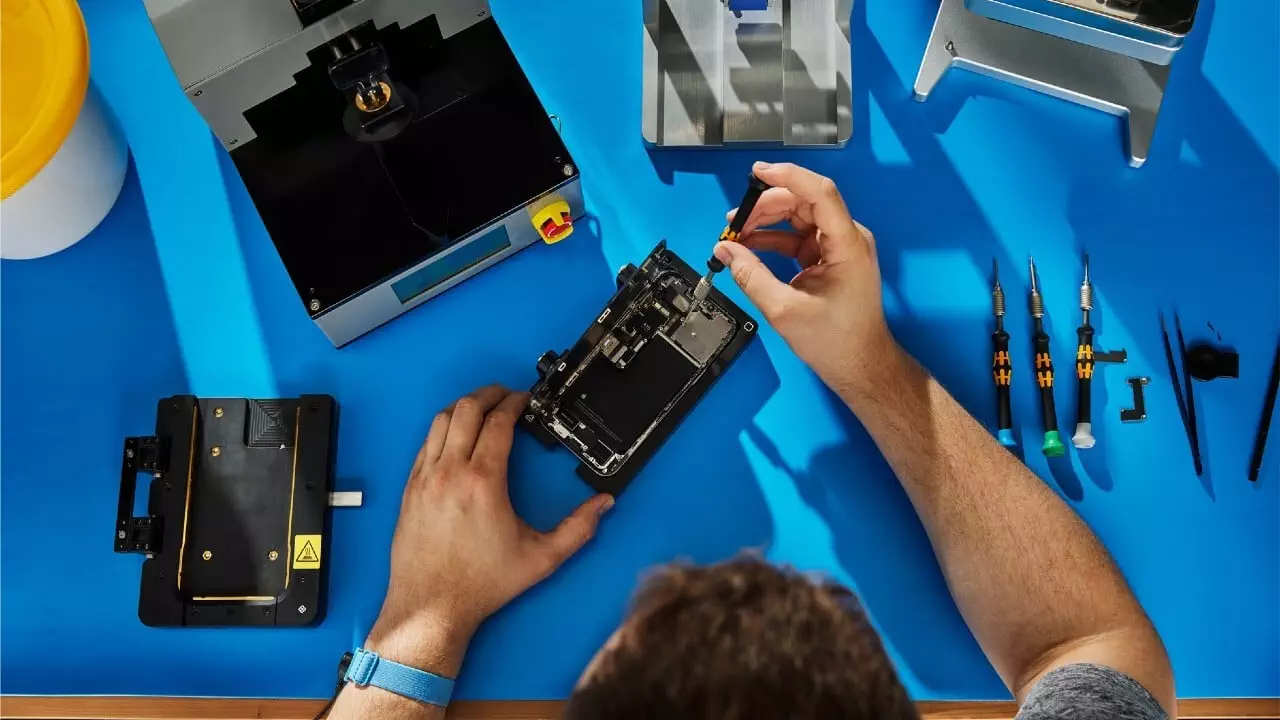
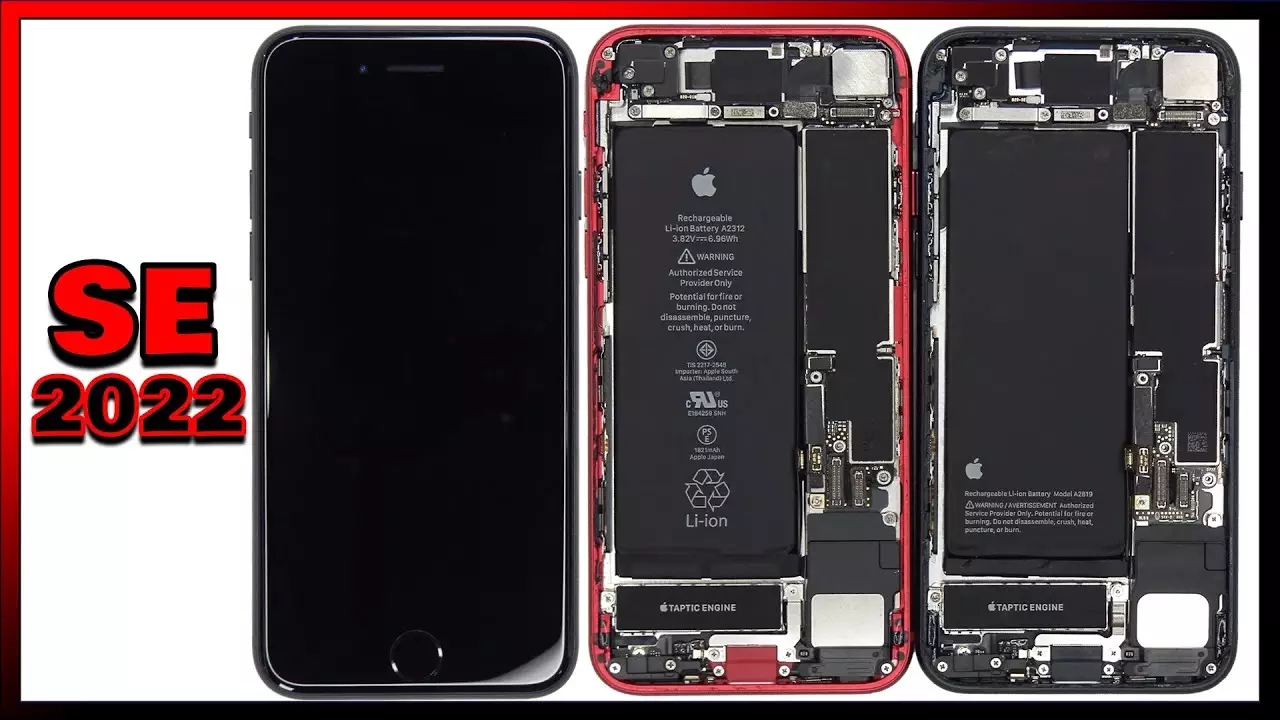
iPhone SE 3rd Gen Teardown
To start, you need to open the device safely. Follow a detailed teardown guide to ensure nothing gets damaged. These guides often include photos or videos, making it easier to see what you should do. Be patient and take your time as you carefully open the device, ensuring all steps are followed correctly.
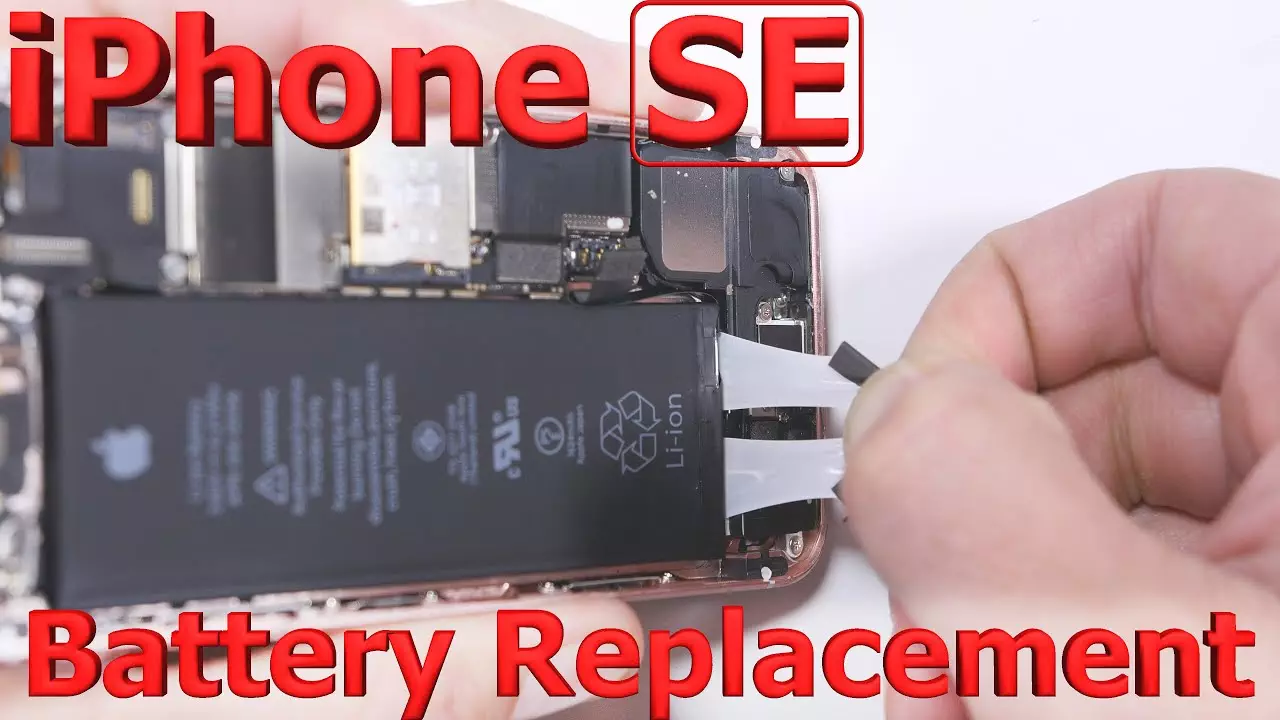
Removing the Old Battery
Once open, locate the battery connectors. Gently detach these to free the battery from the phone. After that, you can pry out the old battery safely. Use the plastic picks to lift the battery, being careful not to puncture or bend it. Proper removal is crucial for the safe installation of the new battery.
Installing the New Battery
Now it’s time to place the new battery. Ensure it’s correctly aligned with the connectors, and press it into place. Use adhesive strips to secure it firmly. Before closing up the device, connect the battery firmly to prevent any future disconnects. Remember to test everything once installed. This final check ensures the battery functions properly before closing the phone.
Testing and Ensuring Proper Functionality
After installation, you’ll want to test the battery. This step is crucial to confirm everything works as it should.
Initial iPhone SE Battery Tests
Start by powering on your iPhone. Observe how it starts up. If there are any hiccups, something might not be connected properly. Make sure everything is secure before proceeding. A smooth startup usually means the battery is connected correctly and ready to go.
Verifying Full Operation
Once your phone is on, test the charging capability. Plug it in and ensure it charges properly. Then, use different apps and check the performance. Everything should work like normal. If you notice any issues, it might require you to revisit some steps or double-check the connections.
Caring for Your New iPhone SE Battery
iPhone SE Battery Care Tips
After replacing the battery, it’s good to know how to take care of it. Keep your device away from extreme temperatures. Both hot and cold environments can damage battery health. Charge your phone wisely, not too frequently, and not letting it drop to zero often. These tips help maintain your phone’s performance and extend the iPhone SE battery lifespan.
Common Troubleshooting Tips
Sometimes, things might not go as planned. If you encounter any issues, try these simple troubleshooting tips to get back on track.
DIY iPhone SE Battery Change Tips
If your phone isn’t working properly, revisit the steps. Make sure everything was done correctly. Sometimes, a simple mistake can cause issues. Double-check the battery connections to ensure they are secure. A secure connection is vital for proper functioning. Also, establish a consistent charging routine to keep your battery healthy.
Resources for Further Assistance
If you need more help, plenty of resources are available to guide you.
iPhone SE Battery Replacement Guide
Seek detailed video tutorials online. These can offer a visual step-by-step guide. Videos are often more detailed and easier to follow. Additionally, find expert advice from blogs or forums. Many people have successfully completed their own battery replacements and are happy to share their knowledge. You can join forums for tips and support. These communities offer valuable insights and can be a great help if you run into problems.
The Power to Do It Yourself
Replacing your iPhone SE battery yourself offers impressive benefits. You save money, extend your phone’s life, and gain handy repair skills. By taking care of your phone’s battery, you ensure it serves you well and performs at its best. It’s a fantastic way to gain confidence in solving tech issues while keeping your device in top shape.
To get started, gather all necessary tools and parts. Check if you need specific items like a screwdriver set or a replacement battery that matches your phone. Follow a reliable guide closely, step by step, keeping safety in mind. This preparation makes the battery change process smooth and successful. Before you know it, your phone will have a new lease on life.
Now’s the time to take control and make the change. Dive in and transform your phone experience. You’ve got this, and your iPhone will thank you for it!