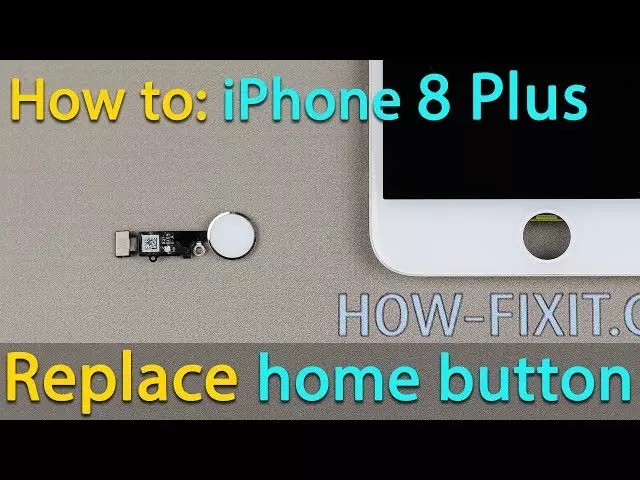
Why We Love Replace iPhone 8 Plus Home Button DIY (And You Should, Too!)
Why tackle the issue of a broken home button on your iPhone 8 Plus? With technology playing such a huge role in your life, a malfunctioning button can be frustrating. The good news? You can replace your iPhone 8 Plus home button DIY with the right tools and know-how. Embarking on this DIY adventure can save you money and time while bringing back your phone’s functionality. Plus, it offers a satisfying sense of accomplishment.
Feeling unsure about the process? Many face the same hesitation. But with a step-by-step iPhone 8 Plus home button tutorial, you can gain the confidence needed for a successful repair. Utilizing an iPhone 8 Plus repair kit, you’ll learn to navigate the simple yet effective methods for fixing your device. You’ll discover how each component fits together, empowering you to handle future repairs.
Ready to dive into the world of DIY repairs and transform your iPhone 8 Plus device? Let’s explore the path to mastering this essential skill together!
Within the story
Getting Started with iPhone 8 Plus Home Button Fix
Before you dive into the process of replacing your iPhone 8 Plus home button yourself, it’s crucial to understand the basics. Knowing what you’re getting into can make all the difference in how smoothly the repair goes.
Why DIY?
First off, choosing the DIY route can save you significant money. A professional repair service might charge quite a bit, but doing it yourself reduces costs to just parts and tools.
Besides cost savings, undertaking the repair yourself allows you to learn a new skill. Completing a DIY iPhone 8 Plus repair can boost your confidence and give you a sense of accomplishment.
Moreover, you might find that fixing your device turns into a fun project. If you like solving problems, this could be an engaging challenge for you.
Finally, during the repair, you’ll get to know your device better. Understanding its inner workings can help you troubleshoot problems in the future.
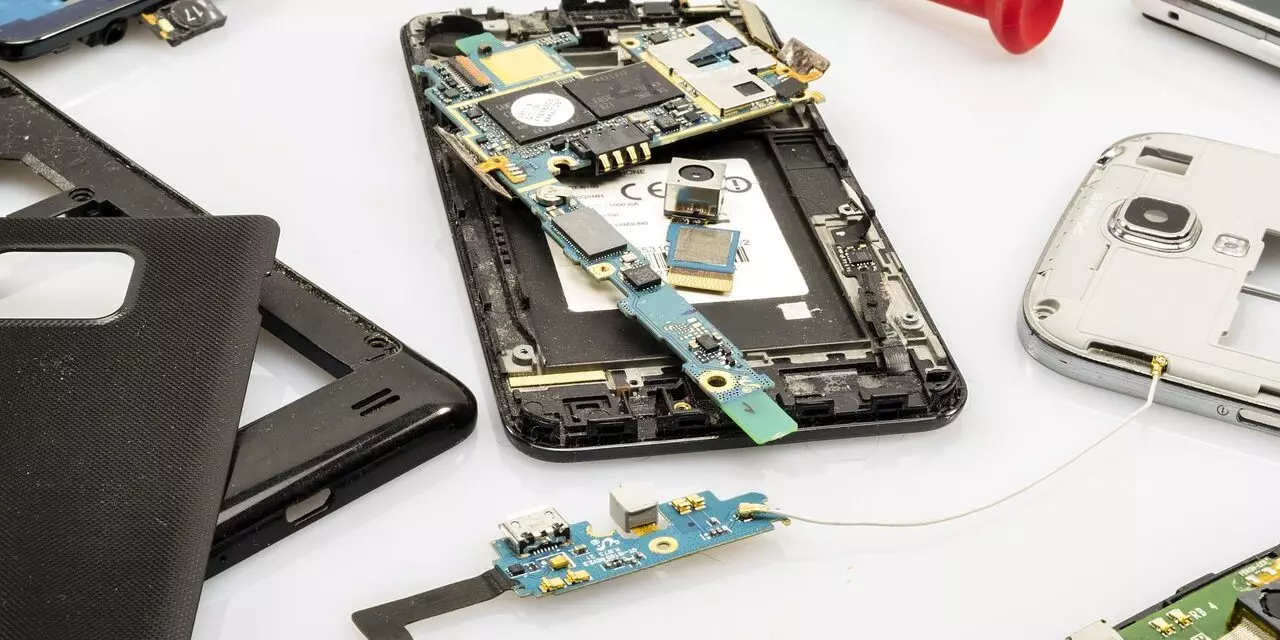
Gather the Right Tools
To begin, you’ll need to invest in an iPhone 8 Plus repair kit. These kits typically include most of what you need for a successful repair.
Ensure you have small screwdrivers, as they are essential for getting into the tight spaces inside your phone. Without the right tools, home button replacement could be quite challenging.
Steps to Replace iPhone 8 Plus Home Button DIY
Now, let’s get into the actual steps you need to follow for a successful repair.
Preparation and Safety
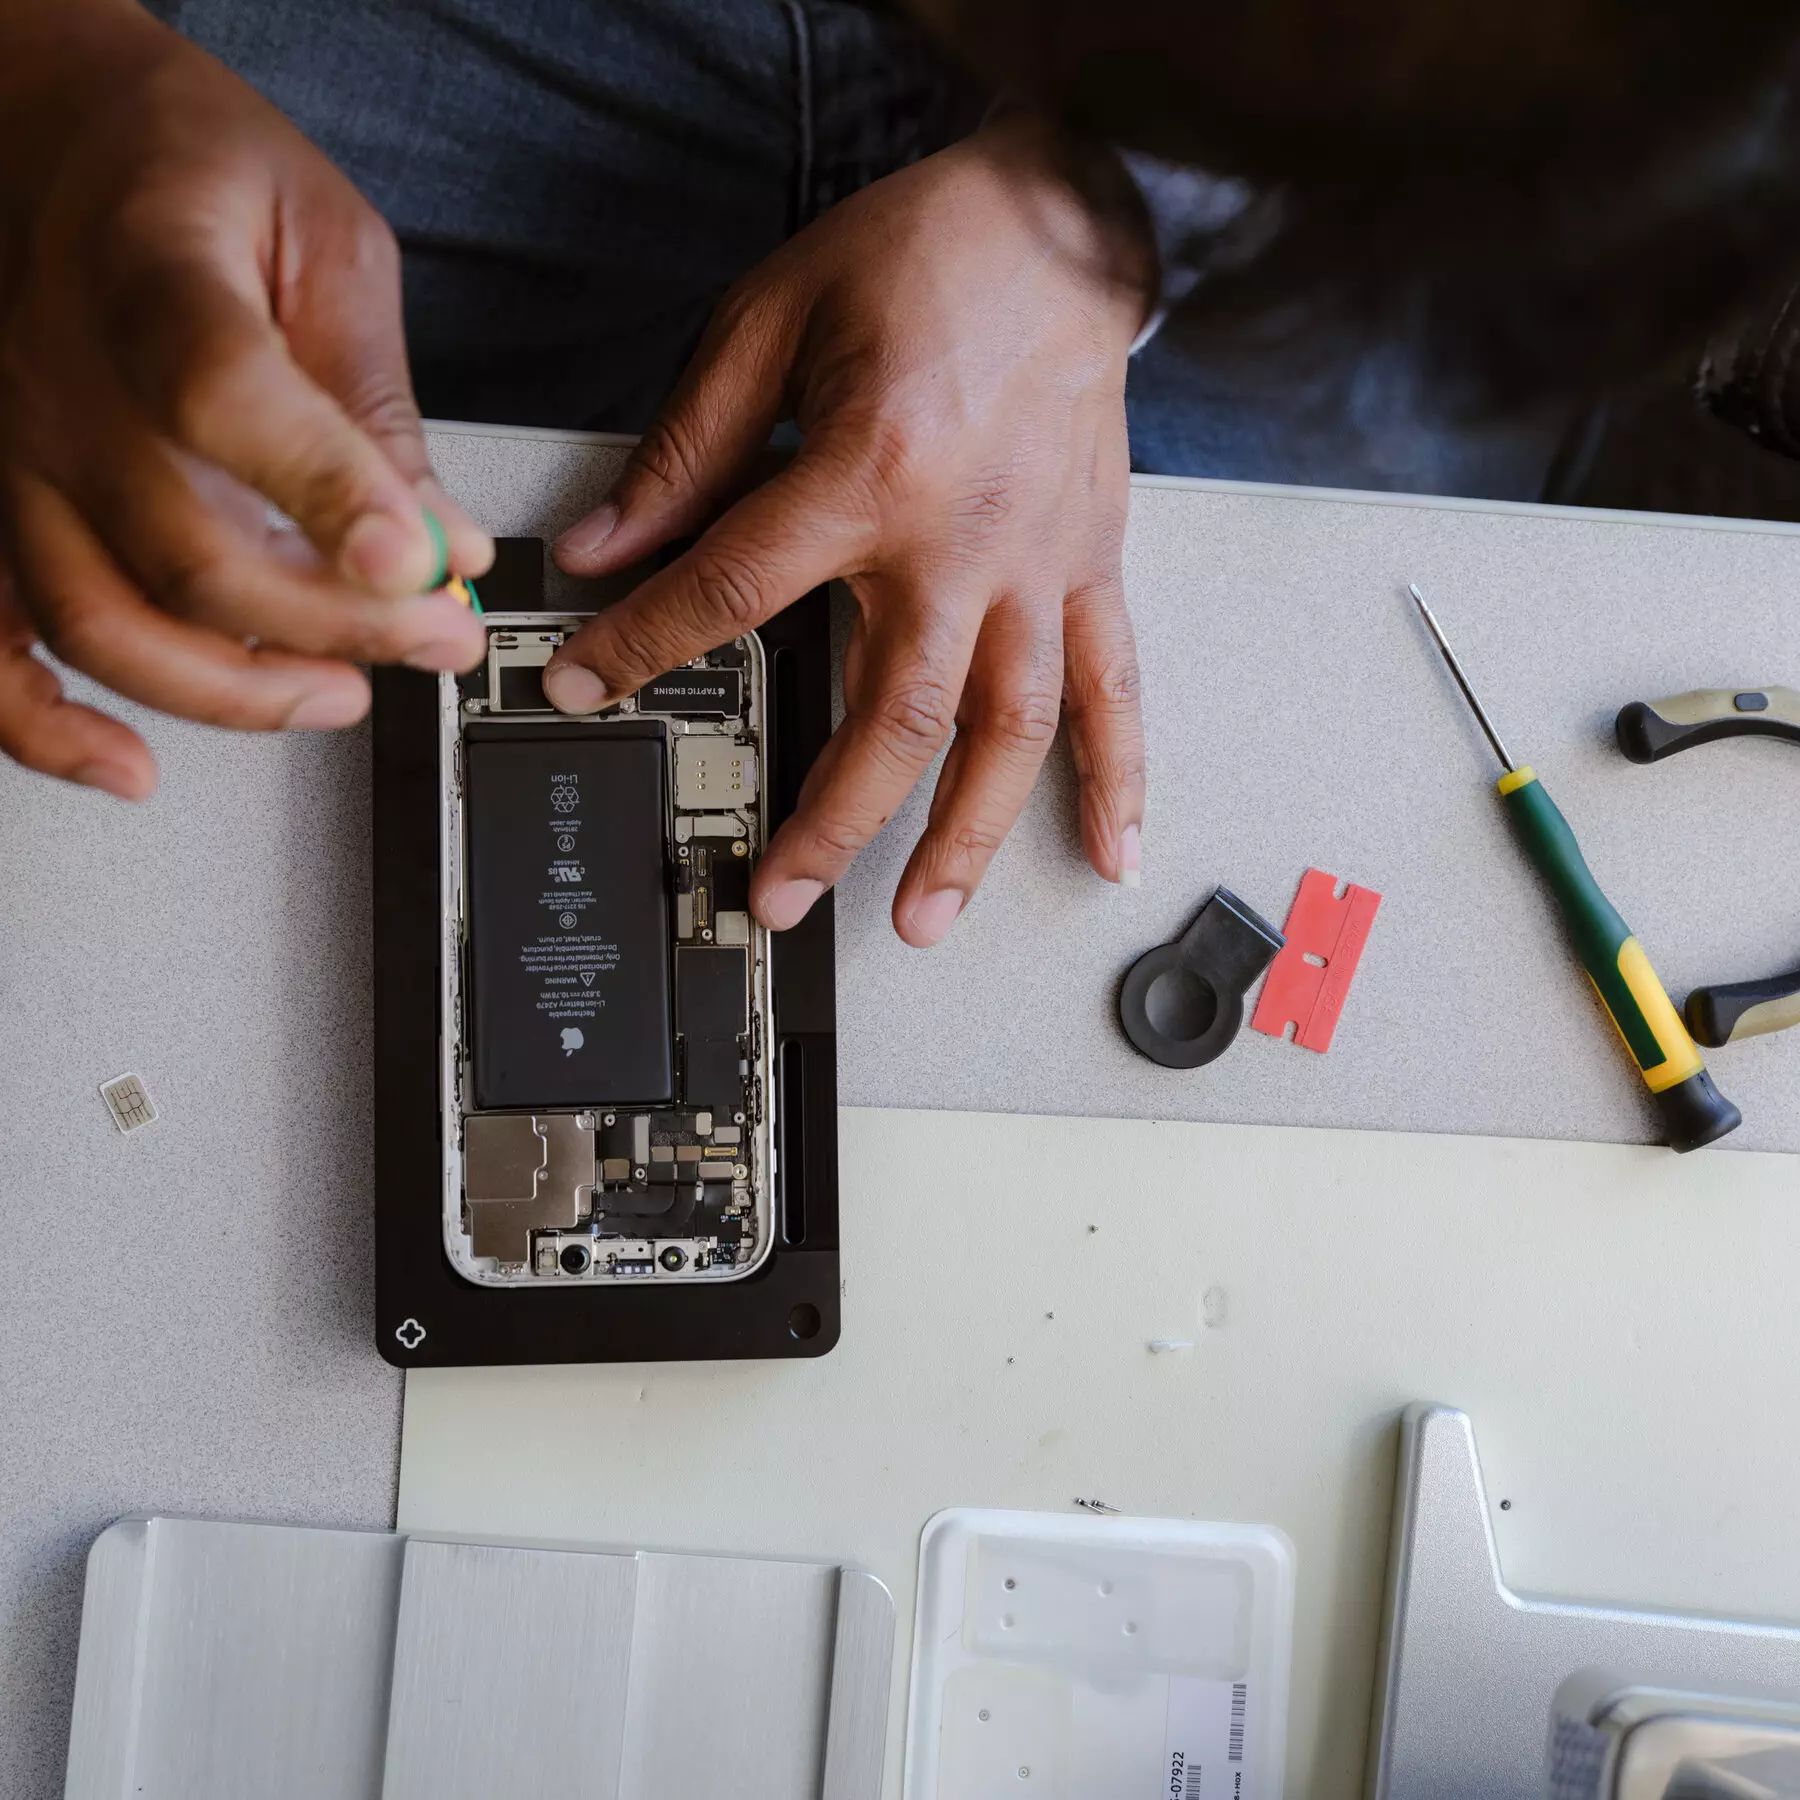
First things first, power off your device. This step is crucial to prevent any electrical damage that might occur during the repair process.
Next, work on a clean, flat surface. This ensures that you don’t lose small parts and provides a stable environment for your repair work.
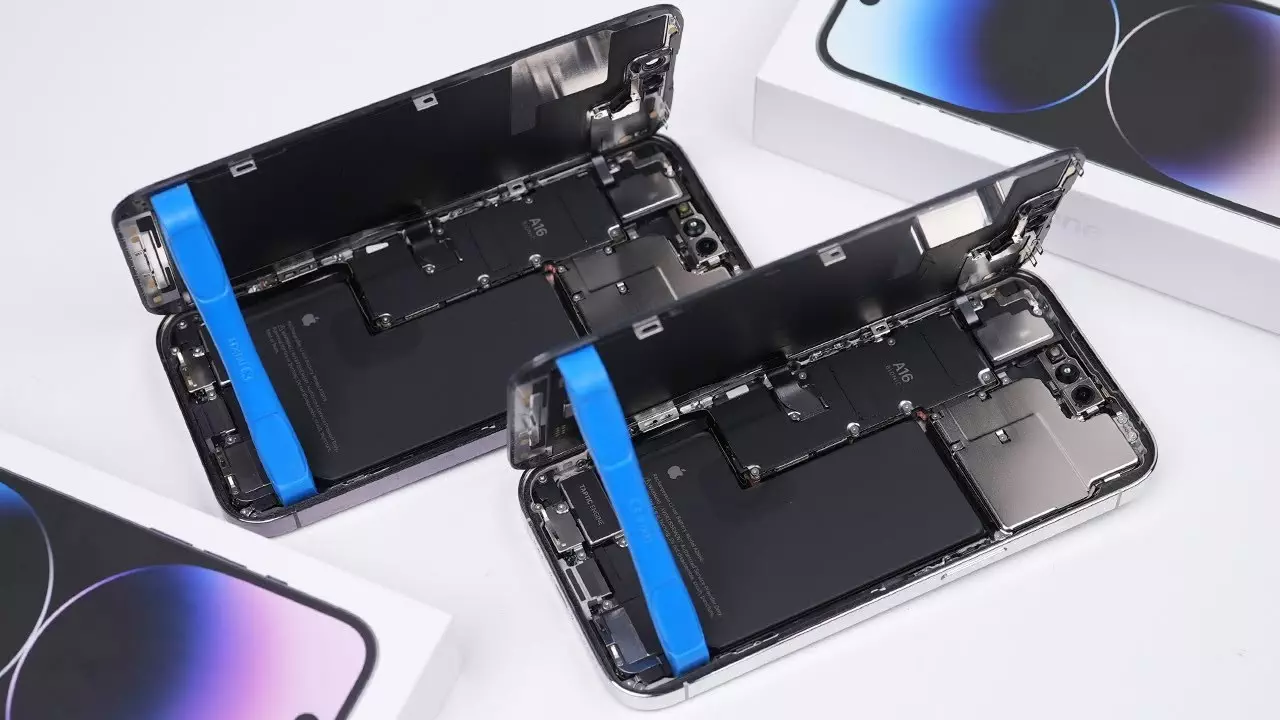
Removing the Screen
When it comes to removing the screen, be gentle. The glass can be fragile, and a heavy hand could crack it.
Disconnect the cables carefully. These components are delicate, and rough handling can result in damage that might complicate your repair.
Throughout this process, make sure you handle the display with care. Avoid putting too much pressure on it to prevent any unnecessary damage.
Understanding iPhone 8 Plus Home Button Assembly
Understanding how the home button works will help you in the repair process. The button is more than just a clicker; it’s a complex piece linked to other components.
- Components of the button
- How Touch ID interacts
You should recognize the key assembly components. Knowing what each part does will make it easier to pinpoint issues and solve them.
Identify common issues you may face, such as malfunctioning Touch ID or non-responsive buttons. Being aware of these will guide you in addressing problems as they arise.
Common Repair Mistakes
Avoid using the wrong tools at any cost. Incorrect tools can damage your device and make the problem worse.
Don’t rush through the steps. Speeding through might lead to missed connections or misplaced parts, making things harder for you in the long run.
Handle delicate parts gently. The internals of your phone are sensitive, and rough handling can result in costly damages.
Troubleshooting iPhone 8 Plus Button Repair
Even if you follow steps carefully, some issues may still arise. Here’s how to tackle them:
If Touch ID Fails
The first thing to do is recheck all cable connections. A loose cable is often the culprit when the Touch ID doesn’t work.
Ensure components are not damaged. Damaged parts need replacement as they can affect the functioning of your new home button.
If you’re still having trouble, it might be time to consider professional help. Sometimes a little expert advice can resolve persistent issues.
Calibration Issues
Calibration issues can occur, and resolving them might require a software reset or a particular process like recalibrating the system settings on your phone.
Persistent Button Issues
If the button continues to malfunction, try reassembling your device carefully. Double-check all the connections and make sure nothing is loose or out of place.
Additionally, a software reset might help. It can sometimes fix things when hardware adjustments don’t do the trick.
Using an iPhone 8 Plus Button Repair Guide
Finding Reliable Guides
Finding a good guide is crucial. Look for reviews and recommendations to ensure the guide is reliable and comprehensive.
Consider checking both video and text tutorials. Each format has its strengths, and the combination can provide a well-rounded understanding.
Following a Step-by-Step Tutorial
As you follow the tutorial, take notes. Jotting down key points can make the process easier and serve as a quick reference.
Pause and rewind video guides as needed. They provide a visual aid that can clarify confusing steps.
Practice patience for successful repairs. Rushing through increases the potential for mistakes, so take your time and follow each step closely.
Completing Your iPhone 8 Plus DIY Repair
Once everything is back together, you’ll want to ensure your repair has been a success.
Reassembly Tips
First, double-check all connections. Loose connections can cause the button to fail again even if everything else is correct.
Before fully closing your device, test its functionality. Make sure everything works as it should before securing the screen back down.
Securely fasten all screws. A tight assembly ensures that your phone is protected against further damage from the inside.
Enjoying Your Fixed Device
Finally, take a moment to celebrate your successful repair endeavor. You’ve saved money and time by handling your repair, and that’s worth a small celebration!
Why not share tips with friends? Someone else might also want to try DIY repairs and can benefit from your experience.
Embrace Your Inner Tech Guru
Taking on a do-it-yourself home button replacement for your iPhone 8 Plus brings more than just a fixed phone. You gain new skills and save money, all while feeling a rewarding sense of achievement. Plus, you get the freedom to fix things your way, on your schedule, without waiting on a service center.
To start, gather the necessary tools and resources. An iPhone 8 Plus repair kit is a great first step. Find a reliable tutorial or guide, ensuring you understand each step before diving in. As you go through the process, patience is key. Go slowly and carefully to avoid mistakes, and soon, you’ll have your phone back in action.
Now’s the time to take charge! Grab your tools and dive into this project. Enjoy the satisfaction of solving your tech problems yourself. Ready to get started? Your successful repair journey awaits!