Stop Overlooking These iPhone 14 Logic Board Diagnostics DIY Essentials
Your iPhone 14 might be giving you headaches, and you’re not alone! Many users face challenges with their devices, especially when it comes to the iPhone 14 logic board diagnostics DIY process. With the rise in do-it-yourself repairs, knowing how to handle your iPhone’s inner workings has become more important. You might have heard about new trends in phone repairs where people save money and time by tackling issues themselves.
Understanding your phone’s logic board can feel like unlocking a puzzle. Does your iPhone act up at the worst times? Proper iPhone 14 logic board troubleshooting could be the key to stopping those annoying glitches. Perhaps you’re curious about how simple tools and a bit of know-how can conquer iPhone 14 motherboard issues. Learning about iPhone 14 diagnostic tools might give you the confidence to fix those problems yourself, and even enjoy the process!
Ready to become your iPhone’s hero? Discover how you can master DIY iPhone 14 repair with ease. Dive into this handy guide and unleash your inner tech expert!
Within the story
Understanding iPhone 14 Logic Board Diagnostics DIY
When you dive into the world of iPhone 14 logic board troubleshooting, understanding the basics of DIY diagnostics is crucial. You might be wondering where to start, and that’s completely normal. Let’s break it down so you can get a good grasp of what’s involved.
iPhone 14 Diagnostic Tools Overview
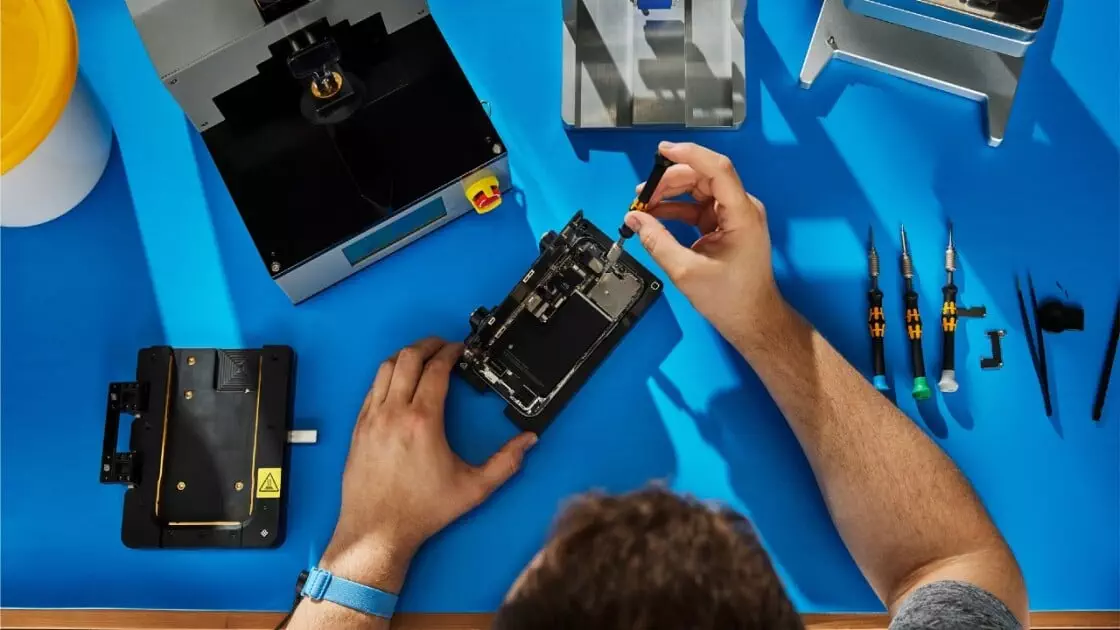
First, you need the right tools for a successful DIY iPhone 14 repair. Think of these tools as your detective gear; without them, solving the mystery of your iPhone’s issues becomes much harder. Some essential tools include a screwdriver set, a multimeter, and a digital microscope. Each tool plays a role in identifying problems and ensuring proper repairs.
Knowing how to use these diagnostic tools is just as important as having them. A multimeter, for example, helps you measure electrical values to spot issues in the circuit board. Understanding readings and what they mean for your device’s health is necessary. A digital microscope, on the other hand, lets you see tiny details on the board that might be causing trouble.
Identifying iPhone 14 Motherboard Issues
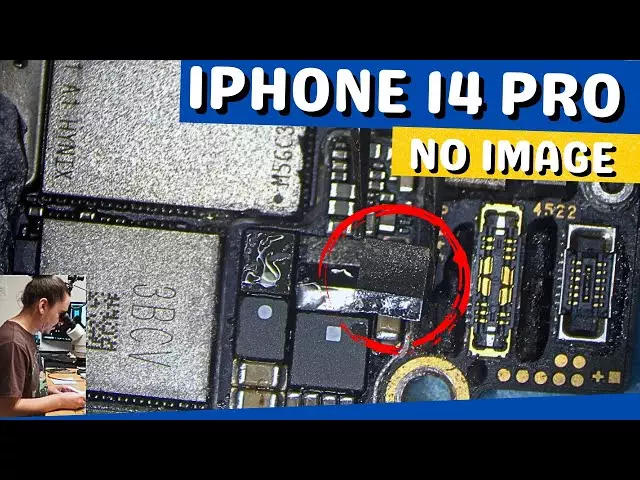
Common iPhone 14 motherboard issues include no power, overheating, or random shutdowns. Recognizing these symptoms can save you time. For instance, if your phone doesn’t turn on, it might be due to a faulty power IC. Symptoms like frequent restarts could point to a battery management chip problem.
To spot signs of motherboard failure, you must pay attention to changes in your phone’s behavior. If your device suddenly stops charging or loses battery quickly, the logic board might need attention. By keeping track of these symptoms, you can identify the problem areas more swiftly.
Steps for iPhone 14 Circuit Board Analysis
Performing a thorough circuit board analysis involves several careful steps. Taking the time to prepare properly ensures everything goes smoothly and you don’t overlook anything.
- Prepare your work area. Make sure you have a clean, well-lit space. This prevents losing small components and helps you focus on the task.
- Use appropriate tools carefully. Every tool has a purpose. Being gentle reduces the risk of causing further damage.
- Document your findings. Write down any issues you discover. This keeps your repair organized and helps in tracking progress.
Each step enhances the accuracy of your iPhone 14 circuit board analysis. Having detailed documentation can guide you in making successful repairs and help if you need to revisit any part of the process.
DIY iPhone 14 Repair Techniques
Mastering basic repair techniques is essential for anyone venturing into iPhone 14 internal repair. One technique involves changing out damaged components. This might include replacing connectors or chips. Soldering skills are helpful here, as you’ll often need to connect parts securely.
Troubleshooting iPhone 14 Logic Board
Effective troubleshooting methods can save your day when dealing with logic board issues. Start by isolating the problem. This means checking whether the fault lies in the power, charging, or display sections. You can then focus on the specific area that needs repair.
To resolve common logic board issues, you have to understand how the logic board interacts with other components. Sometimes, cleaning the board with isopropyl alcohol can fix minor issues like corrosion. By clearing up these problems, you can ensure that your iPhone works smoothly again.
Component Testing Techniques
When testing individual components, use the multimeter to check for continuity in circuits. This helps confirm whether a part is functioning properly or needs replacement. Components like capacitors and resistors can be tested in this way.
By confirming the functionality of each component, you ensure that the device operates correctly after reassembly. This step is crucial because one faulty iPhone 14 component testing can lead to other issues down the line.
iPhone 14 Internal Repair Essentials
Safety Precautions and Preparations
Safety should be your top priority when performing iPhone 14 hardware diagnostics. Always make sure to power down the phone before beginning any work. This prevents accidental shorts or damage.
Key Tools for Internal Repair
Acquainting yourself with key tools for internal repair is a must. Think of tools like spudgers and tweezers. A spudger helps you safely pry open parts without causing scratches. Tweezers, on the other hand, assist in handling tiny screws or components.
Fix iPhone 14 Logic Board Problems
Troubleshooting Motherboard Errors
Addressing motherboard-specific issues means listening to your device. If it buzzes or makes unusual sounds, take note. Such signals can indicate where the problem lies.
Ensuring the device’s functionality involves checking whether the device boots up correctly after repairs. If everything functions smoothly, you’ve likely resolved the issue at hand.
Practical Tips for Hardware Diagnostics
To improve diagnostic accuracy, keep learning and practicing. Familiarize yourself with different board configurations. Each iPhone 14 might have slight differences, affecting how you approach repairs.
Incorporate expert tips into your process by watching tutorials or reading guides. Experts have years of experience, and their DIY iPhone 14 repair tips can provide insights that books alone cannot.
Your results will become more reliable as you gain experience. Over time, you’ll learn to identify issues quickly and efficiently, thanks to your growing skill set.
iPhone 14 Component Testing Strategies
Developing efficient testing strategies means setting a consistent system for how you test each component. Testing in an orderly manner prevents you from missing critical issues.
Ensuring component reliability is vital. Test the repaired device thoroughly before closing it up. This extra step confirms that everything works as it should.
iPhone 14 Repair Guide Resources
Top Resources for Learning DIY Repairs
Discover valuable repair guides online. Websites, videos, and blogs often contain step-by-step instructions that cater to beginners. Such resources are a goldmine when you’re just starting.
Utilize these resources to learn effectively. Reading instructions and following along with visual aids provide a better understanding than text alone. Remember, having multiple sources gives you various perspectives on solving problems.
Online Communities and Forums
Engaging with repair enthusiasts through online communities and forums is beneficial. You’ll find many people willing to share their knowledge and experience. It’s a great place to ask questions and offer your insights too.
Exchanging tips and experiences with others can lead to learning new techniques or discovering uncommon problems others have faced. It’s a supportive environment that enhances your repair journey.
Updates and New Repair Techniques
Staying updated with new techniques ensures you’re using the best practices in your repairs. Technology evolves, and new tools or methods often become available. By keeping up with these changes, you’ll enhance your repair skills.
Improving Your iPhone 14 Repair Skills
Hands-On Practice Importance
Hands-on practice truly improves your repair confidence. The more you work with your iPhone, the better you understand it. Practice also helps solidify the knowledge you’ve gained from tutorials and guides.
Experience is key to successful repairs, as it allows you to handle unexpected issues better. Each repair session teaches you something new.
Learning from Experienced Technicians
Seek guidance from experienced pros who have been in the field for years. Their insights can save you from making common mistakes. Observing their successful methods provides practical knowledge.
By integrating their techniques, you can enhance your abilities and approach repairs with a new perspective.
Continuing Education and Workshops
Participate in workshops whenever you can. These events offer hands-on learning opportunities. You’ll pick up tips and tricks not found in standard guides.
Workshops often provide a collaborative environment where you can ask questions and receive immediate feedback from instructors or peers.
Documenting Your Repair Journey
Keep a record of your repair progress. Documenting each step and outcome helps track your learning. It serves as a reference for future repairs.
By writing down what works and what doesn’t, you create a personal repair guide. This helps pinpoint areas for improvement and celebrates your successes along the way.
Finalizing Your iPhone 14 Logic Board Repairs
Post-Repair Testing and Verification
Verify every repair step after completing the process. Double-check connections and test the device’s functionality.
Testing is crucial to ensure the repair is successful. By thoroughly going through each step, you prevent the need for further fixes down the line. Your iPhone should run smoothly, indicating a job well done.
Mastering Your iPhone 14 Repairs
Taking control of your iPhone 14’s health by understanding its inner workings brings numerous benefits. You gain confidence in diagnosing and troubleshooting issues that might seem complex at first. This knowledge also saves you time and money, as you can often fix simple issues on your own. Most importantly, you empower yourself to maintain your device in top condition, prolonging its life and performance.
To get started, gather a few essential tools that will help with your diagnostics and repairs. A reliable toolkit designed for smartphones, along with a set of step-by-step guides, will be invaluable. Begin by familiarizing yourself with the internal layout of your iPhone 14, so you know what to expect when you open it up. Taking these initial steps makes the process much smoother and sets you up for success.
Now is the time to act. Start with one minor repair project and build your skills from there. Don’t let fear hold you back. Dive in and discover just how capable you are of making repairs on your own. You’ve got this!