Repair Cracked iPhone SE (2nd Gen) Screen DIY: How to Effortlessly Achieve a Flawless Fix
You dropped your iPhone SE (2nd Gen), and now there’s an unsightly crack across the screen. It’s frustrating, right? But you don’t have to live with that crack. With a little guidance, you can tackle the “repair cracked iPhone SE (2nd Gen) screen DIY” project at home. Imagine fixing it in your own space, without stepping into a repair shop. It’s possible, and you can do it.
Think about the satisfaction of completing a DIY iPhone SE screen fix. You have the tools, and with a little patience, the cracked iPhone SE repair will be smooth. Whether you’re using a specially assembled iPhone SE screen repair kit or gathering your own iPhone SE screen tools, the process is straightforward. Mastering how to self-repair your iPhone SE screen not only saves money but gives you a confidence boost. It’s a skill worth learning.
Ready to transform that broken screen into a flawless one? Let’s dive into this iPhone SE screen repair guide together and explore how you can achieve a perfect iPhone SE 2nd Gen screen replacement at home. Your perfectly restored screen is just a few steps away!
Within the story
Understanding the Repair Process
Why Choose a DIY Approach?
When you repair your cracked iPhone SE at home, you can save money and learn new skills. Having a repair service do it for you can cost a lot. Instead, taking the time to repair it yourself not only saves cash but also gives you the chance to understand how these devices work. Plus, who doesn’t love learning something new?
Repair Cracked iPhone SE (2nd Gen) Screen DIY Overview
Now, let’s take a detailed look at the process of repairing your screen. Performing DIY screen repair on your iPhone SE means you’ll be removing the cracked screen and replacing it with a new one. This process involves using specific tools, being precise, and following steps carefully. But don’t worry; you can do it! Understanding each step makes the task much easier and helps ensure you don’t run into problems later.
Gathering Your Tools and Materials
Getting the right tools and materials is crucial for a smooth fix. You don’t want to start and then realize you’re missing something important. So, taking the time to gather everything beforehand will save you from any frustration later on.
iPhone SE Screen Repair Kit
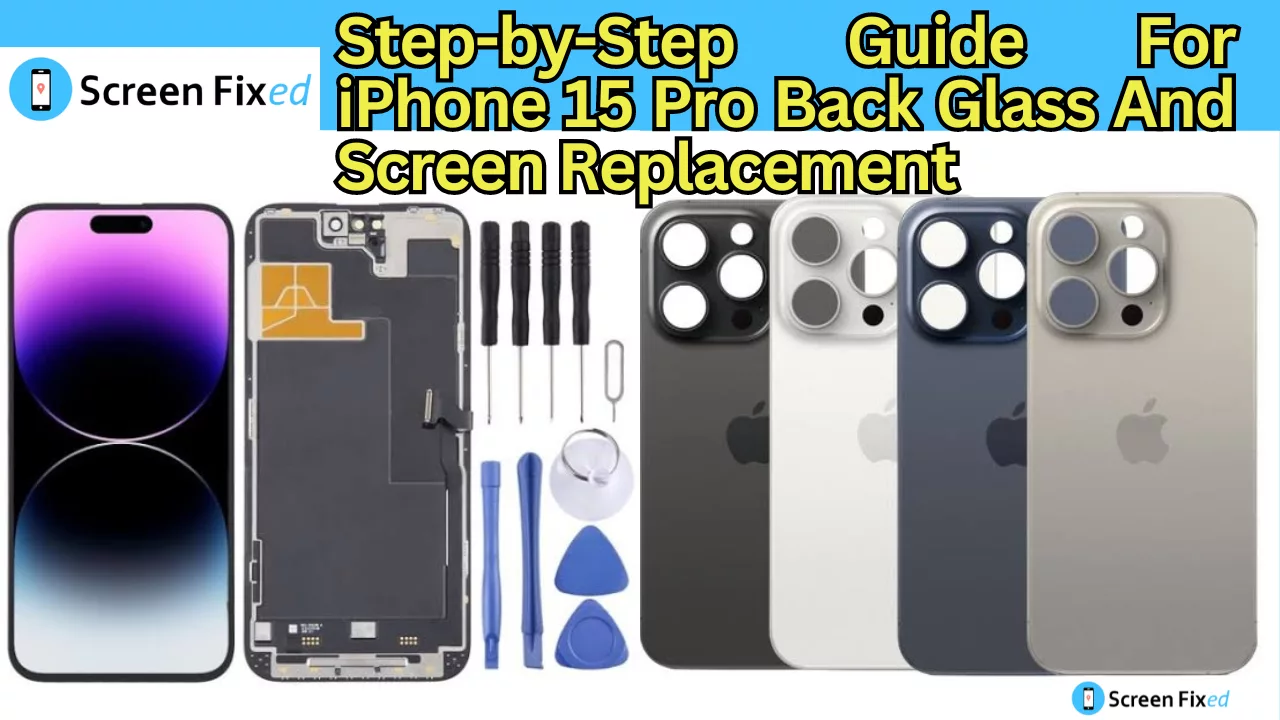
A complete toolkit for your needs is essential. Your iPhone SE screen repair kit typically includes a screwdriver, adhesive, and a replacement screen. These are the main components that you will need to replace your screen. It’s important to ensure your kit is compatible with your iPhone model. Compatibility is key to making sure every part fits and works properly. Consider quality over cost, as using a high-quality screen can make a big difference in the outcome.
- Screwdriver set
- Plastic spudger
- Replacement screen
Additional Helpful Tools
Besides the main tools in your kit, consider extra items like magnifiers or tweezers. These can make handling small parts easier and more precise. Also, having these iPhone SE screen tools nearby can be helpful if you encounter any difficulties during the process.
Step-by-Step Repair Guide
Let’s walk through a clear path to success. By following these steps, you’ll have a better chance of getting your iPhone back to looking like new.
Start with Safety Precautions
First, turn off the phone to avoid any unintended actions. It’s also important to discharge static electricity by touching a metal object. Doing this prevents any electric charges from damaging your phone’s components. Additionally, use a clean workspace to keep all parts organized and prevent loss. Handle tools with care as they can be sharp or delicate, and you don’t want to cause any unnecessary damage.
Screen Removal Process
Begin by detaching the screws at the base of the phone. Using a suction cup, carefully remove the display without damaging it further. After that, disconnect the phone’s battery and cables from the old screen. Be gentle as these parts can be quite delicate. This step is crucial as it allows you to remove the broken screen safely and begin the DIY iPhone SE screen fix.
Replacing the Screen
Ensuring a snug fit for the new screen is critical. This helps maintain the phone’s functionality and appearance. A loose screen can cause problems down the line, so take your time to do this step right.
Fixing the Screen at Home
Attach the cables and test the display before securing everything. This way, you can ensure the screen lights up and functions as expected. Place the new screen carefully to avoid any misalignment. This self-repair guide for your iPhone SE will work best if you’re patient and focused during this step.
Reassembly of Parts
Secure all screws in place to keep the phone’s components intact. Check for any loose components to ensure everything is seated properly. It’s important to ensure everything feels secure so the phone operates smoothly once you power it back on.
Testing Your Work
Power On and Function Test
Once reassembled, power on the phone and check the touchscreen responsiveness. Make sure the display quality and performance are up to your standards. If anything seems off, it might need a quick adjustment.
Self-Repair iPhone SE Screen Success
Verify all phone functions to ensure everything works. This includes checking that the camera, buttons, and speakers are all functioning. When you’re done, you should feel satisfied with your fix. If everything checks out, you can be proud of your accomplishment in repairing your iPhone SE screen DIY.
Troubleshooting Common Issues
Unresponsive Screen Problems
If the screen doesn’t respond, check cable connections first. It could be as simple as a loose cable causing the problem. Ensure proper screen alignment to avoid any response issues. Sometimes, even a slight shift can cause the touchscreen to not register your touches correctly.
Dealing with Display Anomalies
Inspect the screen for defects if there are any strange display issues. Sometimes the new screen might have a defect that went unnoticed. If needed, consider a replacement if you can’t fix the problem. Refer to expert guides if necessary to troubleshoot more complex issues.
Benefits of DIY iPhone SE Screen Fix
Cost-Effectiveness
One of the primary benefits is avoiding expensive repair services. By choosing a DIY route, you can get quality results at home, and this saves you a significant amount of money. Plus, you control the quality of the components used in the repair.
Skill Development
Doing a screen repair yourself helps you learn valuable repair skills. You’ll gain knowledge about how your phone is put together, and this can boost your confidence when dealing with electronics in the future. It also allows you to become more self-reliant.
Personal Satisfaction
There’s a real sense of accomplishment in successfully fixing your own phone. Not only do you have a functional phone again, but you’ve also completed a task that seemed challenging at first. That’s definitely something to celebrate!
With the right tools, patience, and a little bit of effort, you can repair cracked iPhone SE (2nd Gen) screen DIY with ease. You’ll learn a lot, and that knowledge will stick with you for future repairs. Enjoy the process and take pride in your DIY success!
The Final Touch
Repairing your iPhone SE screen yourself brings numerous benefits. You save money and gain a sense of accomplishment. Plus, you don’t have to wait for a service appointment. Having your phone intact again provides peace of mind and ensures your device functions smoothly. This journey empowers you with new skills and boosts your confidence in tackling tech challenges.
To take the next steps, gather your screen repair kit and other essential tools. Lay out all the components on a clean, flat surface. Begin by following a detailed video guide to understand each step clearly. If you feel unsure at any point, take a break and review the instructions again to ensure a flawless finish.
Now’s the time to roll up your sleeves and get started! Dive into the repair process with patience and care. Your phone will soon look as good as new. You can do it. Let this be your exciting DIY success story.