The Ultimate Guide to Your Authentic iPhone 11 Pro Screen Replacement DIY in 2025
Do you think repairing your iPhone 11 Pro screen on your own is too complicated or risky? Many people believe it’s a job meant only for tech experts, but you’d be surprised at how doable it actually is. This authentic iPhone 11 Pro screen replacement DIY guide will show you step by step how you can fix your screen using genuine iPhone 11 Pro parts, taking the mystery out of the process and saving you both time and money.
Imagine having the confidence to handle an iPhone 11 Pro display replacement yourself. With the right iPhone 11 Pro screen repair tools and a bit of patience, you can tackle this project effectively. You don’t need to stress about finding an iPhone repair shop or spending extra on labor costs. By following our guide, you’ll get tips and tricks for using an iPhone 11 Pro screen replacement kit and iPhone 11 Pro screen assembly techniques that will make you feel like a pro.
Ready to take charge of your screen repair and learn something new? Dive in, and you’ll find all the iPhone screen repair tips and guidance you need to succeed. Your iPhone 11 Pro deserves it, and so do you!
Within the story
Essential Tools for iPhone 11 Pro Repair
iPhone 11 Pro Screen Replacement Kit
Before you start, it’s important to gather all necessary tools. Having everything prepared will make the repair process smoother. You don’t want to pause mid-repair just to search for a tool.
Ensure that your tools are in working condition. Using broken or faulty tools might damage your device further. Check each tool carefully before you begin the repair.
iPhone 11 Pro Display Tools and Assembly
Understanding each tool’s purpose is key. For example, a pentalobe screwdriver is needed to remove the screws from your iPhone’s exterior. Knowing what each tool does will help you during the repair.
Organize tools for easy access. Place them nearby so you can reach for them easily when needed. It saves time and keeps your focus on the task.
Keep tools clean and ready. Dirt or debris on your tools might damage your device. Give them a quick clean before getting started.
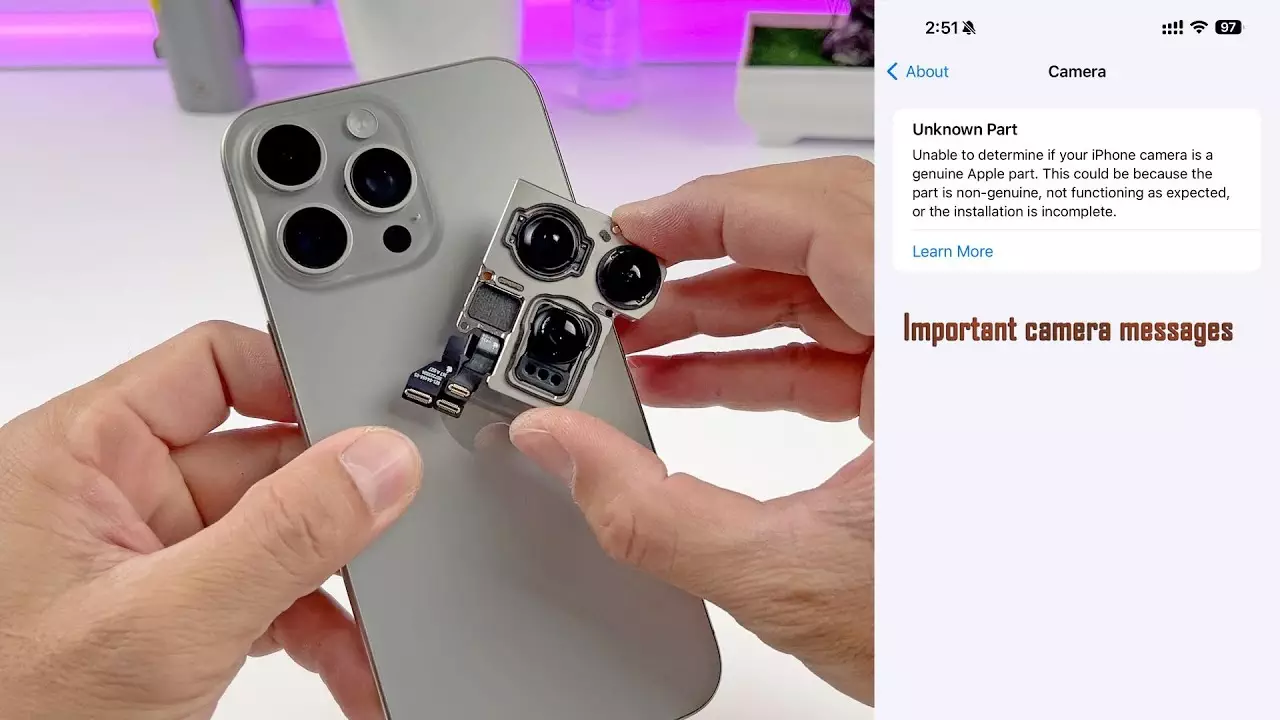
Choosing Genuine iPhone 11 Pro Parts
Always prefer original parts when replacing components. Genuine iPhone 11 Pro parts ensure your device functions correctly and maintain its quality.
Check for authenticity badges on the parts you purchase. This can assure you that you’re using high-quality parts. It’s an important step in maintaining your phone’s performance.
Importance of iPhone 11 Pro Repair Tools
Quality tools ensure better results. Investing in proper tools might cost a little more upfront but saves you from potential issues later. You’ll find that these tools provide a better grip and accuracy.
Authentic iPhone 11 Pro Screen Replacement DIY Guide
Preparing Your Work Area
Find a clean, flat surface to work on. A cluttered area might cause you to lose small parts or tools. The right workspace helps you stay organized and focused.
Ensure good lighting conditions. Proper lighting helps you see all the tiny components clearly. This reduces the risk of making mistakes during the repair.
DIY iPhone 11 Pro Screen Fix Steps
Follow instructions carefully. Reading the steps thoroughly before starting helps you understand the process better. It’s important to know what you’re doing each step of the way.
Avoid rushing through the process. Take your time to avoid making mistakes that could damage your phone. Patience is key to a successful repair.
iPhone Screen Repair Tips
Handle parts with care. The small components in your phone are delicate, and rough handling could break them. Use gentle pressure where needed.
Recheck steps if unsure. If something doesn’t seem right, stop and review the steps again. It’s better to double-check than to proceed with uncertainty.
Step-by-Step iPhone 11 Pro Display Replacement
Follow the detailed process carefully to ensure a successful repair. Let’s break down the steps involved in removing your damaged screen.
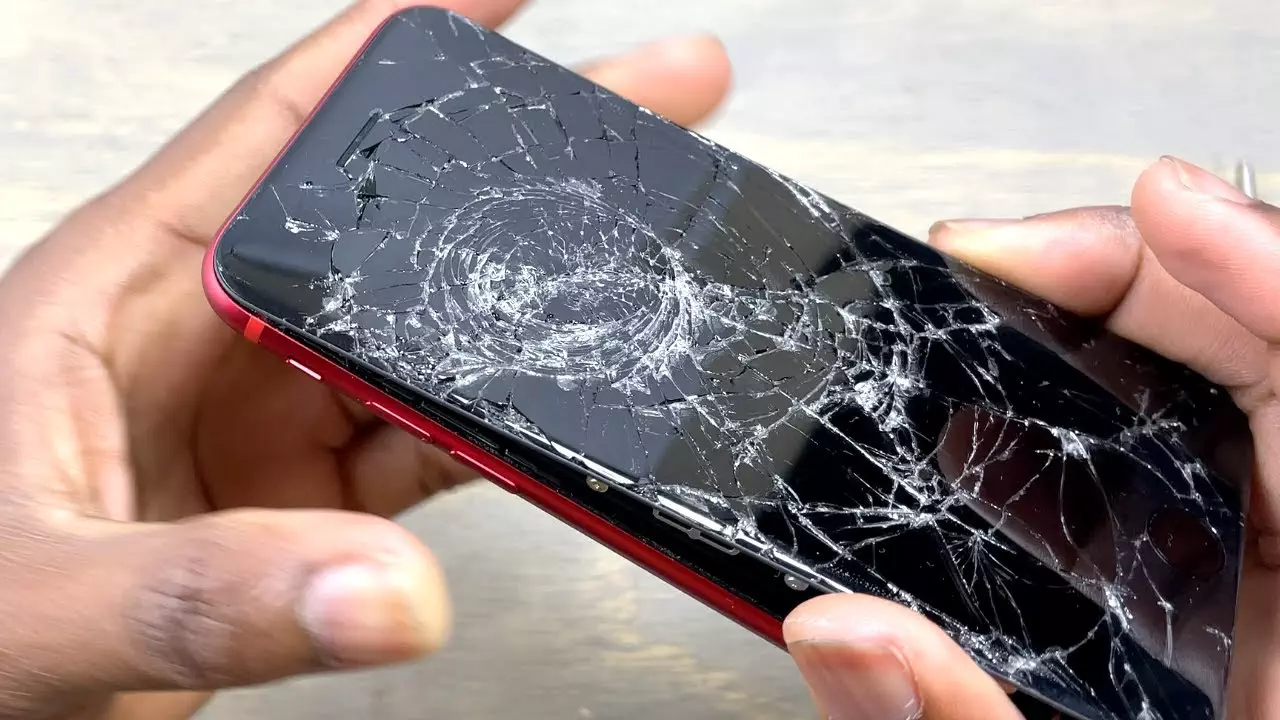
Removing the Damaged Screen
Turn off the device first. Make sure your iPhone is completely powered down to prevent any possible electrical issues.
Use a suction cup to lift the screen. This tool helps in gently removing the screen without causing scratches or damage.
Disconnect the battery to prevent shock. This is a crucial step to ensure safety while working on your phone.
Take your time with removal. Do not rush this part, as precise handling is necessary to avoid damaging the internal components.
- Unscrew carefully to avoid stripping the screws
- Use plastic tools to prevent scratches or damages
- Avoid sharp objects that may puncture or cut sensitive parts
Observe caution throughout the entire process. Taking each step slowly helps in maintaining a steady hand and a calm approach.
Reassembling and Testing Your Device
Reconnecting Display Cables
Ensure all cables are secured properly. Loose connections can lead to display issues, so double-check each connector before closing your device.
Understanding Common Challenges and Solutions
Troubleshooting Screen Issues
Check connections thoroughly to ensure that everything is seated correctly. Even a slightly loose connection can cause problems with the screen.
Ensure parts are properly seated. Misaligned components might not function, so make sure everything snaps back into place as it should.
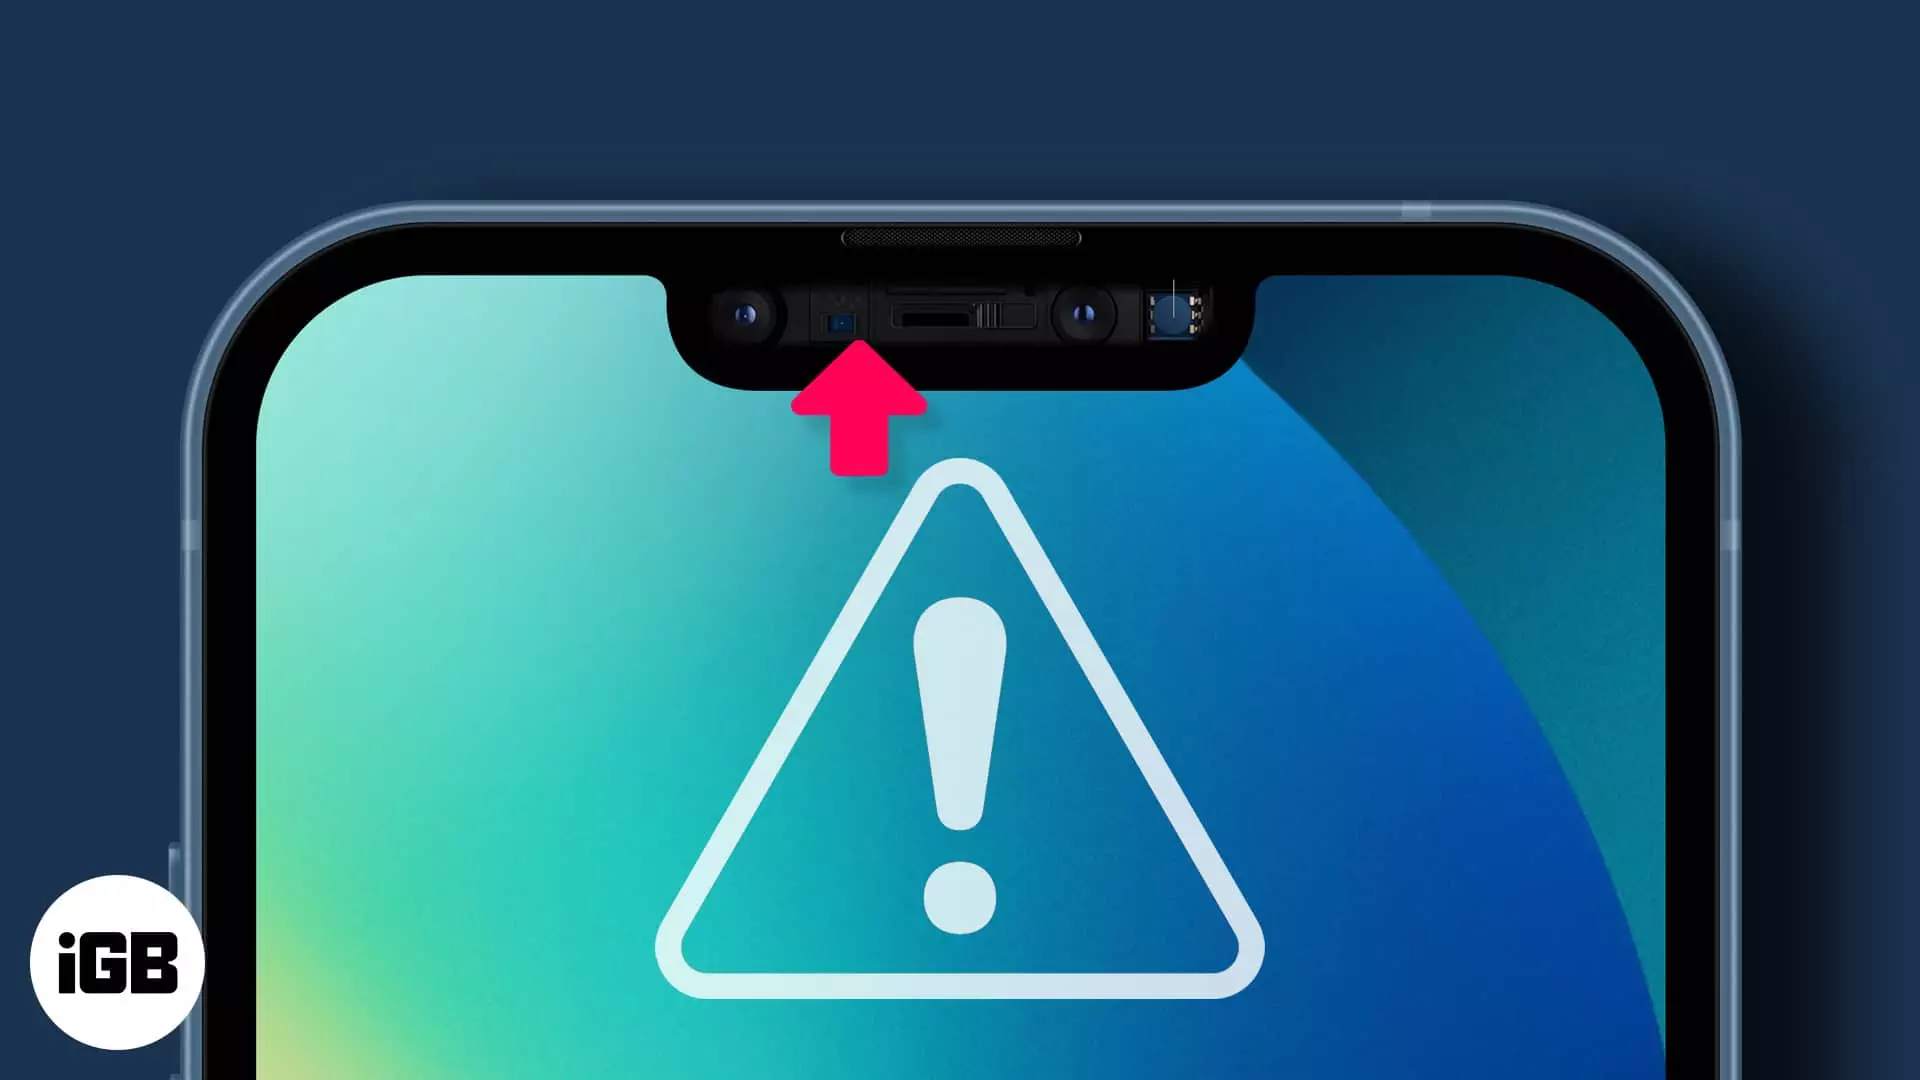
When Touchscreen Isn’t Responding
Restart your device first. Sometimes, a simple reboot can solve unresponsive touchscreen issues by resetting the system.
Double-check for internal faults that might be unnoticed. If the problem continues, you may need to reexamine your work for any oversight.
Facing Screen Not Lighting Up
Recheck screen connections if your screen remains dark. A loose connection might be the cause, so ensuring everything is in place is critical.
Ensure the battery is connected. Without power, the screen won’t light up, so verify that the power source is properly attached.
Dealing With Display Discoloration
Ensure the screen is genuine. Using original parts often avoids display issues like discoloration that can occur with knock-offs.
Avoid using faulty cables. If the cables are damaged, they might not transmit signals accurately, causing color issues.
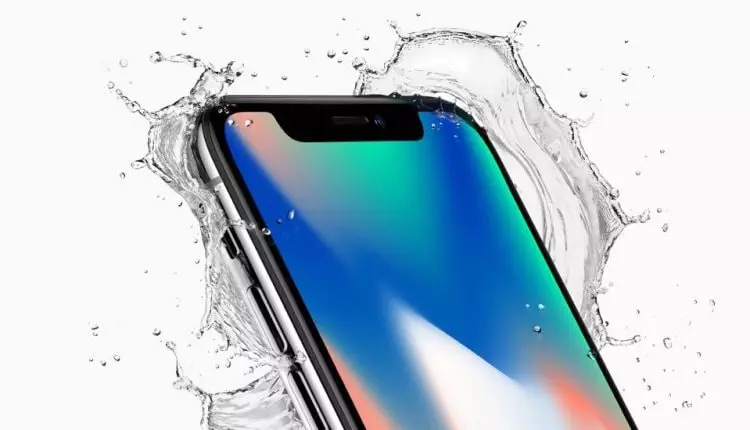
Tips for Preventing Future Damages
Use protective screen guards. These can help in shielding your screen from scratches and minor impacts that could occur daily.
Understanding iPhone 11 Pro Screen Repair Guide
Follow reliable guides strictly for each repair. Sticking to precise guidelines helps ensure the job is done correctly without unnecessary risks.
Final Checks and Maintenance
Inspect the final assembly for any loose ends or missing screws. Everything should be secured and aligned for your iPhone to function properly.
Performing a Functionality Test
Test all device functions thoroughly. Make sure everything from the touchscreen to the sound and cameras works as expected.
Check the screen’s responsiveness to ensure that it reacts to your touch promptly and accurately.
Ensure the display is clear, without any dead pixels or discoloration. A well-installed screen should show images and colors vividly.
Maintaining Your Screen Post-Repair
Clean the screen regularly to prevent build-up of dirt and fingerprints. Use a soft, lint-free cloth for best results.
Avoid extreme temperatures that might cause the components to malfunction. Keeping your device within safe temperature limits prolongs its life.
Keep your device safe from falls or heavy impacts. Consider using a sturdy case to provide extra protection for your phone.
Resources for Further Assistance
Look for online tutorials if you encounter problems during the repair. Many videos and guides can provide visual help.
Join repair forums for guidance from other users who have gone through similar repairs. They can offer valuable tips and support.
Recommended Practices for Future Repairs
Always prepare before repair. Gather all tools and read through the instructions to ensure everything goes smoothly.
Ensuring Future Repairs are Smoother
Keep all tools organized for quick access during future repairs. A neat workspace aids concentration and efficiency.
Document repair steps as you proceed. Having a record helps you or others follow the same successful process next time.
Understand your device better through each repair. Familiarity with the internal components will make future tasks easier.
Staying Updated with Repair Advancements
Read the latest repair techniques to keep up with any new methods or tools that may come out. Innovations can simplify repair processes significantly.
Taking Charge of Your Screen Repair
Tackling your iPhone 11 Pro screen repair empowers you with knowledge and skills. You save time, money, and gain confidence in managing your device. Using genuine parts ensures quality and a longer-lasting phone. With a few steps, you transform a broken screen into a fully functional display, giving you peace of mind and a sense of accomplishment.
Now that you’ve learned the essentials, gather the necessary tools and parts. Begin by watching a quick video or reviewing a step-by-step guide. Clear some space on your desk to work and ensure you have a stable internet connection for any quick checks or questions that may arise. Preparation is key to a smooth repair experience.
So, go ahead and dive into your DIY project! Start your iPhone 11 Pro screen fix today and enjoy the satisfaction of doing it yourself. Remember, your effort pays off with a device that looks and works like new. Good luck, and happy repairing!