Get Rid of DIY Fix iPhone 15 Pro Max Wi-Fi Issues, Once and For All
You rely on your iPhone 15 Pro Max for everything, from browsing the web to streaming your favorite shows. But lately, you’ve noticed your Wi-Fi connection isn’t what it used to be. Are you tired of dropped signals and slow speeds? If you’re facing a DIY fix for iPhone 15 Pro Max Wi-Fi issues, you’re not alone. Many people experience these annoying Wi-Fi problems and are looking for effective ways to solve them without a trip to the store.
Your frustration with connectivity problems is understandable. When you’re troubleshooting iPhone 15 Pro Max Wi-Fi, it can feel like an uphill battle. But don’t worry; there are practical solutions. You might be dealing with hardware issues that need a bit of attention. With the right guidance, you can tackle these challenges head-on and get back to enjoying a smooth, wireless experience.
Ready to dive into the world of iPhone 15 Pro Max hardware solutions? Discover how you can fix those pesky network issues and enjoy seamless connectivity again. Let’s explore step-by-step tips that could change your experience for the better!
Within the story
Understanding Wi-Fi Problems on iPhone 15 Pro Max
Common Connectivity Problems
Have you ever been frustrated by the Wi-Fi on your iPhone 15 Pro Max? You are not alone. Many people face frequent connectivity issues. You might notice that your iPhone disconnects from Wi-Fi networks often, or perhaps it struggles to connect at all. Sometimes, your device connects to Wi-Fi but the internet speeds are super slow. Sound familiar? These are common problems that many iPhone users encounter.
Understanding your iPhone’s Wi-Fi behavior can help you figure out what’s going wrong. Does the Wi-Fi icon keep disappearing? Does your device switch to cellular data despite being near a wireless router? These could be signs that something is amiss. When you know what issues are popping up, you can start finding solutions to fix them.
Signs of Hardware Issues
Not all Wi-Fi problems are due to software glitches. Sometimes, they are hardware-related. Recognizing hardware-related symptoms can save you time and stress. If your iPhone’s Wi-Fi keeps dropping, even after software updates, it might be a hardware issue. You might also notice the Wi-Fi option is grayed out, indicating a hardware failure.
Knowing when Wi-Fi fails due to hardware is crucial. If you’ve tried all the software fixes possible, like updating iOS or resetting network settings, and the problem persists, it could be a deeper issue inside your phone. Recognizing these signs can point you in the right direction for a DIY fix.
Role of Wi-Fi Antennas
Inside your iPhone, antennas are crucial for connectivity. They help your device communicate with Wi-Fi networks. If something happens to these antennas, your Wi-Fi performance will suffer. You might experience slow connections or frequent disconnections.
It’s a good idea to check antenna placement and condition if you suspect hardware issues. Sometimes, antennas might be out of place or damaged, affecting how your iPhone connects to Wi-Fi. By inspecting these components, you can determine if they are the cause of your connectivity woes.
Why Some Solutions Fail
Have you ever wondered why some solutions don’t work? It’s important to understand ineffective solutions before diving into a DIY project. Sometimes, people try random fixes without knowing if they address the root cause. This can lead to frustration and wasted effort.
To avoid common troubleshooting mistakes, make sure you understand what each solution does. For instance, if your issue is hardware-related, then rebooting your device won’t solve it. Recognizing the difference between software and hardware problems can prevent unnecessary attempts that don’t actually fix anything.
DIY Fix iPhone 15 Pro Max Wi-Fi Issues (Hardware Related)
Safety Precautions
Before starting any repair, ensure device safety first. Keep in mind that working on your iPhone requires care and attention. Begin by turning off your iPhone to avoid electrical shocks or static damage. It might seem simple, but it’s a critical step in the process.
- Use proper tools.
- Handle parts carefully.
When you minimize risks during repair, you protect both your device and yourself. Make sure you are comfortable with the steps before attempting the fix.
Tools You Need for Repair
Gathering essential repair tools is a smart move before starting your DIY project. Having the right tools makes the process easier and more efficient.
Screwdrivers and Kits
Most repairs require the use of precise screwdriver kits. These kits come with different sizes and types of screwdrivers designed for delicate work like fixing electronics. When you have precise tools, you can avoid damaging screws or components.
It’s also important to keep all screws safe. Losing screws can complicate the reassembly process, so consider using a tray or magnet to hold them securely. Also, refer to the tool manual if you’re unsure about which screwdriver to use. Manuals often provide guidance for selecting the correct tool for each task.
Replacement Parts
When dealing with hardware issues, you might need to get authorized replacement parts. Always ensure parts are compatible with your iPhone 15 Pro Max. Using incompatible parts might lead to more problems instead of fixing the existing ones.
Check parts for defects before installation. Even new parts can sometimes be faulty, so a quick inspection can save you from potential headaches later on.
Workstation Setup
A good repair starts with setting up a clutter-free area. A tidy workspace reduces the risk of losing small parts or damaging components. Ensure proper lighting so you can see everything clearly. This will help you avoid mistakes that could lead to bigger issues.
Organize tools neatly within reach. This way, you won’t waste time searching for tools while working on your iPhone. A well-organized workspace makes the repair process smoother and more enjoyable.
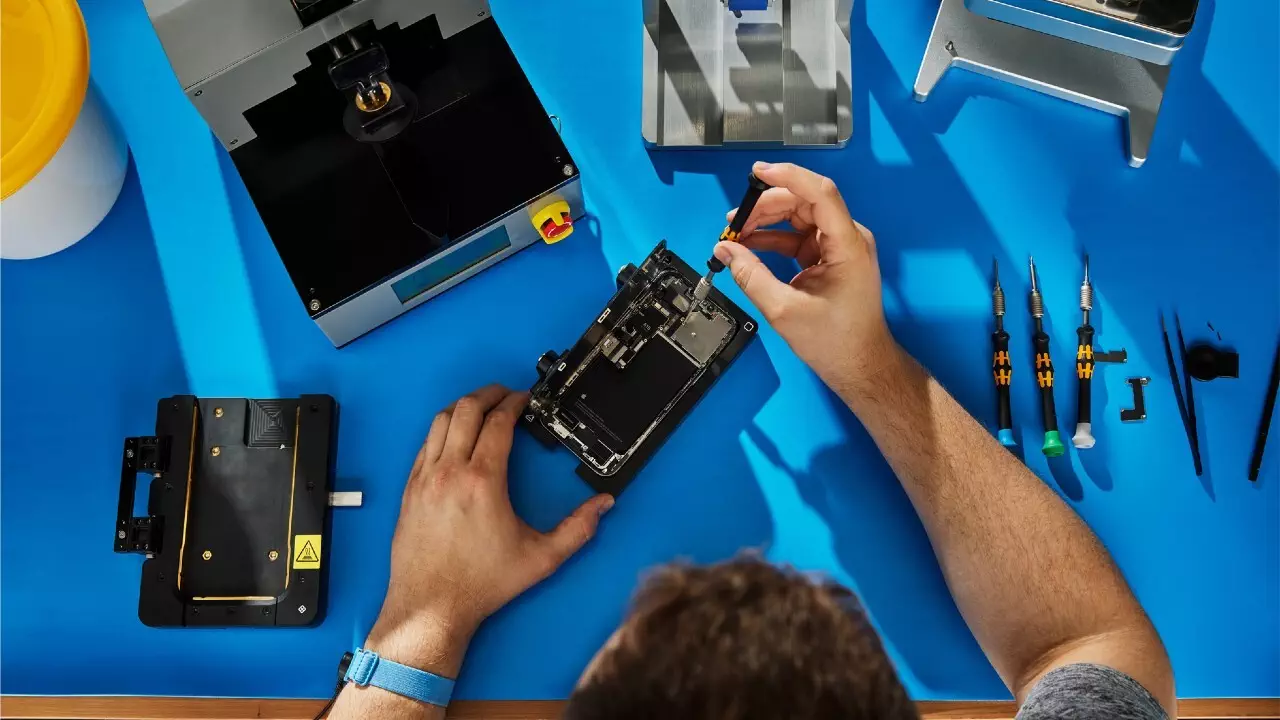
Step-by-Step Hardware Fix
Disassembling the Device
When you’re ready, carefully open your iPhone. Follow instructions or a guide if needed, and take your time. Rushing could cause damage to delicate internal parts. Pay attention to every small detail to ensure you don’t miss anything important.
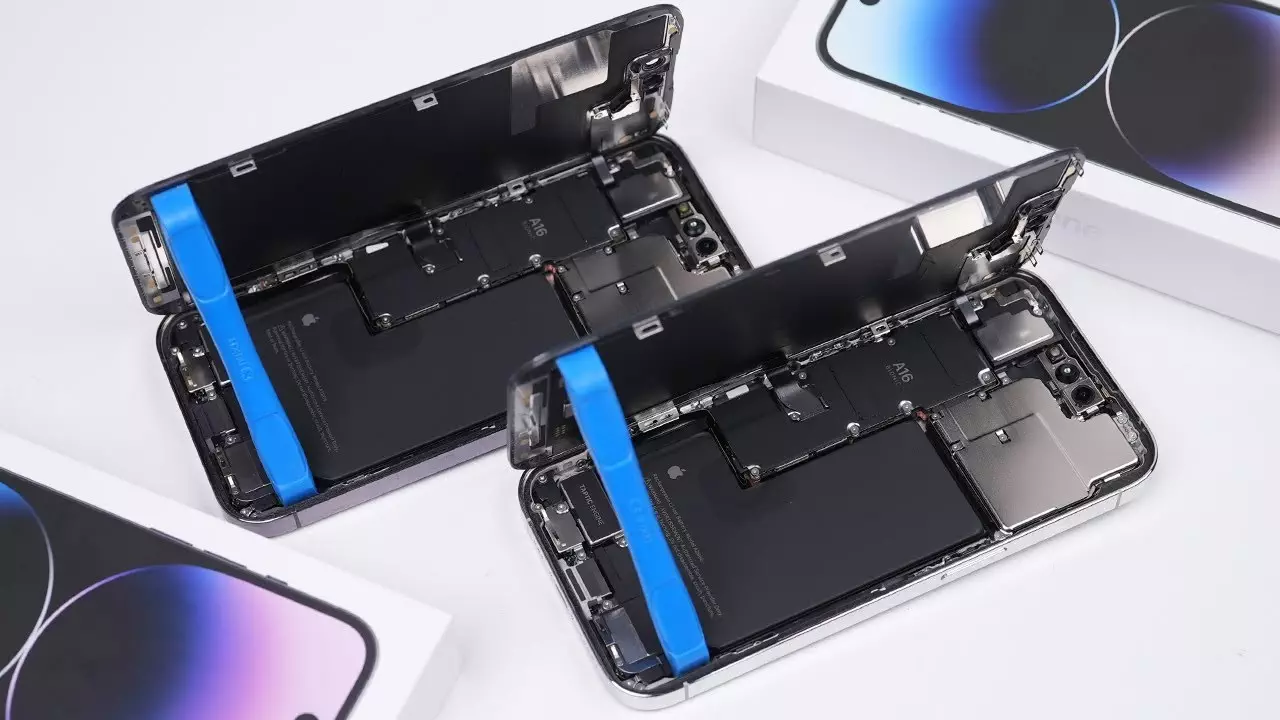
Inspecting Internal Components
Once your iPhone is open, check antennas for damage. Damaged antennas can lead to Wi-Fi issues, so inspect them closely. Look for any signs of wear or breakage.
Also, look for loose connections. Sometimes, a simple loose wire can be the culprit behind connectivity problems. Make sure everything is securely attached before moving on to the next step.
Replacing Faulty Parts
If you find broken parts, swap damaged parts carefully. Follow recommended procedures for replacing components to ensure everything fits perfectly. Use your replacement parts and tools with care.
After replacing the necessary parts, reassemble your iPhone securely. Double-check each connection and screw to make sure everything is in place. Proper reassembly is key to a successful repair.
Troubleshooting iPhone 15 Pro Max Wi-Fi
Testing Your Fix
Once you have reassembled your iPhone, it’s time to test your fix. Turn on the device and check Wi-Fi connectivity. Does it connect to networks more easily now?
Ensure stable connections by moving around your home or office. Test signal strength at various spots. If everything works as expected, you can be confident that your hardware fix was successful.
Additional Troubleshooting Tips
Sometimes, you might still encounter issues even after a hardware fix. If so, consider these additional steps: restart your iPhone. A simple restart can sometimes resolve lingering problems.
If restarting doesn’t work, you might want to reset network settings. This step recalibrates your device’s connection to Wi-Fi, often solving persistent issues.
When to Seek Professional Help
After trying DIY fixes, evaluate the repair outcome. Is your iPhone working better, or do problems continue? If issues remain, professional help might be needed.
Persistent Issues
Seek help if problems persist. Sometimes, certain issues require professional diagnosis. Trained technicians can identify and fix complex hardware problems that DIY methods might miss.
Professional diagnosis may be needed when simple fixes don’t work. Experts use advanced tools to pinpoint exact issues, ensuring your device is fixed properly.
Warranty Considerations
Before making any hardware changes, check your warranty status. Opening your iPhone and replacing parts might void existing warranties. Understanding your warranty implications ensures you don’t unintentionally lose coverage.
Seamless Wireless Solution
Having addressed these connectivity problems, you can now enjoy uninterrupted browsing and fast downloads on your iPhone 15 Pro Max. You have taken the journey to understand the issue and identify solutions to fix troublesome Wi-Fi problems. With improved connectivity, your device should perform better, making daily tasks more efficient.
Your next step involves implementing these troubleshooting techniques step-by-step. Ensure you have the necessary tools and follow the outlined procedures closely. If any issues persist, consult your local expert for further assistance. This way, you cover all bases and secure a reliable connection.
Now, take action and keep your iPhone working smoothly. Start tackling those network issues today. You’ll feel more in control and enjoy a more reliable mobile experience. Go ahead and make it happen!