5 Lessons I Learned From DIY Install Genuine iPhone SE (3rd Gen) Battery
Ever thought about giving your iPhone SE a new lease on life with a DIY install genuine iPhone SE (3rd Gen) battery? You’re not alone! Many find the idea enticing but wonder about the steps, tools, and skills needed. Tackling a battery replacement yourself can save money and extend your phone’s life. Plus, there’s a unique satisfaction in knowing you did it yourself.
Understanding the ins and outs of an iPhone SE 3rd Gen battery replacement can be a rewarding adventure. Whether you’re curious about the tools required or the guides available, the process is simpler than you might think. Discovering how to maximize your battery’s life and getting familiar with specific tips can enhance your phone’s performance significantly. Ready for the challenge?
Stay with me as I share insights and personal experiences. Together, we’ll explore the steps, tips, and the little surprises that come with a DIY iPhone battery change. Your phone deserves this upgrade, and so do you!
Within the story
Understanding the Importance of Genuine Batteries
When you think about replacing your iPhone SE’s battery, it might seem simple to choose just any battery. But this decision is more important than it seems. Choosing genuine iPhone battery installation means you ensure your iPhone SE performs at its best. Genuine batteries are designed to work perfectly with your phone. They fit just right and make sure your phone keeps working smoothly. But that’s not all; genuine batteries also help prevent problems that might make your phone less reliable.
Why Choose Genuine iPhone Batteries
Now, you might wonder why a genuine battery is better. The reason is that they provide better safety and make your phone’s battery last longer. Non-genuine batteries might cause damage. They can be unpredictable and sometimes even dangerous. With genuine batteries, you get peace of mind knowing that your phone is safe.
Recognizing Authenticity
Recognizing a genuine battery is crucial. But how can you tell if a battery is genuine? First, check for proper labeling and packaging. A genuine battery will have clear labels, often with an Apple logo if it’s an iPhone battery. Also, verify the battery source carefully. Only purchase from trusted stores or directly from Apple. This way, you know you have a high-quality product.
Getting Started with Your DIY Install
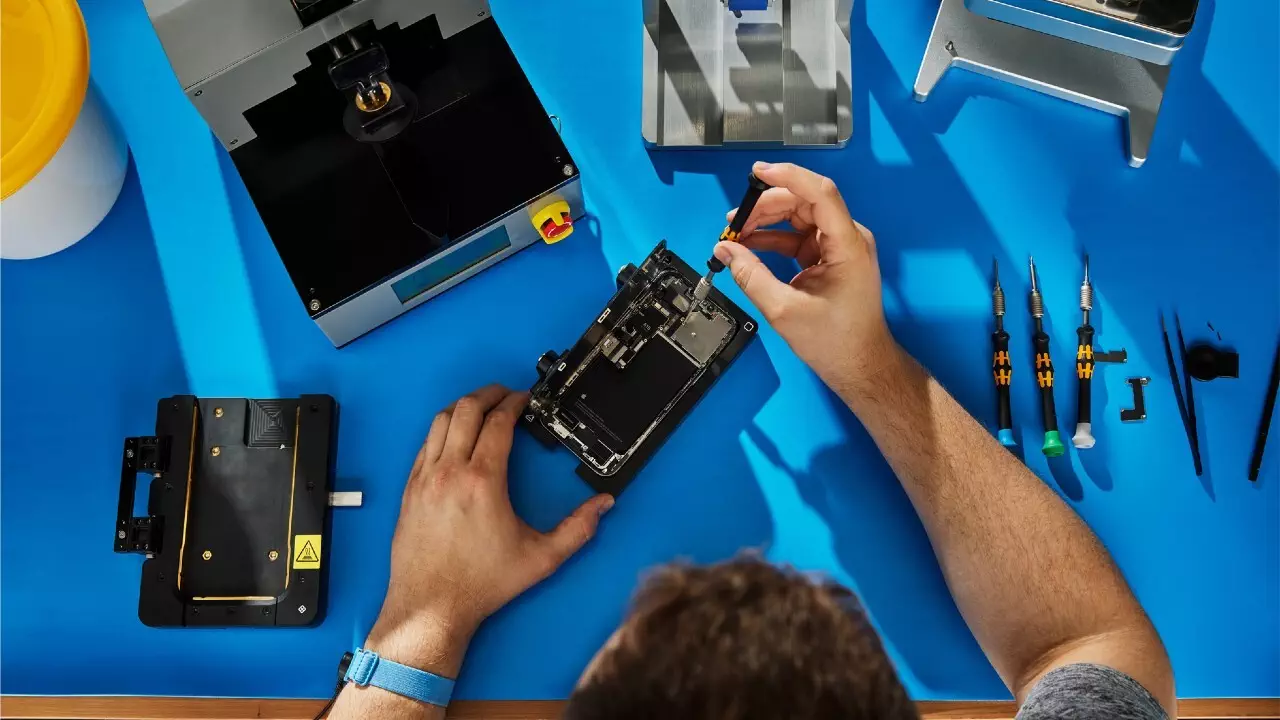
Want to try a DIY install genuine iPhone SE (3rd Gen) battery? It’s a great way to save money and learn something new. But before you begin, there are some important steps to take. First, prepare your workspace. You’ll want your area to be clean and well-lit. Next, gather all the tools you will need. Having everything ready helps your project go smoothly.
Essential Tools for iPhone SE Battery Change
Not sure what tools you need? Here’s a list to help you out. Use a toolkit specific for iPhones. These kits include everything you need. You’ll need screwdrivers, suction cups, and some small plastic picks. These help you open the phone without causing damage. Also, get spudgers which are small plastic sticks that help you separate parts of the phone.
Safety Precautions
Safety is important whenever you work with electronics. So, before starting, always power off the phone. This helps avoid electric shocks or harming the device. Handle components with care to prevent breaking them. Also, be mindful of static electricity. Wearing an anti-static wristband can help, or you can touch a metal object to discharge any static before you begin.
DIY iPhone Repair Techniques
Taking on a DIY iPhone battery change can be really rewarding. However, it’s important to follow some best practices. Always work slowly and carefully. Double-check that you are using the correct tools. If you ever feel unsure, take a step back and look for guidance in videos or online tutorials.
Common Mistakes to Avoid
While you are learning, it’s easy to make mistakes. But being aware can help you avoid them. One common mistake is not being gentle when removing parts. Another is forgetting where screws go. To avoid this, use a small tray to keep track of screws. Also, remember to be patient. Rushing can lead to errors that might damage your phone.
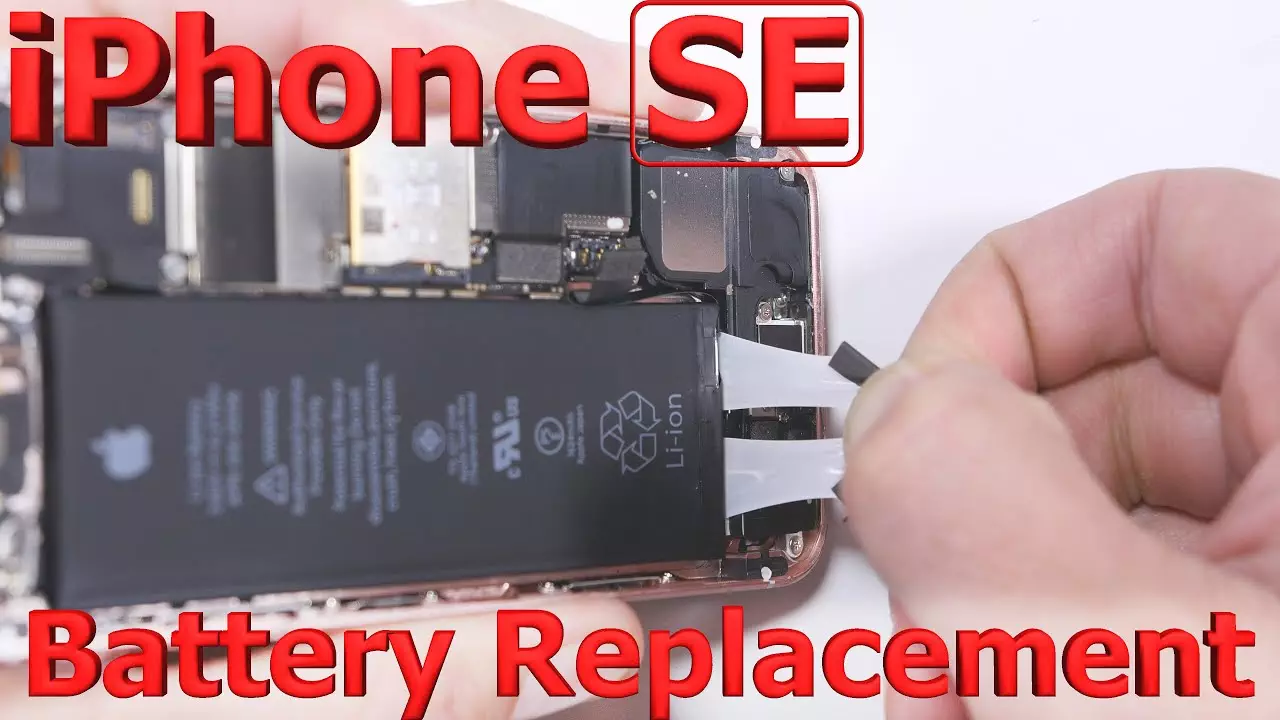
Step-by-Step iPhone SE Battery Replacement
You’re ready to replace your battery! Follow a structured guide for replacement to make sure everything goes well. Here are simple steps to help:
- Remove screen with care.
- Disconnect battery from logic board.
- Install new battery properly.
After installing the new battery, ensure a secure connection. This means checking that all parts are snug and in place. A poorly-connected battery can cause issues later.
Using an iPhone SE Battery Kit
If you’re worried about gathering too many tools, consider using an iPhone SE battery kit. These kits are comprehensive and simplify the replacement process. They make it easy by including all the necessary tools and instructions. Kits can also help avoid mistakes by providing the right components for each task.
Reassembling Your iPhone
Once your new battery is in, it’s time to put your phone back together. Align screen correctly to avoid damage. Make sure it’s not skewed or pressed too hard. Then, check all screws are tight. Loose screws could result in a sensitive phone screen that may not function properly.
Testing the New Battery
The last step is to test your work. Power on and check battery health. Look for a stable battery symbol and check under Settings to see your battery’s status. This confirms your hard work paid off!
Enhancing iPhone SE Battery Life
Now that your new battery is in place, it’s time to make sure it lasts long. Optimizing your settings can help enhance battery life significantly. Doing so not only supports your current battery but also helps in maintaining your iPhone’s performance for as long as possible.
Battery Life Optimization Tips
Here are some tips. Lower screen brightness and disable background apps. These apps run silently and drain battery life without you even noticing. Also, use power-saving modes effectively. These modes adjust settings for you, extending battery life. Lastly, keep software updated regularly. Updates often include efficiency improvements that benefit your battery.
Battery Upgrade Considerations
As you think about maintaining your phone, consider if a battery upgrade is needed. Sometimes, it makes sense to iPhone SE battery upgrade if you find that your phone needs charging too often, even after optimization. A new battery can make your phone feel like new again.
Where to Find Reliable Guides and Kits
Before you start on any DIY project, having the right resources is vital. It ensures you’re on the right path and helps avoid mistakes. Finding reliable sources for guides and kits can make a huge difference in your success.
Reliable Sources for iPhone SE Repair
Start by using reputable sources. It’s crucial because you want guidance you can trust. Read reviews from other users. These can give you honest opinions about resources and kits available. Look for guides that are detailed and easy to follow, ensuring your DIY install goes smoothly.
DIY iPhone SE Battery Resources
Don’t underestimate the power of video tutorials. These resources are incredibly helpful for visual learners. They show each step in detail, making it easier to follow along. Also, online forums provide valuable insights. They connect you with people who’ve also done a DIY install, offering tips and solutions.
Choosing the Right iPhone SE Battery Tools
Another key part of your project is the tools. Research tool quality before purchase. You want tools that will last and do the job properly. Investing a bit more in high-quality tools can save you frustration and potential errors.
Reflecting on Your DIY Experience
Once you’ve completed your project, take some time to reflect. This helps solidify what you’ve learned and prepares you for future challenges. Evaluating your experience can also boost your confidence.
Lessons from DIY Install Genuine iPhone SE (3rd Gen) Battery
Think about the lessons you learned. Understand the importance of preparation. Proper planning makes everything easier. You now know more about your phone and how to fix it, which is an important skill to have.
Building Confidence in DIY Repair
Each repair project you complete helps you build confidence. You gain skills for future repairs. The more you learn, the more you’ll feel comfortable tackling other projects. In time, you become more self-reliant, and your technical knowledge increases.
Encouraging Others to Try
Finally, consider the impact of your experience on others. Share your experience to help others. They might be unsure about taking on a similar project. Your success story can encourage them to try it too. By sharing, you help build a community of confident DIYers!
Wrap-Up and Takeaway
Replacing your iPhone’s battery yourself can boost your confidence and your phone’s performance. You save money, learn a new skill, and keep your device running longer. By choosing genuine parts, you ensure safety and the best possible results for your phone’s life.
To get started on your own battery change, gather all necessary tools and a step-by-step guide. Take your time to understand each part of the process before diving in. Familiarize yourself with the iPhone SE battery kit components to ensure a smooth transition.
You’ve got this! Dive into your project and see the positive impact on your device. Start today and enjoy the benefits of your effort.