How DIY Restore iPhone XR After Water Damage Made Me a Tech-Savvy Genius
Ever felt like your smartphone is on an uninvited vacation underwater? Don’t worry, you’re not alone! Discovering how to DIY restore an iPhone XR after water damage can feel like unlocking a secret tech wizardry talent. Imagine your phone as a brave ship caught in a storm, and you are the captain determined to bring it safely back to shore. By taking a few smart steps, you can rescue your favorite gadget and feel like a tech-savvy genius.
You might wonder how possible it is to save a waterlogged phone. Think of it like tending to a sick plant. With the right iPhone XR water damage repair strategies, such as using drying techniques and specific tools, you can breathe life back into your device. Understanding iPhone XR water damage symptoms helps you act promptly and effectively. You’ll gain not only a working phone but also valuable skills in DIY iPhone XR repair, boosting your confidence in tackling tech troubles.
Ready to take control and fix your iPhone XR water issues? Dive into this straightforward guide and become the hero your phone needs. You’ll find everything you need to master iPhone XR restoration and say goodbye to tech mishaps with ease.
Within the story
Understanding iPhone XR Water Damage
Water damage can be a tricky issue, especially when it comes to phones like the iPhone XR. Knowing the symptoms of water damage can help you act quickly. When you can spot the signs, you’ll be a step ahead in preventing more trouble.
Common Signs
An unresponsive screen is a warning sign. If your iPhone XR’s screen doesn’t respond to touch or looks frozen, it might be because of water damage.
Another sign is distorted sound during calls or when playing media. If the sound seems muffled or crackling, water might have seeped into the speakers.
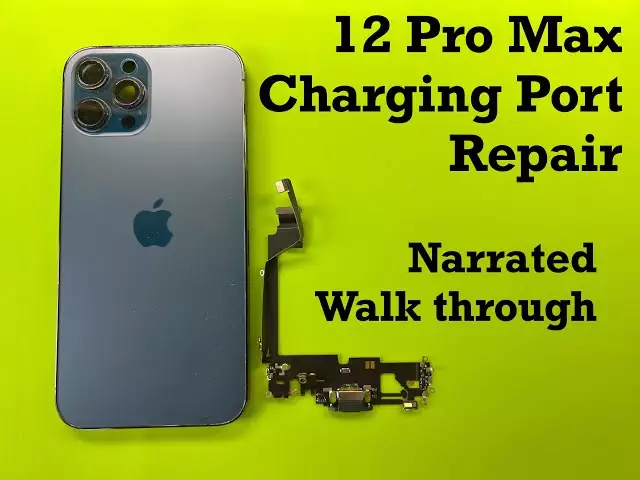
Charging issues are also common. If your phone doesn’t charge or charges slowly, water might have damaged the charging port. Keep an eye out for any of these iPhone XR water damage clues.
Immediate Steps
If you suspect water damage, turn off your phone right away. This can prevent further damage to the internal components. Next, remove any accessories like cases or plugs. This can help the device to dry faster. Once you’ve done these, you’re on your way to a DIY restore iPhone XR after water damage.
Prevent Further Damage
When it comes to preventing more damage, avoid charging immediately after the incident. Water in the charging port can lead to short circuits. It’s also wise to keep the device still and in an upright position. This helps to minimize any further internal water spread.
DIY Restore iPhone XR After Water Damage
Taking the DIY approach to restore an iPhone XR after water damage can save you money and help you learn more about your phone. With the right steps, you can bring your device back to life.
Gathering Tools
First, prepare a toolkit with small screwdrivers and tweezers. Having these tools ready makes the process smoother. Next, use safe cleaning materials like microfiber cloths. These are gentle and won’t scratch your device. Finally, find a clean workspace. An organized space will help you focus on the task at hand.
Drying Techniques
To dry out your phone, use silica gel packets. They are more effective than home remedies and help draw out moisture. Avoid using rice, as it’s not as effective and might leave dust in your phone. By using these effective iPhone XR repair tips, you improve your chances of restoring your phone.
Cleaning the Device
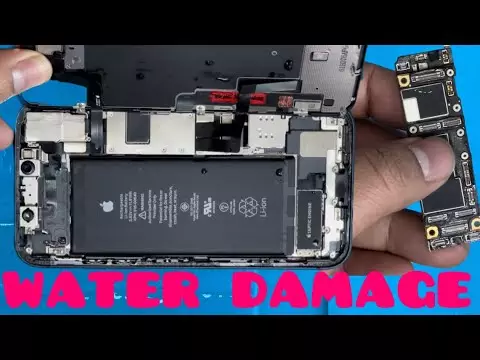
When cleaning, make sure to clean the ports carefully. You can use a brush or a toothpick to gently remove any debris. If needed, use isopropyl alcohol to clean stubborn spots. This can help remove any water residues without causing further damage.
Advanced DIY iPhone XR Repair
For those who are comfortable with a more hands-on approach, advanced techniques can be useful. These methods are more involved but can lead to better results.
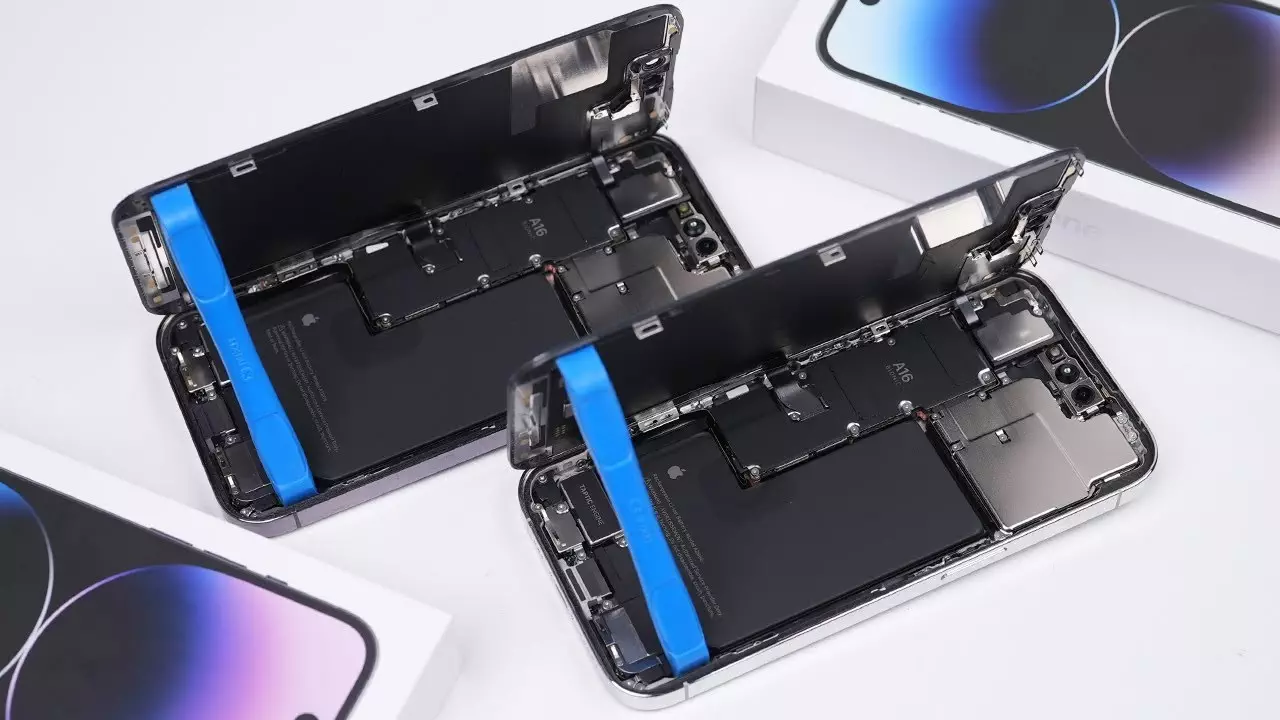
Disassembling the Phone
Start by following step-by-step repair tips to disassemble your phone. Pay attention to how everything fits together. Keep screws organized by placing them in labeled containers. This will make it easier to put everything back in its place.
Handle components gently to avoid any damage. Document each step you take. Taking photos frequently can help you remember how to reassemble the phone. Label parts clearly so you know where each one goes. Once you’ve taken apart your phone, ensure you have a plan for reassembly.
Troubleshooting Common Issues
Even after repairs, you might encounter issues with your iPhone XR. Knowing how to troubleshoot common problems can be a lifesaver.
Power Problems
If your phone still doesn’t turn on, you may need to find a solution for power issues. Check if the battery is seated properly. Sometimes, a quick check can reveal what’s wrong. These repair iPhone XR methods can often get your phone back up and running.
Restoration Tips and Tricks
After water damage, restoring your phone’s functionality is a priority. Some simple tricks can help you fix common problems.
Display and Screen Issues
Check for pixel issues by opening a blank white page. This can help you see if any pixels are dead or not functioning properly. This simple test is an essential part of understanding your display’s health.
Sound Troubles
Test the speakers carefully by playing different types of audio. This will help you detect any sound distortion. Also, check the headphone jack to ensure it works properly. These small checks can help you spot sound issues after water damage.
Battery Challenges
Monitor your battery performance to see if it drains quickly. If you notice quick drain signs, it might be an issue caused by water damage. Consider battery replacement if the problem persists as it can be a simple solution for fixing battery issues.
Prevent Future Water Damage
Prevention is better than cure when it comes to water damage. By taking some extra precautions, you can avoid future incidents.
Protective Accessories
Invest in a waterproof case. A good case can provide extra protection when you’re near water. Also, look for screen covers that repel water. These accessories are a wise investment for protection.
Safe Handling Tips
Avoid using your phone near water, such as pools or sinks. These are areas where accidents are more likely to happen. By being cautious, you can keep your phone safe from potential water damage.
iPhone XR Troubleshooting Resources
When in doubt, don’t hesitate to seek more information. There are many resources available to help you troubleshoot your device.
Online Guides
Refer to an iPhone XR water damage guide for detailed instructions. These guides can provide you with comprehensive steps to follow. Find comprehensive tutorials that cover different aspects of water damage repair.
Community Support
Join forums to seek help from others who have faced similar issues. You can learn a lot from their experiences and solutions. Engage with DIY enthusiasts who are eager to share their knowledge. These communities can be a valuable source of tips and support.
Empower Your Inner Tech Genius
Taking matters into your own hands has turned you into a tech-savvy genius. You’ve learned how to tackle water damage, understood the repair process, and discovered the tools you can use. This not only saves money but also boosts your confidence to handle tech issues in the future. When you fix your device, you gain valuable skills and knowledge.
Start by gathering any remaining tools and cleaning your work area. Then, revisit your repair guide and double-check each step to ensure success. If you need more guidance, explore online forums where you can ask questions and share your experience with others. These forums can provide additional support and tips that enhance your skills.
Now, put your newfound skills to the test. Share your experience with friends who might need similar help, and encourage them to give it a try. Dive even deeper into tech repair knowledge, and build your confidence in solving future challenges. You’ve got everything it takes, so get started today!