
Ever stared at your iPhone 15 Pro and thought about tackling a battery swap on your own? You’re in the right place. Finding the best iPhone 15 Pro battery replacement kit DIY can feel like searching for a needle in a haystack, but worry not. With proper tools and a sprinkle of patience, you can breathe new life into your phone without breaking the bank or your nerves. Just imagine the satisfaction of giving your phone a fresh start!
DIY battery replacement might sound like something only tech wizards can do, but it’s more like piecing together a simple puzzle. With a reliable iPhone battery kit, clear instructions, and a handful of tips, you’ll soon be a pro at navigating your phone’s inner workings. You just need to know which genuine parts and reliable tools to pick. And don’t worry about frying your phone; we’ll share safety tips to keep your repair process smooth and stress-free.
Ready to turn your toolbox into an iPhone rescue kit? Gear up and dive into a world where your DIY prowess meets perfect battery health. Discover how you can make your phone feel brand new and why DIY might just be your new favorite hobby. Let’s crack this open!

Within the story
Choosing the Best iPhone 15 Pro Battery Replacement Kit DIY
Understanding Your iPhone 15 Pro Battery
First, you need to identify signs of battery wear. Is your iPhone 15 Pro not holding a charge like it used to? Does it drain faster than usual? These could be signs your battery is wearing out. You might also notice your phone running slower or performing poorly. These performance issues can often be traced back to battery problems. Understanding these signs helps you decide if it’s time for a replacement.
What to Look for in a Kit
When looking for the right battery replacement kit, make sure it’s compatible with your iPhone 15 Pro. Not all kits are the same, so double-check compatibility before buying. Also, evaluate what’s included in the kit. Does it come with necessary tools like screwdrivers or prying tools? Ensuring these are included will make your job much easier.
Top Recommendations
To find the best kits for your needs, consider reading customer reviews. These reviews can give you insights into the kit’s quality and ease of use. You’ll also want to compare prices and features. While some kits may be cheaper, they might not have everything you need. Balancing price with features ensures you get a great kit without breaking the bank.
Photo provided by Steve Johnson on Pexels
Essential Battery Replacement Tools
Having the right tools can simplify the battery replacement process. Without them, you might struggle to open your phone or safely remove the old battery. Knowing what tools you need is key to a successful DIY battery replacement.
Must-Have Tools in Your Kit
Your kit should include screwdrivers and prying tools. These are essential for opening up your iPhone and accessing the battery. Additionally, using adhesive strips safely can help you secure the new battery in place. This keeps it from moving around and causing issues later.
Additional Useful Items
Consider using anti-static gloves during the repair. These gloves can protect both you and your phone from static electricity. When working with delicate electronics like your iPhone, avoiding static is important. It prevents accidental damage and ensures your replacement goes smoothly.

Photo provided by Ksenia Chernaya on Pexels
Step-by-Step Battery Replacement Guide
Preparation for Replacement
Before you start, gather all the necessary tools and prepare a clean workspace. Make sure you have everything laid out in front of you. Next, turn off your iPhone completely. This is crucial for safety and prevents any accidental damage during the replacement.
- Remove the screen with care. Use your tools to gently pry it open.
- Detach the battery connector. Be cautious and avoid pulling too hard.
- Install the new battery securely. Make sure it connects properly and sits firmly in place.
Once the new battery is in, reassemble your phone carefully. Double-check that all screws and connectors are back in their correct positions. Finally, test device functionality by turning it back on. Ensure everything works as expected.
Common Mistakes to Avoid
Avoid rushing the process. Taking your time ensures you don’t make costly mistakes. Make sure all parts are reattached correctly. Loose screws or connectors can cause damage or poor performance later.

Photo provided by Antoni Shkraba on Pexels
Understanding DIY Battery Replacement Benefits
Cost Savings
One major benefit of doing a DIY battery replacement is saving money. Professional services can be expensive and might not fit everyone’s budget.
Personal Satisfaction
Doing it yourself gives you hands-on experience. You’ll learn more about how your phone works and gain confidence in your repair skills. Completing the job yourself also provides a great sense of achievement.
Quality Control
When you do the replacement, you ensure quality parts are used. You control the materials, ensuring they’re genuine and reliable. Knowing you’ve done the job right allows you to feel confident in your skills and the device’s performance.
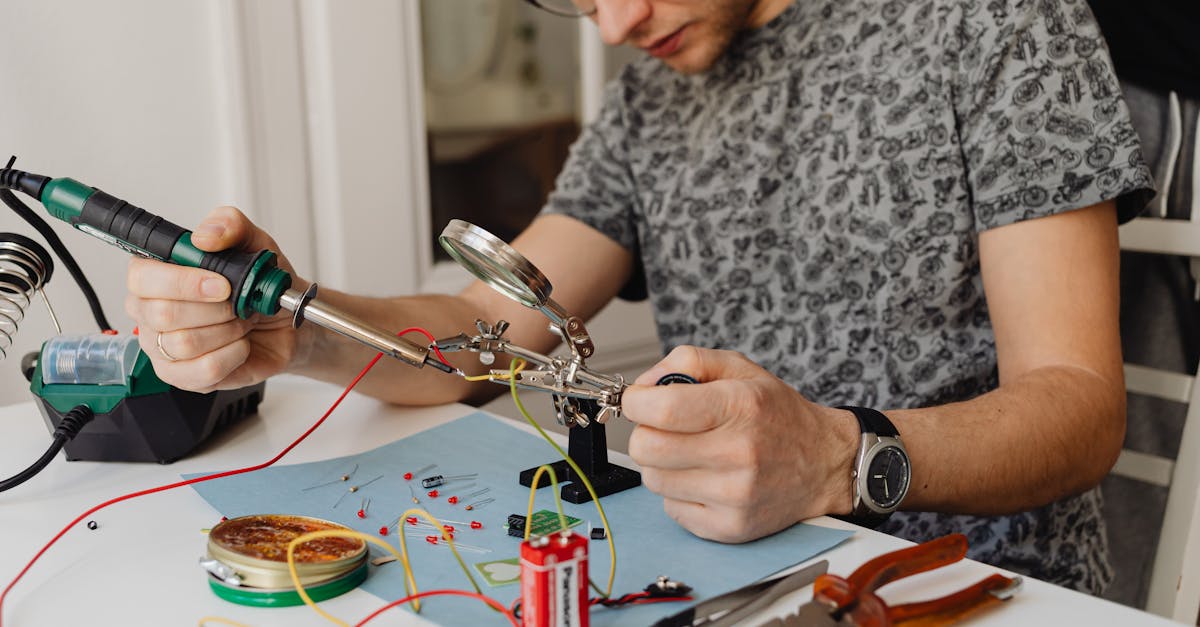
Photo provided by Photo By: Kaboompics.com on Pexels
Troubleshooting iPhone 15 Pro Repair Issues
Even with the best efforts, you might encounter some problems. Let’s look at how you can address common issues that may arise.
Device Not Powering On
If your device doesn’t turn on after the replacement, double-check the battery connections. Are they secure and in place? Consider potential battery faults as well. Sometimes, the new battery might be defective, so it’s worth reviewing the situation carefully.
Screen Not Responding
If you notice the screen is unresponsive, it may be related to improper reassembly. Make sure all connectors are properly attached and that nothing is loose or misplaced. This ensures your phone functions as it should after the repair.

Photo provided by Ksenia Chernaya on Pexels
Ensuring Long-Term Battery Health
Optimizing Charging Habits
To keep your battery healthy, use recommended chargers for your iPhone. Avoid overcharging your device as this can shorten the battery’s lifespan. Smart charging habits make a big difference in battery longevity.
Maintaining Battery Performance
Disable unnecessary features to conserve battery life. Features like Bluetooth or location services can drain your battery if left on. Regularly update your software to ensure your phone runs efficiently. Also, keep your device temperature stable. Extreme temperatures can damage your battery over time.
Signs You Need a New Battery
If your phone needs frequent charging, it might be time for another new battery. Also, notice reduced battery life. If it seems to drain faster than usual, consider whether it’s due for a replacement.

Photo provided by Anastasia Shuraeva on Pexels
Where to Get Professional Help
Sometimes, DIY isn’t enough. Knowing when to seek professional help can save you from potential damage.
Finding Reliable Repair Services
Look for certified technicians who know what they’re doing. Read service reviews carefully to see what others have experienced. Compare repair costs to ensure you get the best value for your money.
Warranty and Insurance Considerations
Check your warranty terms before proceeding with a repair. Contact your insurance provider to understand coverage specifics. These details can influence your decision on whether to DIY or seek professional help. Plan your repair accordingly to avoid unexpected costs.
When to Seek Professional Advice
Complex issues can arise that might be beyond your DIY skills. Ensure device safety by consulting a professional when needed. They have the expertise to handle problems that might be too tricky to tackle alone.
Wrapping Up Your DIY Journey
By taking on your iPhone 15 Pro’s battery replacement yourself, you gain several benefits. You save money and learn valuable repair skills. You experience the satisfaction of a job well done. Plus, with the right tools and a bit of patience, you boost your confidence in handling tech fixes. This process also helps extend the life of your smartphone, ensuring it keeps up with your daily needs.
Now that you’re ready to tackle this project, make sure to gather all the necessary tools. Double-check your repair guide to avoid surprises. If you feel unsure at any point, seek out video tutorials for a more visual understanding. It’s important to work slowly and carefully, keeping your workspace tidy and organized. Consider starting with a test run on an old phone for practice.
It’s time to dive into your DIY project and get things rolling. Take a deep breath, trust in your growing expertise, and begin your repair journey. You’ve got this! Enjoy the process, and don’t hesitate to share your success story with others. After all, a well-functioning phone is just a few steps away.