5 Trends You Can’t Ignore in Your Full iPhone 8 Plus Repair Guide DIY
Are you ready to tackle your iPhone 8 Plus repairs on your own but not sure where to start? A full iPhone 8 Plus repair guide DIY can seem overwhelming, but you’re not alone. Whether it’s a screen replacement or fixing your charging port, understanding the latest trends can make your DIY journey much smoother and more effective. You’ll find useful insights and tips perfect for bringing your device back to life with confidence.
Think about the last time you had issues with your iPhone 8 Plus. Did you struggle with the camera or perhaps a battery replacement? Maybe those pesky speaker problems have been driving you crazy. By staying updated on new tools and techniques, like using a heat gun to soften adhesive or employing professional-grade tools, you ensure each repair is efficient. Explore how genuine parts and the right tools can enhance your repair game and keep your phone running like new.
Curious about what else you can learn? Dive into these trends and uncover the secrets to top-notch repairs. Let’s make your iPhone 8 Plus work flawlessly again!
Within the story
Understanding the Basics
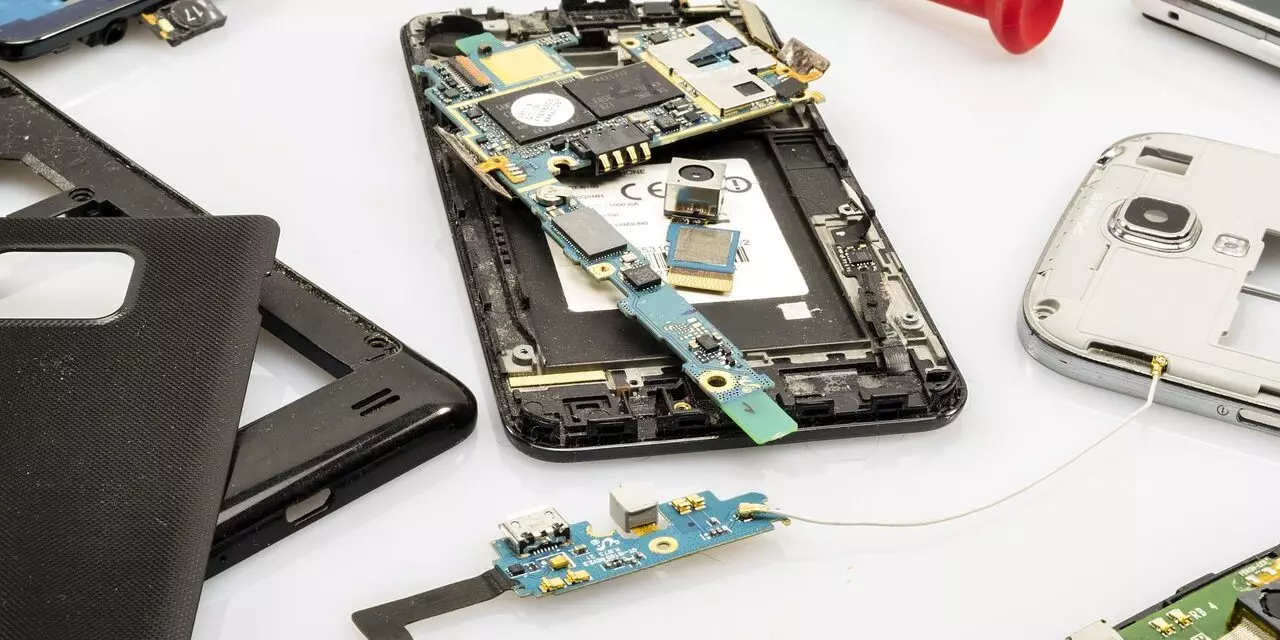
Necessary Tools
When you decide to dive into a Full iPhone 8 Plus repair guide DIY, having the right tools is important. You will need a toolkit that includes screwdrivers, pry tools, and spudgers. These are essential for opening up your iPhone safely. Screwdrivers help with removing screws, while pry tools help in gently lifting parts. Spudgers will assist you in handling delicate components without causing damage.
Preparation Steps
Before starting any repair, you need to prepare your iPhone. Begin by backing up your data. This step is crucial because it keeps your information safe in case something goes wrong during the repair. Next, ensure that your iPhone is fully powered off to avoid accidental short circuits.
Gather any repair guides and videos that will help you along the way. These resources will provide step-by-step instructions, making it easier for you to follow along. Having everything ready before you start will save you time and make the process smoother.
Key Repair Trends
In the world of iPhone repairs, staying updated with the latest trends is very important. New repair techniques and tools are constantly emerging, and keeping up with these changes can make your repair process more effective.
DIY Importance
DIY repairs are a popular trend because they save you money. By fixing the iPhone yourself, you cut down on repair costs significantly. Plus, you gain new skills during the process, which can be very empowering. With the abundance of available resources, such as online tutorials and guides, DIY repair is more accessible than ever.
However, while it is empowering to fix things yourself, you must practice caution. Repairs require precision and care. Mishandling parts or skipping steps can lead to more damage, so make sure you follow instructions closely.
Advanced Techniques
If you are comfortable with basic repairs and want to tackle more complex issues, consider learning advanced techniques. For instance, micro soldering can fix intricate problems and bring your iPhone back to life. Using a heat gun effectively can help remove adhesives without damaging components.
It is also beneficial to follow detailed tutorials, especially if you’re trying something new. They will guide you with the steps and tips needed to succeed in advanced repairs.
Essential Repairs
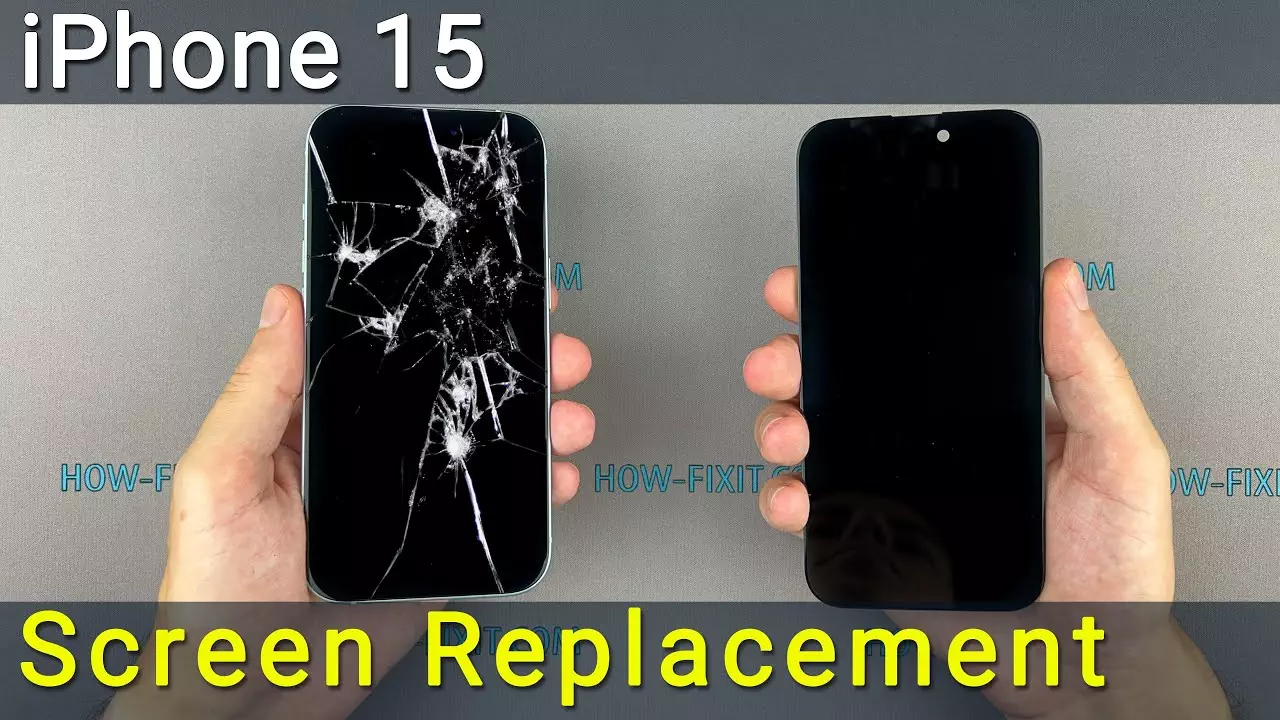
Screen Replacement
One of the most common repairs you might perform is an iPhone 8 Plus screen replacement. Start by handling the screen gently to prevent cracks. Use suction tools to carefully lift the old screen from the device. These tools are designed to help you remove the screen without causing any damage.
- Detach connectors gently.
- Secure the new screen well.
- Check alignment before securing.
Once you have installed the new screen, it is essential to test the display to ensure that everything works perfectly. Check for touch sensitivity and display clarity.
Battery Replacement
Another vital repair is the iPhone 8 Plus battery replacement. When replacing a battery, always follow the battery disposal rules in your area to protect the environment. Make sure you handle the battery carefully and use the correct tools to remove and install it.
Repairs You Can’t Ignore
Charging Port Repair
The charging port is a component you can’t ignore. Sometimes, simply cleaning the port with a small brush can resolve charging issues. However, if the port needs replacement, it may require soldering skills. This repair can be challenging, so ensure you’re comfortable with the process before attempting it.
Camera Repair
Keeping your camera lenses clean is vital for maintaining camera clarity. If you notice your pictures are blurry, clean the lenses first. If that does not help, you may need to replace the camera. This involves delicate work that requires steady hands.
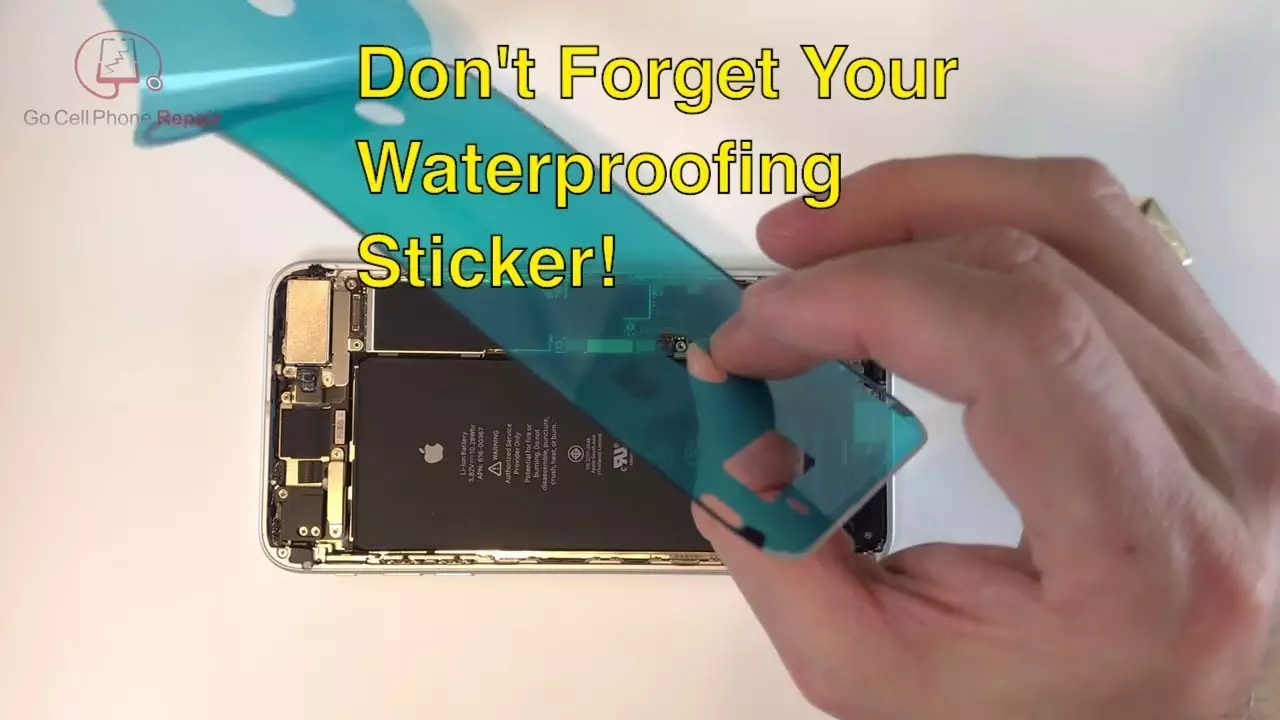
Water Damage Repair
If your iPhone gets wet, drying it immediately is crucial. Begin by turning it off and removing any excess water. You can use a soft cloth or paper towels to absorb moisture. Do not attempt to turn it on until it is completely dry, as doing so could cause further damage.
Button Repair
Functioning buttons are essential for your iPhone to operate smoothly. If a button stops working, check if debris is blocking it. Cleaning around the button may fix the issue. If not, you might need to replace the button, which involves opening the phone and carefully swapping the component.
Part Replacement Tips
Speaker Fix
If your speaker stops working, it can be frustrating. Start by checking the speaker for any dirt or debris that might be blocking the sound. Cleaning it gently can often resolve sound issues. If cleaning does not work, consider replacing the iPhone 8 Plus speaker. This repair is straightforward but needs careful attention to detail.
Specialized Repairs
Back Cover Replacement
The back cover of your iPhone can become cracked or damaged over time. Replacing it is a good way to maintain your phone’s appearance and protect its internal components. To replace the back cover, you need to soften the adhesive using heat and then carefully remove it. Use new adhesive to secure the new cover in place.
Thorough Troubleshooting
When encountering any issue with your iPhone, thorough troubleshooting is beneficial. Take the time to diagnose the problem correctly before proceeding with any repair. This approach ensures that you address the root cause of the problem rather than just the symptoms.
Refer to the repair guide and resources to help identify what might be wrong. Use your knowledge to determine the best course of action before replacing any parts.
Your Complete Guide
Full iPhone 8 Plus Repair Guide DIY
Your comprehensive Full iPhone 8 Plus repair guide DIY is here to offer you all the insight needed for successful repairs. This guide empowers you through detailed instructions and guidance, allowing you to take control of your iPhone repair journey.
Arming yourself with this knowledge means you can handle a range of repairs confidently. From simple fixes to more complex challenges, learning to repair your iPhone 8 Plus can be both rewarding and cost-effective.
Up-to-Date Techniques
Incorporating innovative repair techniques into your process is vital. Innovative repair techniques shared ensure that you have the tools and knowledge to fix problems effectively. Staying informed about the latest methods and tools will help you achieve better results and prolong your iPhone’s lifespan.
As you embark on this repair journey, remember that patience and practice are key. Each repair enhances your skills and confidence, making you more adept at future fixes. Whether it is a small screen replacement or a challenging charging port repair, you can approach each task with assurance and precision.
Ready to Tackle Your iPhone 8 Plus Fixes
You’ve explored the latest repair trends, giving you the know-how to tackle common iPhone 8 Plus issues. Whether it’s screen replacement or fixing a charging port, you’ve got the steps to succeed. Using quality tools ensures your device gets the best care possible. With each repair, you build your skills and confidence.
Now, it’s time to take action. Start with a simple repair task, like replacing a worn-out battery or fixing a speaker. Gather your tools and set up a safe workspace. Follow a detailed guide to ensure each step is clear and precise. You’ll find tackling one issue at a time makes the process manageable and rewarding.
So, why wait? Dive into your repair project today and experience the satisfaction of restoring your iPhone 8 Plus. You have the tools and the confidence to make it happen. Begin your journey towards a fully functioning phone now!