
Is your iPhone SE draining faster than you can keep up? You’re not alone. Over 80% of smartphone users face battery life issues after 2 years. Fortunately, with a Genuine iPhone SE (3rd Gen) battery replacement DIY approach, you can breathe new life into your device. Imagine the freedom of not rushing to find a charger every few hours. A new battery could give your phone a fresh start, just like the day you bought it.
You’ll find that replacing your iPhone SE battery yourself isn’t just about saving money. It’s about understanding your device better and gaining peace of mind knowing you have genuine parts installed. You won’t need to worry about compatibility issues or voiding your warranty. Plus, with the right iPhone SE repair kit and step-by-step guidance, you’ll be set for a smooth DIY adventure.
Ready to take control and extend your phone’s life? Delve into these 7 essential steps and become a genuine battery believer. Don’t miss out on the chance to improve your phone’s performance and your daily convenience.
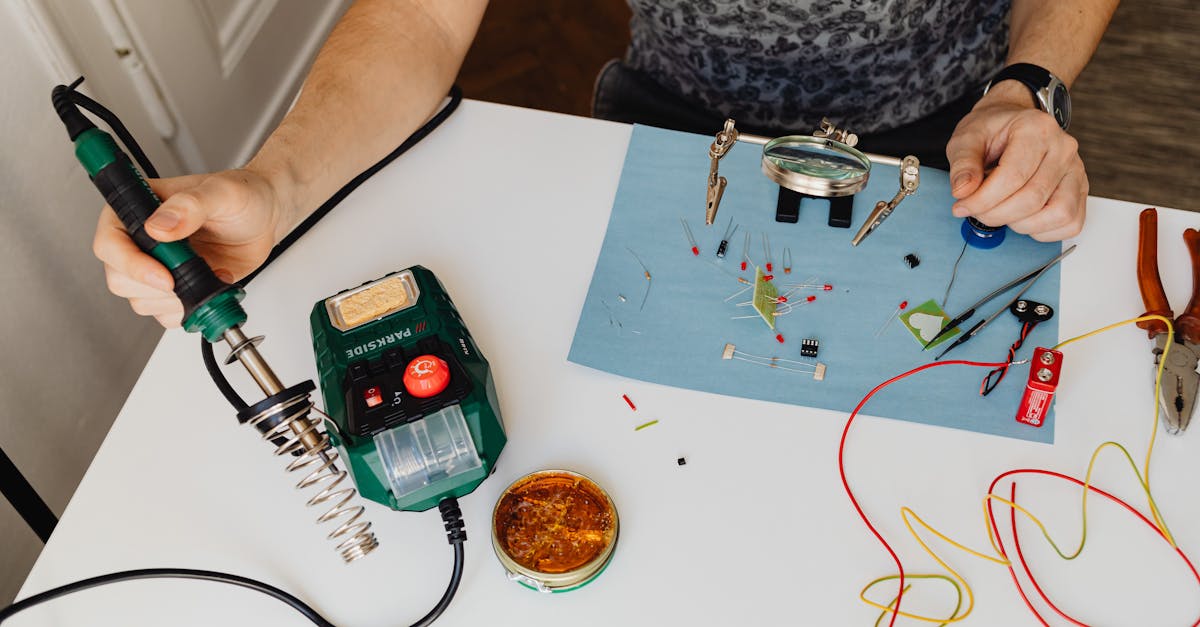
Photo provided by Photo By: Kaboompics.com on Pexels
Within the story
Gather Your Tools
Essential iPhone SE Battery Tools
Before you start your DIY iPhone battery replacement, make sure you have the right tools. Using the correct tools ensures you avoid damaging your device. Most of the tools are simple, such as small screwdrivers, plastic prying tools, and tweezers. But, they’re very important for the job. These help you open the phone safely and handle delicate components. If you don’t have them, consider buying or renting a tool kit.
iPhone SE Repair Kit Components
Next, you should find the essential components in a quality iPhone SE repair kit. A good repair kit typically includes the necessary tools plus replacement parts that are durable. This might include a suction cup for lifting the screen, adhesive strips for securing the battery, and sometimes even a spare battery. Make sure the parts are of high quality, as using substandard parts can lead to more problems.
It’s also important to check for compatibility. Ensure that all the components in your repair kit are compatible with the iPhone SE 3rd Gen battery. Using the wrong parts can cause issues and potentially damage your device. So, always double-check before you start the replacement process.
Understanding iPhone SE Battery Compatibility
Compatibility checks are crucial before you begin the process. The right battery should fit well and operate without issues. Having a non-compatible battery could lead to poor performance and even hardware damage. Confirm that you have an eligible battery replacement that matches your phone model. This step saves you from future trouble and ensures the longevity of your device.

Photo provided by Daniel @ bestjumpstarterreview.com on Pexels
Prepare Your Space
Once you have all your tools, it’s time to prepare your workspace. Designating a workspace helps in keeping things safe and organized. You want your space to be clean and uncluttered for the task ahead.
- Clear a table or desk.
- Use a non-static surface.
Setting up your workspace properly will protect sensitive components from accidental damage. You’ll also have easy access to all your tools and materials.
Safety Measures
When working on an iPhone, follow safety guidelines. This means turning off your phone first and making sure your hands are clean. Static electricity can damage your phone, so use a non-static surface. Avoid wearing clothes that could cause static. These simple steps help prevent accidents and ensure a smoother process.
Organize Your Tools
Keep your tools within easy reach. This minimizes the time spent looking for them during the repair process and reduces the risk of losing any small parts. Organizing your tools also helps in keeping your workspace tidy and prevents any potential mishaps as you replace the battery.
Moreover, a well-organized setup will reduce troubleshooting time. If everything has its place, you spend less time searching and more time focusing on the task at hand. This can lead to a more successful repair with fewer errors or delays.
Read the iPhone SE Battery Guide
Before you start, read the iPhone SE battery guide. Familiarize yourself with the process to avoid common errors. Understanding each step before you begin ensures you’re prepared for any challenges that might arise. This small investment of time upfront can save you from costly mistakes later.

Photo provided by Anete Lusina on Pexels
Remove the Old Battery
Disconnecting Safely
The first step in removing the old battery is to power down your device safely. After turning off your phone, carefully unscrew and remove the iPhone’s back cover. Handle each component gently to avoid unnecessary damage.
Be mindful of static electricity risks, as they can harm delicate electronics. Touch a grounded metal object before handling your phone or use an antistatic wristband. Following these precautions will help you safely disconnect the old battery without any issues.
Genuine iPhone SE (3rd Gen) Battery Replacement DIY
Now it’s time to follow step-by-step guidance for your Genuine iPhone SE (3rd Gen) battery replacement DIY. Slowly and carefully remove the old battery by detaching it from the connectors. Be gentle, especially if any adhesive is holding it in place. This stage requires patience, and rushing it could result in damage to your phone or the new battery. Take your time, ensuring each step is done correctly.

Photo provided by RDNE Stock project on Pexels
Install the New Battery
With the old battery removed, you’re ready to install the new one. This step involves placing the new battery correctly into your iPhone. Align it carefully to ensure a proper fit.
Positioning for Proper Fit
Proper alignment of the battery is crucial for battery efficiency. Ensure the battery is snugly placed in its compartment, matching all the connectors to their respective points.
This correct positioning will help prevent future issues, such as battery life problems or poor contact that affects phone performance. Take your time ensuring everything lines up correctly to make the next step much smoother.

Photo provided by Anna Tarazevich on Pexels
Reassemble Your iPhone
Reconnecting Everything
After installing the new battery, reconnect all components securely. This means carefully attaching all screws and parts in their correct places.
Ensure that each component is back in its position correctly, and be thorough. Any loose connections might cause your phone to malfunction. Double-check everything before putting the back cover on and securing it with screws. Proper reassembly is key to your phone’s functionality after the repair.

Photo provided by Felicity Tai on Pexels
Testing the Replacement
Power Up and Check
Once your iPhone is reassembled, it’s time to turn it on and test its functionality. Power up your iPhone and check to make sure every feature works as expected.
Spend some time performing various tasks on your phone to ensure everything is running smoothly, from making calls to using apps. This testing phase confirms that your DIY iPhone SE repair was successful and that the new battery is working as it should.

Photo provided by Benjamin Lehman on Pexels
Monitor Battery Lifespan
After installing your new battery, it’s important to regularly check iPhone SE battery lifespan. Monitoring how long your battery lasts ensures it operates efficiently over time. Keep an eye on how quickly it drains and how often you need to charge it.
Recognizing Signs of Wear
Look out for signs of battery deterioration, like rapid draining or the phone overheating. Addressing these issues promptly can extend your phone’s lifespan. If you notice these signs, it may be time to consider another battery replacement, especially if the capacity of the new battery seems off.
DIY iPhone Battery Replacement Tips
Use some helpful maintenance tips to extend your iPhone’s battery life. For instance, avoid exposing your phone to extreme temperatures and be cautious about leaving it on charge overnight. Proper charging habits can slow down battery wear and tear, giving your phone a longer lifespan.
Understanding and applying these steps helps you master the DIY iPhone battery replacement process. Following the right steps and using the right tools prevents common problems and ensures your iPhone SE operates at its best.
Wrapping Up Your iPhone Battery Adventure
Completing your battery swap brings you many benefits. You now enjoy a longer battery life and a cost-effective solution. Plus, you gain the satisfaction that comes with mastering a practical skill. Your iPhone runs smoothly, thanks to the genuine parts you used, ensuring peak performance.
Now, take the next steps by monitoring your phone’s performance. Keep an eye on its battery health to maximize longevity. If you haven’t already, recycle your old battery responsibly. This small action helps the environment and keeps your space tidy.
Embrace your newly honed DIY skills and share your experience with others. Encourage friends to take similar steps with their devices. You’ve got this, and any tech challenge can be your next victory!