The Step-by-Step Guide to Mastering Your iPhone Water Damage Repair in 2025
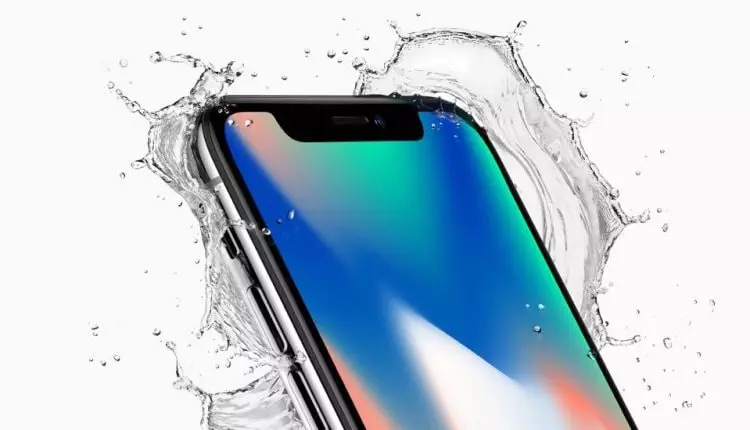
Your iPhone takes an unexpected swim, and panic sets in. iPhone water damage repair might seem daunting, but it’s crucial to get it right to save your beloved device. You might think water-resistant designs protect you from these mishaps, but not always. One accidental drop in water can lead to tricky problems. Knowing how to tackle these issues can be a lifesaver, literally keeping your device afloat in the long run.
Imagine your iPhone soaked and malfunctioning. You need a solution fast. From troubleshooting steps to understanding warranty options, like accidental incidents replacement or limited coverage, knowing what to do can make all the difference. You’ll also learn how to spot corrosion residue and use water indicators to assess the damage on your phone. These practical tips offer peace of mind and can save both time and money.
Don’t wait until it’s too late. Dive into the details now and equip yourself with the knowledge to handle water woes like a pro. Your iPhone deserves the best care you can give. Ready to master the art of iPhone water damage repair? Let’s begin!
Within the story
Understanding iPhone Water Damage Repair
When your iPhone gets wet, acting fast is key. Water can cause serious harm to your device. Learning about water damage solutions for phones can be highly beneficial. It’s important to know what steps to take and what mistakes to avoid. This guide will help you understand the basics of iPhone water damage repair and guide you through the necessary steps to bring your phone back to life.
Recognize Symptoms of Damage
First, knowing the symptoms of water damage is crucial. One sign to watch for is screen issues. You might notice your screen flickering or struggling to respond to touch. This is often one of the first symptoms of water damage in your iPhone.
The next thing you might encounter is charging port problems due to moisture. If your iPhone is not charging properly, it could be due to water in the charging port. Additionally, issues with your speaker could result in muffled or distorted sounds. These are all signs that your iPhone might be suffering from water damage.
Performance inconsistencies can also indicate damage. If your phone starts lagging or freezing, this might be linked to internal moisture affecting components. Noticing these symptoms early can help you take swift action to prevent further damage.
Immediate Actions Post-Damage
If your iPhone gets wet, the first thing you should do is turn it off immediately. This step can help prevent further electrical damage to the phone. Next, remove any attached accessories, like cases or chargers, to ensure no water remains trapped. Once the phone is off and accessories are removed, dry the exterior with a soft cloth. Gently pat the device to absorb excess moisture.
Avoiding Common Repair Mistakes
One common mistake people make is using heat sources to dry their iPhone. Avoid using a hairdryer or placing the phone in the sun, as this can cause more harm than good. Extreme heat can damage internal components, so it’s best to air-dry your phone.
Secondly, avoid pressing any buttons. Pressing buttons might force water deeper into the device. Lastly, never shake your iPhone to remove water. Shaking can spread the water to other parts of the phone, which can increase the damage.
Step-by-Step Repair Process
Repairing your iPhone after water exposure is a careful process. Follow these steps to ensure you do it correctly. You’ll need to be patient and gentle throughout the process.
Dry the Device Properly
To dry your iPhone effectively, begin by patting it with a soft cloth. Make sure the cloth absorbs as much moisture as possible without pushing water further into the phone. Avoid rubbing the cloth harshly as it might press water into the device.
Tools Needed for Repair
Having the right tools before you start can make a big difference. You’ll need a screwdriver and a spudger to open your iPhone carefully. These tools help you handle delicate parts without causing damage.
Prepare a small container to keep screws and small pieces organized. Losing any part can complicate the repair process. It’s also wise to consider using a moisture-absorbing pack to help draw out any remaining water.
- Soft cloth
- Moisture pack
- Drying setup
Ensure you have all items ready before beginning the repair. Follow each step carefully to prevent further damage to your iPhone.
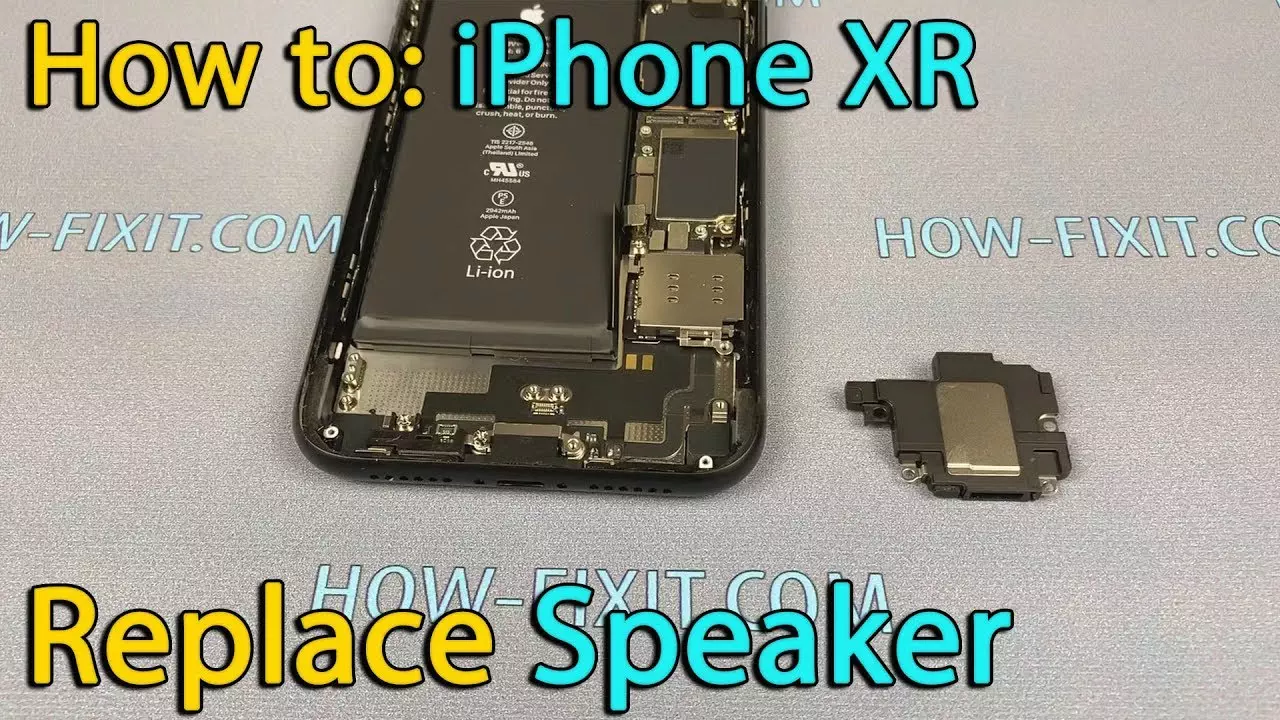
Disassemble the iPhone
To properly dry and fix your iPhone, you’ll need to disassemble it. Begin by removing the screws and gently opening the device. Pay close attention to the delicate parts inside. Work slowly to avoid causing any additional harm to components.
Water Damage iPhone Troubleshooting
Once your iPhone is dry, the troubleshooting process begins. You need to know what to look for and how to test each aspect of your device. This part of the repair process is essential to identify any remaining issues.
Check the Battery and Charging
Start by testing the charging port. Look for any blockages or debris that might prevent the device from charging correctly. If the port is clear and the phone still doesn’t charge, the battery might be damaged. Inspect it carefully for any signs of swelling or leakage.
If you find damage or your phone isn’t charging, try a different charger. Sometimes, a faulty charger might seem like a device issue. By ruling out charger problems, you can focus on fixing the water damage iPhone issues.
Inspect Screen Functionality
Ensure that your screen responds correctly to touch and doesn’t display flickering images. If there are still issues, you might need to address them separately. Screen problems can often be a sign that water has affected deeper components.
Advanced iPhone Liquid Damage Repair
If basic troubleshooting doesn’t solve the issues, you may need to perform advanced repairs. This step involves checking internal components and cleaning any residue left by the water.
Internal Component Check
Carefully inspect all internal parts of your iPhone. Look for water marks, corrosion, or any irregularities on the circuit board. These are signs that water has reached deep into the phone. If you notice any corrosion liquid damage, it must be cleaned immediately.
Cleaning Techniques
Use isopropyl alcohol to clean corroded areas. This substance is effective at removing moisture and corrosion without damaging components. Replace any connections that appear corroded or malfunctioning. Follow a gentle cleaning process to avoid additional harm.
Reassemble and Test
Once cleaned and inspected, reassemble your iPhone carefully. Make sure all parts fit securely in their correct places. After putting the device back together, test its functionality. Check if the previously identified issues have been resolved.
Prevention of Future Damage
Preventing future water damage is as crucial as fixing current issues. Taking proactive measures can save you from repeating the repair process.
Waterproofing iPhone Repair
Consider investing in professional waterproofing services. These services can make your iPhone more resistant to water exposure. While iPhones come with a degree of water resistance, added layers of protection can be beneficial.
Utilizing Cases and Covers
Invest in a high-quality waterproof case for your iPhone. These cases provide a physical barrier against water. Ensure the cover fits securely to prevent water from seeping in. Regularly check your case for any signs of wear and tear.
Tips for Daily Use
To minimize risk, avoid exposing your iPhone to water sources. Keep it away from sinks, pools, and other places where it can get wet. Also, stay alert in humid areas. Humidity can lead to moisture build-up inside the phone.
Useful Tools and Resources
If you’re handling iPhone repairs yourself, utilizing the right tools and resources is vital. Here are some suggestions to help you along the way.
Online Tutorials and Guides
Search for online tutorials and video guides that walk you through each repair step. These resources offer visual assistance, making complex tasks easier to understand and execute.
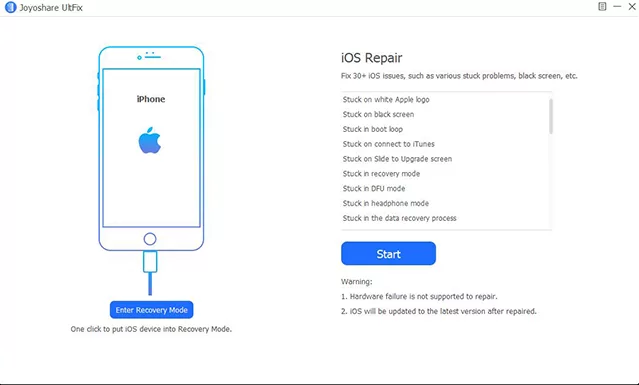
Consulting Professional Repair Services
If self-repair doesn’t work, consider seeking professional help. Knowing when to consult a professional can save your device from further damage. Evaluate the costs and benefits of professional services compared to doing it yourself.
Take Control of Your iPhone’s Future
Mastering the art of fixing your device is easier than you might think. You’ve learned how to handle water mishaps confidently. With this knowledge, you can save time and money while extending the life of your device. Feeling empowered to troubleshoot and address minor issues can bring peace of mind.
Your next steps are straightforward. Begin by gathering the right tools and materials you need. Keep a close eye on your iPhone to spot any signs of trouble early. If you notice something unusual, like a change in performance, act quickly to address it. This proactive approach will help you maintain your iPhone’s health and functionality.
Now is the time to put your new skills to the test. Dive into your next challenge with confidence, knowing you have the tools and knowledge to succeed. Don’t wait for the next incident to happen. Start today, and keep your iPhone running smoothly for years to come. You can do it!