iPhone XR Speaker Repair Tutorial: How to Master Your DIY Fix in 2025
Imagine you’re listening to your favorite song, but your iPhone XR’s speaker crackles or stays silent. Frustrating, isn’t it? When sound problems strike, an iPhone XR speaker repair tutorial could be your savior. No need to panic or rush to a repair shop just yet. You can handle this.
Your iPhone speaker issues might be due to dust, old parts, or even a simple software glitch. Together, let’s explore the essential steps to troubleshoot and fix these disturbances. Whether it’s a quick cleaning or a more involved disassembly, you’ll learn the skills needed for a successful repair. Discover how to restore crisp, clear audio back to your device.
Ready to regain control over your iPhone’s audio? Dive into practical solutions and master your DIY fix today.
Within the story
Understanding iPhone XR Speaker Issues
Have you ever turned on your iPhone XR only to find the sound is distorted? Maybe there is no audio output at all, or perhaps the audio cuts out intermittently. These are some of the common speaker problems you might face. Recognizing these signs early can help you avoid bigger issues later.
- Sound distortion
- No audio output
- Audio intermittently cutting out
You may notice strange sounds when playing music or videos. These could be signs of a speaker malfunction. Understanding these symptoms helps you identify what’s wrong.
There are several potential causes of audio issues. Dust and debris can block the speaker holes. Sometimes, water damage affects the way your speaker works. But don’t worry, most problems have a solution. You just need to diagnose the issue first.
Diagnosing Audio Problems
To diagnose your iPhone XR audio problems, start by checking simple things. For example, check if your iPhone’s volume is turned up. Also, inspect the mute switch. Sometimes, the problem is as easy as flipping a switch.
Your iPhone has built-in tools to help with this. Open settings and go to ‘Sounds & Haptics’. Here, you can test the volume and other audio settings. Apps can also aid in diagnosing issues. Apps like ‘Speaker Test’ help you find specific problems.
Initial Troubleshooting Steps
Basic speaker troubleshooting techniques can go a long way. First, restart your iPhone. It might sound too simple, but many minor issues get fixed just by restarting. Next, check your settings. Sometimes the problem lies in your settings being incorrectly set.
Ensure your speaker functionality is intact. Play a ringtone or alarm sound. If you hear sound from these, your speakers might be fine, and the problem could be with a particular app or setting.
iPhone XR Speaker Repair Tutorial
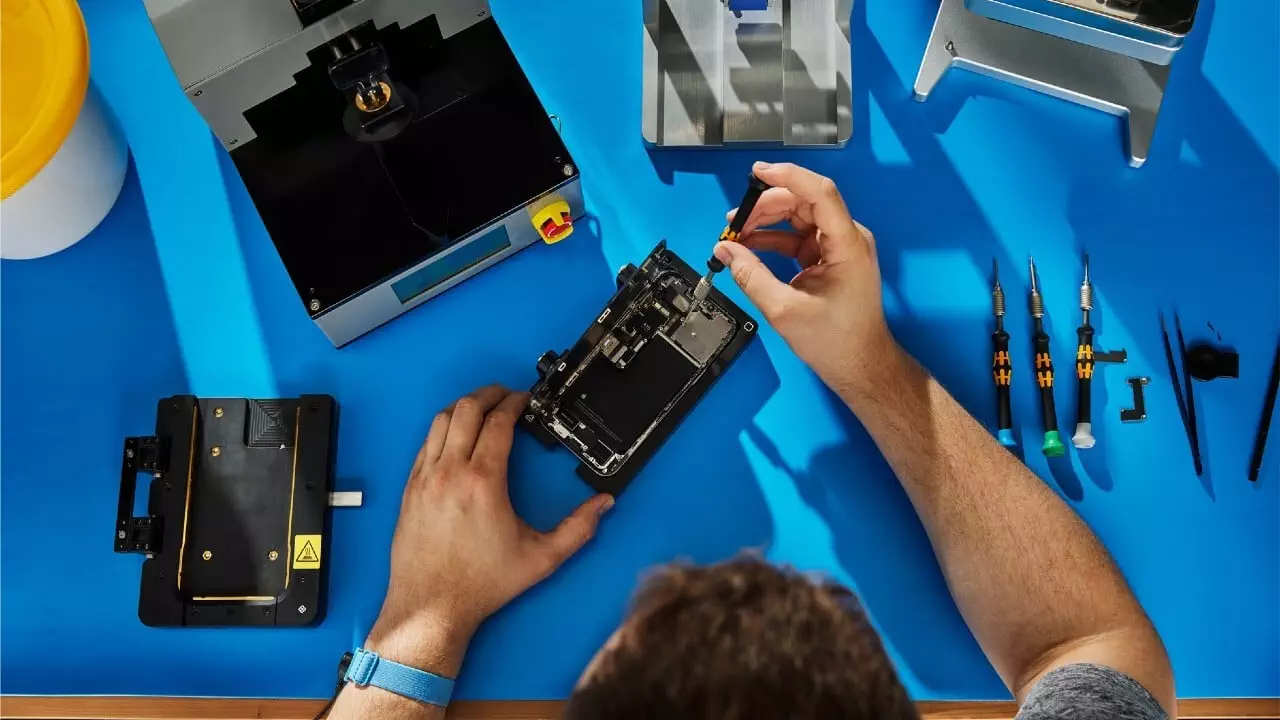
Preparing for Repair
Before you start repairing, gather the required tools and materials. You will need a small screwdriver, tweezers, and a magnifying glass. Having a clean workspace is essential too. Make sure you have adequate lighting.
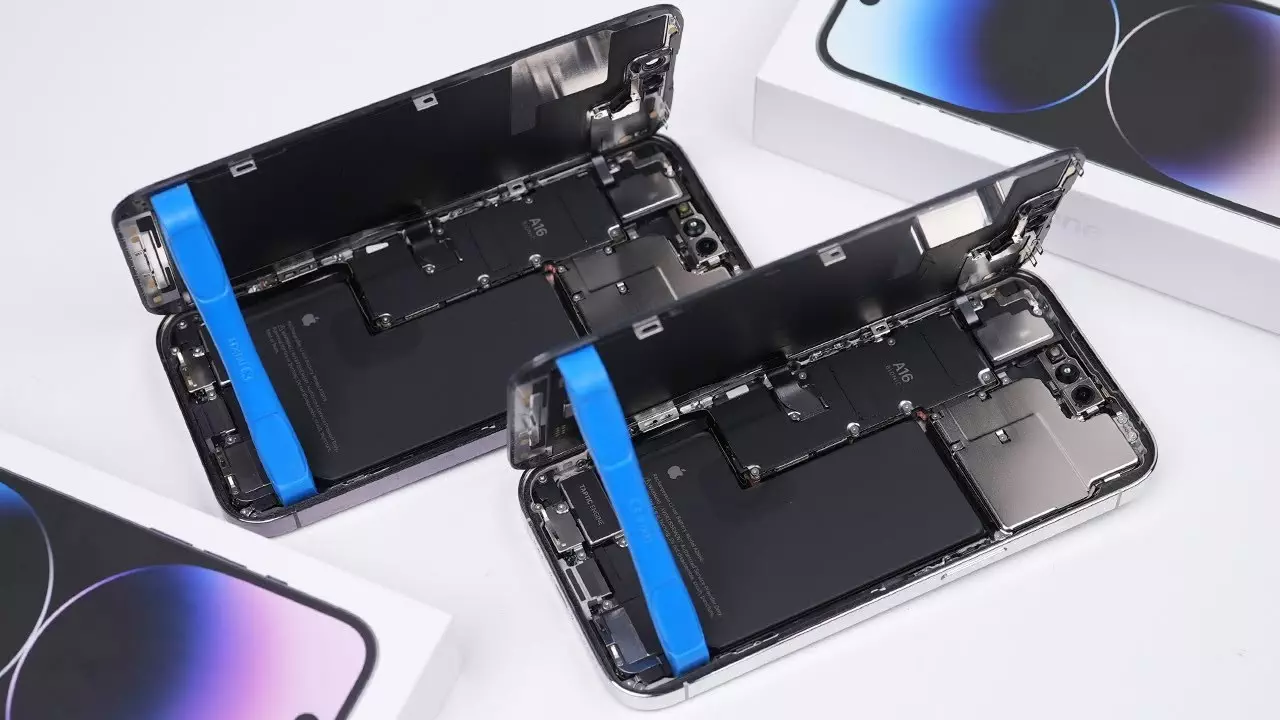
Disassembling Your iPhone XR
iPhone XR Disassembly Guide
When disassembling, it’s crucial to follow safe disassembly techniques. Start by turning off your iPhone and removing the SIM card. This step is necessary to prevent any electrical issues.
Next, use a small screwdriver to remove screws at the bottom of the phone. Gently pry open the case with a plastic tool. Be careful, though, as you don’t want to damage anything inside. Remove the components carefully, noting where each part belongs.
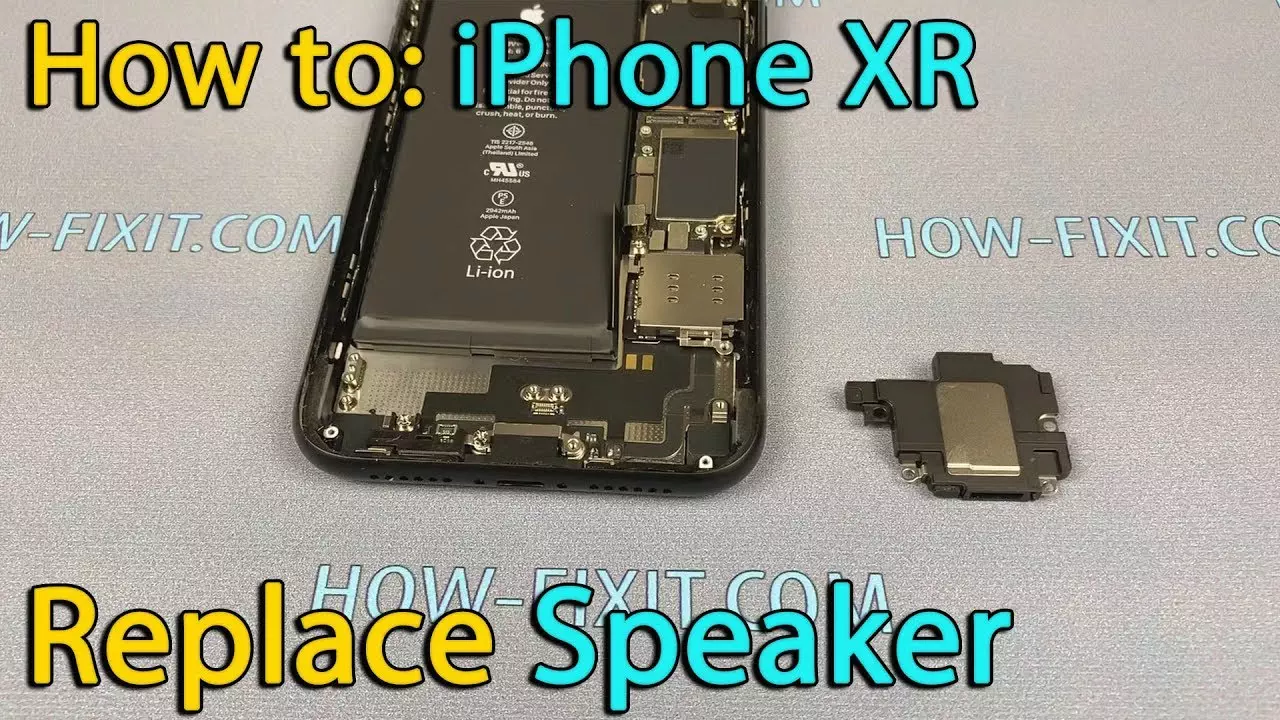
Accessing Speaker Parts
To fix the speaker, you need to locate the speaker parts accurately. They’re typically near the bottom of your iPhone. Carefully remove any protective coverings or screws. Take pictures if necessary to remember how to reassemble them later.
Make sure you are removing the correct components. Misplacing even one piece can hinder the functioning of your phone. Always double-check before proceeding with the removal.
Speaker Cleaning and Maintenance
Once you access the speaker, cleaning is the next step. Use a small brush or can of compressed air to remove dust and debris. This simple method can often resolve the issue and extend your speaker’s life.
To extend speaker life, keep the speaker area clean. Avoid exposing your phone to dirt or moisture. Regular maintenance can save you from future repairs. Remember, a clean speaker works better over time.
Testing Repairs
After cleaning or replacing parts, test sound repairs thoroughly. Play a variety of audio files to ensure the speaker works well. Check for any distortions or unusual sounds.
Ensure quality audio output by testing calls, music, and videos. Confirm that the problem is resolved by trying different volume levels. This step guarantees you have fixed the issue.
iPhone XR Speaker Replacement Guide
If cleaning does not solve the problem, you might need to replace the speaker. Follow this guide carefully for a successful replacement process.
Choosing Replacement Parts
When choosing replacement parts, reliability is key. Select reliable speaker parts from trusted suppliers. Avoid cheap knock-offs as they might cause more harm than good.
Always purchase quality components. This ensures that you won’t face the same problem soon. Investing a bit more now can save you time and money later.
Installing New Speaker
To install a new speaker, begin by securing the connections properly. Ensure all connectors are firmly seated in their slots. A loose connection can lead to more issues.
Follow the steps in reverse order of disassembly. Place the new speaker in its designated spot and reattach any screws or coverings.
Finalizing Repairs
With the speaker in place, finalize your speaker fix efficiently. Double-check every connection and part placement. This ensures that everything is secure and that your iPhone will function properly.
Check for any remaining issues. If you’re unsure about something, review your steps. This careful approach guarantees a successful fix.
Reassembly Process
Reassembling your iPhone XR requires patience. Make sure each component is placed back in its original spot. Don’t rush this process.
Use your pictures or notes to guide you. This helps in avoiding any errors during reassembly. Precision is important here.
Post-repair Testing
After everything is back together, test the speaker again. Ensure optimal speaker performance by playing various types of audio. If all sounds great, your repair was successful!
Pay attention to any anomalies. If you hear anything unusual, recheck your steps and make necessary adjustments.
Tips for Successful iPhone XR Sound Repair
Essential Repair Tips
Utilize helpful repair tips for a successful process. Always focus on safety and precision. Keeping calm and moving deliberately helps avoid mistakes.
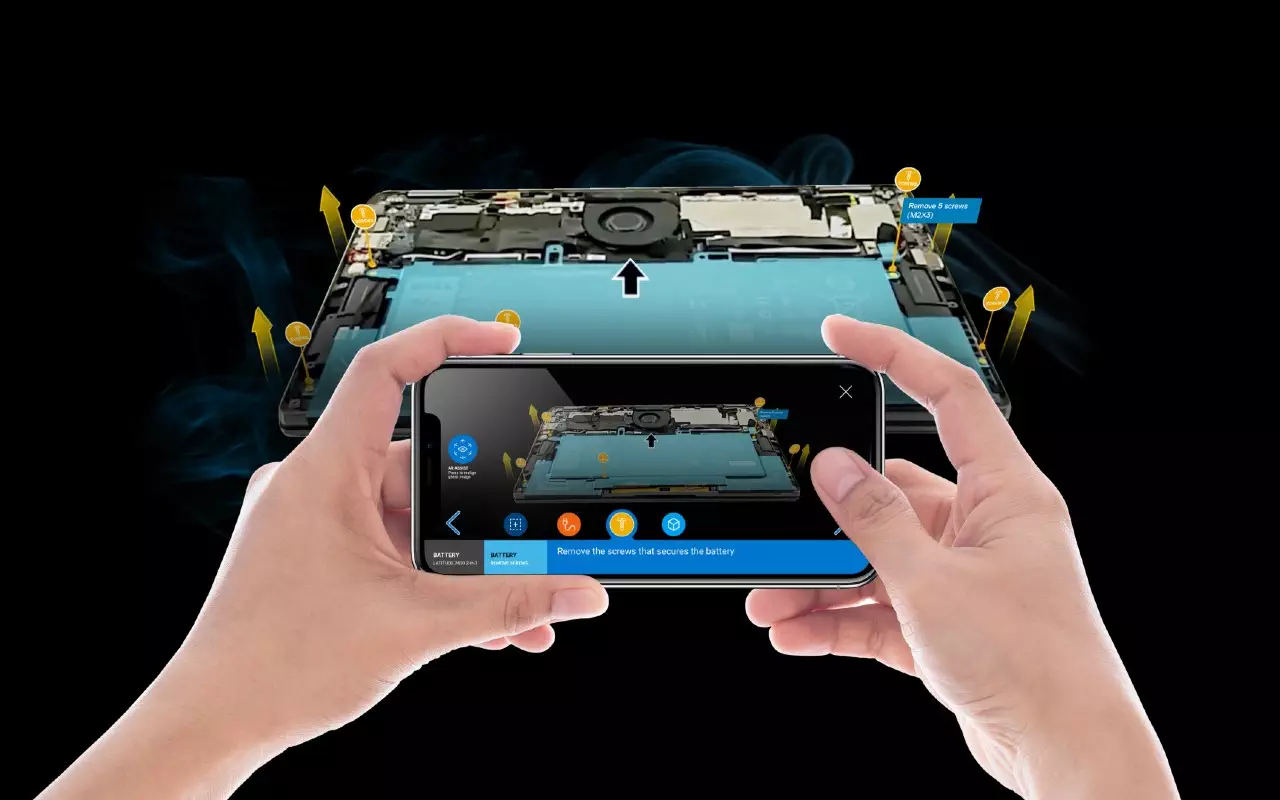
Before beginning, watch a tutorial video if you’re unsure of any step. Visual guidance can greatly improve your confidence and accuracy.
Avoiding Common Mistakes
Know what common mistakes to avoid. Rushing the process often leads to errors. Take your time with each step.
Maintain caution with each action you take. Ensure component integrity by handling each part carefully. Broken parts can worsen the problem.
Long-term Maintenance
To keep your iPhone XR in top condition, perform regular checkups. Look out for any new issues and address them promptly.
Regular maintenance is key to avoiding new problems. Keep your phone away from dust, dirt, and water to prolong its life. This ensures that your phone will serve you well for years.
Further Troubleshooting and Support
When to Seek Professional Help
Not all problems can be solved at home. Identify when professional help is needed. If you’re unsure or uncomfortable with any step, consider reaching out to a professional.
Weigh the costs and benefits of professional repair. Sometimes, spending a little more is better than risking further damage. Professionals have the tools and experience to fix your phone safely. If all else fails, seeking expert help is the best choice. After all, your iPhone deserves proper care.
Wrap Up Your iPhone Audio Adventure
You’ve just gained valuable skills to tackle common audio problems with your iPhone XR. By understanding how to diagnose issues and take proper action, you can save time and avoid costly repairs. Plus, by managing these fixes yourself, you build confidence in handling future tech challenges.
Now, it’s time to put this knowledge into practice. Gather the tools you need, ensure your workspace is ready, and follow the steps you’ve learned. If you’re uncertain, revisit the guide or seek more information to clarify anything before you begin.
Take charge of your iPhone maintenance journey today. Dive into those repairs and enjoy the satisfaction of doing it yourself. You’ve got this!