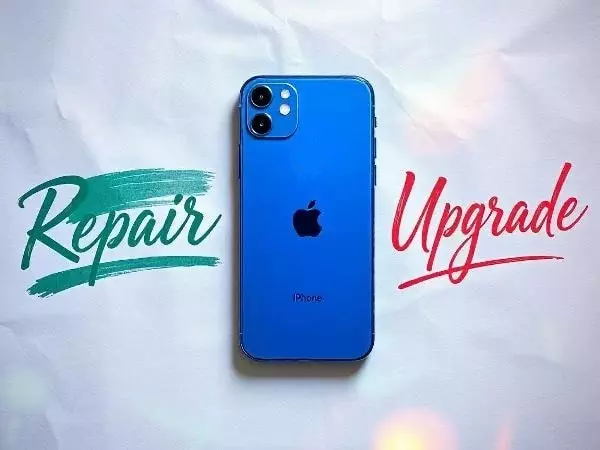
5 Top iPhone 14 DIY Repair Tools You Can’t Afford to Miss in 2025
Ever thought that repairing your iPhone 14 by yourself was too complicated? You might be surprised at how doable it is with the top iPhone 14 DIY repair tools. Many folks believe that fixing an iPhone requires a tech guru’s touch, but the truth is, with the right tools, you can handle most repairs on your own. From tackling a screen replacement to managing a battery repair, the right kit makes all the difference.
You might be wondering if every kit is the same. They are not. A reliable iPhone 14 repair kit can be your best friend when trying to fix common issues. Some essential items include torque screwdrivers and suction cups. The thought of dealing with tiny screws or those curved aluminum edges might seem daunting, but don’t worry. With the proper tools and guidance, you can confidently approach these repairs.
Curious about giving it a try? Dive into this article to discover the tools you need to master DIY iPhone repairs. You’ll find it’s easier than you think and might just save a pretty penny. Ready to change the way you see iPhone repairs? Let’s jump in!
Within the story
1. Essential Tools for iPhone 14 Repairs
When you decide to tackle iPhone repairs yourself, it’s crucial to have the right tools on hand. These tools help you perform repairs safely and effectively. Think of them as your trusty sidekicks on your repair mission. Without them, repairs can become a nightmare of stripped screws and damaged parts. So, you might wonder, what makes these tools so important? It’s simple-they ensure you don’t end up with more harm than good.
Top iPhone 14 DIY Repair Tools
To start with, you’ll need a set of essential repair tools to begin your journey. These tools often include precision screwdrivers, suction cups, and plastic pry tools. Each one plays a role in getting your device apart without damage. Precision screwdrivers help you remove those tiny screws without stripping them, and suction cups assist in lifting the screen gently. Meanwhile, plastic tools ensure you can pry open parts without scratching or breaking them.
Having these tools is not just recommended; it’s necessary. These are the tools required procedure for opening and fixing an iPhone. They will ensure that you approach each repair with the confidence that you won’t cause further damage. Also, these tools make the repair process much more straightforward, guiding you each step of the way.
iPhone 14 Tool Set Requirements
Now, let’s talk about creating a basic iPhone 14 tool set. This should include precision screwdrivers, a spudger, tweezers, and an iFixit kit or something similar. With these, you can be sure you’re ready for any repair task that comes your way. The screwdrivers will cover different screw sizes, the spudger will help you pry open connections, and tweezers will serve to pick up small parts without losing them.
By ensuring you have these tools, you’re setting yourself up for a smooth repair experience. These tools are your foundation, enabling you to tackle various issues. So, make sure you’re prepared with the right gear. It’s about being ready for anything your iPhone repair journey might throw at you.
2. Mastering DIY iPhone Screen Replacement
Tackling a DIY iPhone screen replacement can feel daunting at first. But it doesn’t have to be with the right repair kit. You want to start with a kit that includes everything necessary for screen repairs. This typically involves screen removal tools, adhesive strips, and protective gear to keep your phone safe during the process.
Key Tools for Screen Repair
When it comes to DIY iPhone screen replacement, there are key tools you’ll need. These include a spudger, suction cups, and a microfiber cloth. Each one is crucial for removing the screen safely and ensuring a clean finish. The spudger helps you disconnect cables easily, the suction cups assist in lifting the screen effortlessly, and the microfiber cloth ensures no dust gets trapped under the new screen.
It’s important to know how these tools work together to help you complete a screen replacement without a hitch. For example, using the suction cups properly will help you avoid breaking or cracking the screen. And by having these tools, you can avoid common pitfalls during the replacement.
Tips for Successful Screen Replacement
Here are a few tips to ensure a successful screen replacement experience. First, always work in a well-lit and dust-free area. This will help you see clearly and prevent dust from ruining your new screen. Next, take your time. There’s no rush in DIY repairs, and taking it slow can prevent mistakes.
After you fit the new screen, protect it by using a good quality case and screen protector. This helps prevent future damage and ensures your hard work lasts. Making sure to use the correct tools and following these tips will bring your DIY repair to a professional level, giving you a sense of pride in your work.
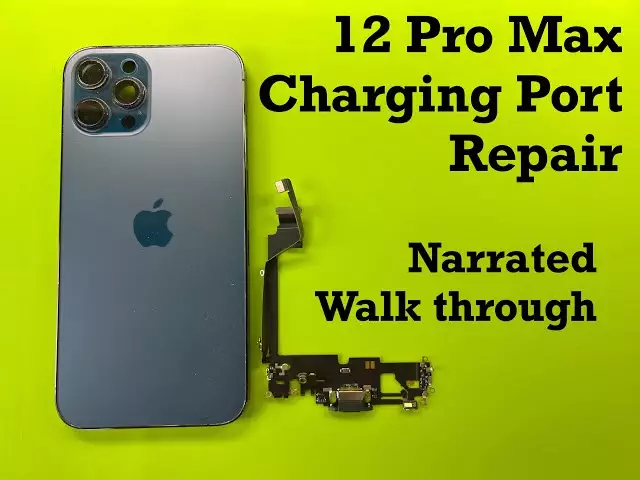
3. Navigate iPhone 14 Battery Repair
Batteries are essential for your phone’s performance. So, when it starts acting up, having the right iPhone repair tools becomes crucial. Using the appropriate tools can make a battery swap straightforward and efficient. Therefore, it’s important to understand the importance of these tools in your repair journey.
Essential iPhone Repair Tools
The iPhone 14 battery repair process requires a set of specific tools. You’ll need a set of torque screwdrivers, a plastic card, and a pick tool. Torque screwdrivers help you loosen the screws holding the battery in place. A plastic card assists in safely detaching the battery, while pick tools allow you to lift the battery without puncturing it.
These tools are not just for show; they’re critical for your safety and the phone’s integrity. Handling the battery with the wrong tools can be dangerous. So, it’s wise to invest in these, ensuring you are well-equipped to handle any battery issues that come your way.
Common Battery Replacement Errors
While replacing a battery, be aware of common errors. One mistake is rushing the removal process without proper care. This can lead to snapping connectors or breaking the battery. Another common error is using metal tools that can puncture the battery, causing potential harm.
To ensure a successful battery replacement, take your time and use the appropriate tools. Avoiding these pitfalls will save you from unnecessary stress and might even save your phone from permanent damage. These tips will ensure a hassle-free process, leaving you with a perfectly working iPhone.
iPhone 14 Battery Replacement Guide
Ready to replace your battery? Here’s a quick guide:
- Gather your tools: Ensure you have everything beforehand.
- Follow the guide carefully: Take it one step at a time.
- Test battery after installation: Make sure everything works.
These steps ensure your battery works correctly after installation. You want to make sure there are no hiccups post-replacement. By following this guide, you can manage a smooth replacement process and ensure your iPhone is up and running again.
4. Choose the Right iPhone 14 Repair Kit
Features of a Good Repair Kit
When choosing an iPhone 14 repair kit, you need to know what features to look for. Key features include a variety of precision screwdrivers, plastic prying tools, and quality materials. A good repair kit will have tools made from durable materials, which prevent breakage during use. Also, having various screwdrivers ensures compatibility with all screws in the device.
Evaluating Different Tool Kits
With many tool kits out there, how do you choose? Start by comparing the quality and value of each kit. Check the materials and see if they offer a warranty. A well-made kit will include essential items like torque screwdrivers suction cups for safe and reliable repairs.
Understanding the components of each kit will ensure you make the best choice. You find the best fit by assessing these aspects in your repair kit selection.
DIY Repair Kit Purchase Tips
When purchasing a repair kit, consider the warranty and support options. Sometimes a kit might need replacements or assistance. Having good customer support ensures that any problems are quickly resolved. A warranty gives you peace of mind, knowing your investment is protected. These tips will help you buy smartly and confidently face any repair challenge.
5. Upgrading Your iPhone Repair Toolkit
As technology advances, so should your toolkit. You want to stay updated on the latest tools for iPhone repairs to ensure your toolkit meets your needs. It’s all about being prepared for new challenges as they come.
Latest Tools for 2025
Staying informed about new tool trends is essential. Tools like high-precision screwdrivers and advanced torque screwdrivers have become popular. These tools are great for those curved aluminum edges found on modern devices. Make sure your kit has the newest tools to handle future repairs.
Updating your toolkit is about more than just keeping up. It ensures you can repair any issues that arise, no matter how modern your device might be.
Benefits of DIY Repairs
By now, you know the benefits of repairing your iPhone yourself. You can save money and learn valuable skills along the way.
Cost Benefits of DIY Repair
Everyone loves saving a few bucks. Cost-saving DIY phone repairs aren’t just about cutting expenses today-they’re an investment in your future. DIY repairs teach you how to handle various problems, saving you repair costs in the long run.
Investing in a good set of tools means you’re equipped to deal with future issues without extra costs. Therefore, these repairs not only save you money but also give you skills you can carry forward.
Build Confidence in iPhone Repairs
Building confidence in your repair abilities comes with practice. By starting small, you gradually learn more complex tasks.
Practicing with Small Repairs
Starting with simple tasks is key. Begin with small repairs today like replacing a simple screen protector or removing a SIM card. These tasks help build your confidence over time.
As you gain experience, you’ll feel more comfortable handling bigger repairs. It’s a learning process that allows you to gradually build your skillset.
Following an iPhone 14 Repair Guide
Using guides for your repairs helps you stay on track. Guides provide step-by-step instructions, ensuring you don’t miss a crucial step. Therefore, make sure you have a reliable guide handy during your repairs.
Creating a Reliable Tool Set
Assemble a trusted iPhone repair kit to ensure your repairs are reliable and effective. Keeping your tools in good shape is part of reliable repair tasks. Regular maintenance ensures your tools are ready whenever needed, helping you achieve the best results.
Wrapping Up Your DIY Journey
By now, you know that tackling repairs on your device offers several benefits. You can save money and feel the satisfaction of fixing something yourself. Plus, having the right tools boosts your confidence when tackling tasks like screen replacements or battery repairs.
Start by gathering the essential items from your toolkit: torque screwdrivers and suction cups are must-haves. Make sure to familiarize yourself with an iPhone repair guide to avoid any hiccups. Taking these steps helps ensure smooth repairs with fewer surprises.
Now, dive into your DIY project. Explore your toolkit and start with the most straightforward task. Remember, each repair you complete improves your skills and keeps your iPhone in top shape. Have fun and happy repairing!