The Secret of Authentic Screen Replacement iPhone 11 Pro DIY Success
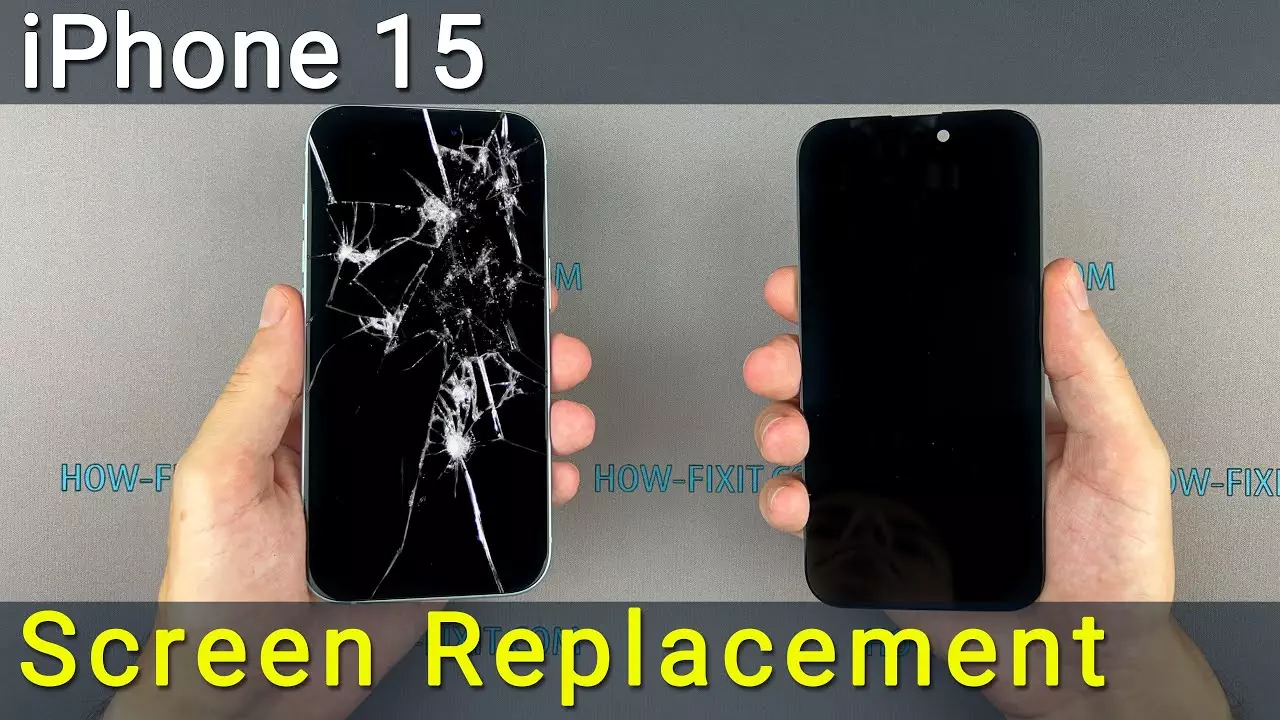
Imagine your iPhone 11 Pro suddenly has a cracked screen. It’s frustrating, right? But what if you could fix it yourself? Picture sitting at your kitchen table, feeling a bit like a tech wizard, as you tackle an authentic screen replacement iPhone 11 Pro DIY project. You might be nervous, but the idea of saving money and learning a new skill is exciting. You want your phone to look as good as new, and this guide will help you make it happen by using genuine iPhone parts.
Repairing your iPhone at home might sound daunting, but think of it as a step-by-step adventure with high-quality tools. You have access to the iPhone 11 Pro screen kit and other essentials like suction cups and an opening pick. Plus, you’ll learn about the costs, how to avoid strain damage, and the importance of using professional-grade tools for the highest quality safety. This journey is not just about fixing your phone; it’s about empowering yourself with the know-how of genuine iPhone repair.
Are you ready to take control and give your phone the fresh start it deserves? Dive in and discover the secrets of successful iPhone screen repair. Your iPhone’s bright, crack-free future is just a read away!
Within the story
Authentic Screen Replacement iPhone 11 Pro DIY
Unlocking the potential of DIY repair can be a game-changer for you. Imagine fixing your own phone and saving money. It’s a great feeling when you accomplish such a task. But, you might wonder how to get started. Well, let’s dive right in!
Understanding iPhone 11 Pro Screen Repair
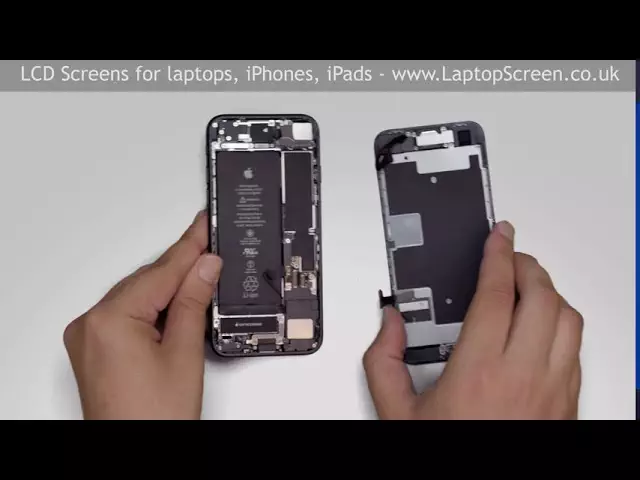
First, you need to learn about the repair essentials and challenges. Fixing an iPhone 11 Pro screen is not always easy. It involves small and delicate parts. You must be careful not to damage anything in the process. However, once you understand what you’re doing, it becomes manageable.
Using genuine iPhone parts is crucial for a successful repair. Why? Because genuine parts ensure your phone works as it should. They fit perfectly and last longer. If you use fake parts, they might not work well, and you could face more problems later. In other words, using authentic parts gives your phone a better chance of working perfectly again.
Next, explore the tools and techniques you need. You will need special tools like screwdrivers, suction cups, and a spudger. These tools help you access the inside of your phone safely. With the right tools, you can remove the old screen and install the new one without causing any damage.
Preparing for Your DIY Project
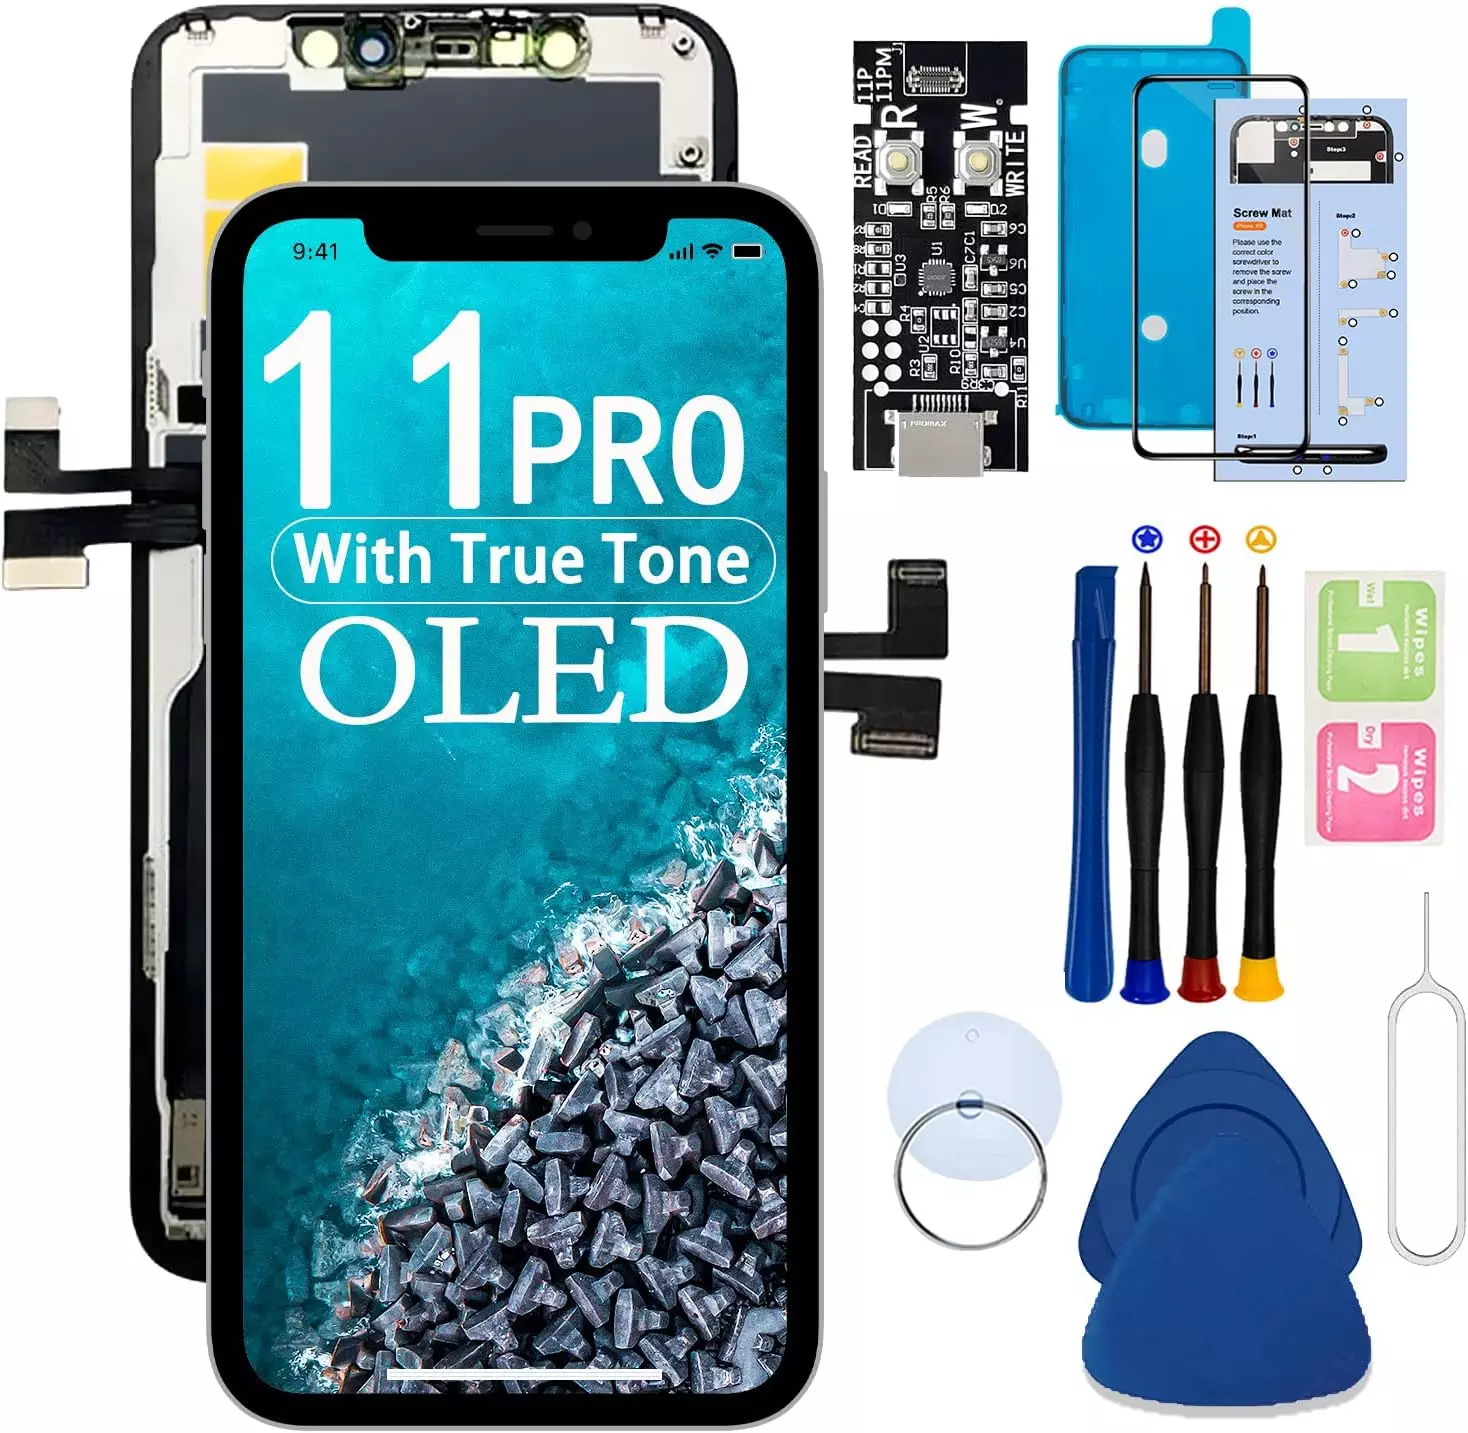
Before you start, gather essential repair tools. You can buy an iPhone 11 Pro screen kit that includes everything you need. Make sure you have professional repair tools like screwdrivers and spudgers.
Then, prepare your workspace. You need a clean and organized space. This helps you keep track of small screws and parts. Make sure your workspace is well-lit so you can see everything clearly. A clutter-free space makes your job easier and less stressful.
Safety is also important. Follow safety measures during the repair. For example, use an anti-static wrist strap to prevent static electricity from damaging your phone. Be gentle with the screen and avoid forcing anything. Patience is key to avoiding mistakes and accidents.
Using an iPhone 11 Pro Screen Kit
Now, identify the right screen kit for your needs. Not all screen kits are the same, so you must choose carefully. Look for kits that include all necessary components. This way, you won’t find yourself lacking a vital tool in the middle of the repair.
Explore the components of an iPhone 11 Pro display assembly. This assembly includes the screen, digitizer, and sometimes small parts like sensors. Make sure these components are included in your kit. The more complete your kit is, the smoother your repair process will be.
Learn about installation instructions and tips. Each kit comes with instructions, so read them carefully. Watching video tutorials can help as well. They show you step-by-step how to replace the screen. Visualizing the process makes it easier to understand and execute.
Choosing Genuine iPhone Parts
Let’s focus on why genuine parts matter. Using genuine parts ensures the longevity, quality, and performance of your device. Each of these elements plays a significant role in your phone’s overall functionality.
- Longevity: Genuine parts often last longer. You’ll save money over time because you won’t need to replace them as often.
- Quality: High-quality parts fit well and work perfectly. They enhance the phone’s look and feel.
- Performance: Original parts ensure your phone performs as expected. It keeps your device efficient and reliable.
Ensuring compatibility with your device is essential. Not every iPhone 11 Pro screen repair kit will work with your phone. Make sure the parts you choose are compatible with your model. This helps avoid unnecessary complications.
Sourcing authentic parts from reliable suppliers is crucial. Look for suppliers known for providing genuine parts. Read reviews and ask for recommendations if needed. By choosing trusted suppliers, you avoid the risk of buying fake or low-quality parts.
iPhone Screen Replacement Guide
Follow step-by-step instructions for seamless replacement. The clearer your instructions, the easier your repair process will be. Each step should be precise and simple.
Watch video tutorials for visual guidance. Videos help you see the process in action. They give you a better idea of how everything fits together. This makes it easier for you to understand the entire repair process.
Address common repair issues confidently. Sometimes, things might not go as planned. You may encounter unexpected problems. But don’t worry, with practice and patience, you can solve them. Knowing common issues and their solutions makes it easier to deal with them when they arise.
Cost-Effective iPhone Screen Replacement
Saving money is always good, right? Understanding iPhone screen replacement cost can help you budget accordingly. Let’s explore the factors affecting these costs and how to balance quality and budget.
Understanding iPhone Screen Replacement Cost
Several factors affect repair costs. For example, the type of parts you use. Genuine parts tend to be more expensive than non-genuine ones. But remember, quality might save money in the long run. Another factor is whether you do it yourself or hire someone. DIY can be cheaper but requires knowledge and effort.
Balancing Quality and Budget
Finding affordable options without compromising quality is possible. Search for deals on genuine parts or consider high-quality third-party options. Affordable screen kits are available if you look carefully. Don’t let budget constraints push you to choose inferior products.
Exploring DIY iPhone Repair Benefits
Personal Satisfaction and Learning
Repairing your phone can be a rewarding experience. You gain valuable skills and knowledge. Every time you fix something, you learn more. This knowledge builds your confidence. Plus, you enjoy the joy of a successful repair. It’s satisfying to know you did it yourself.
Reducing Environmental Impact
DIY repairs also help the environment. When you fix instead of replace, you contribute to sustainability efforts. It helps minimize e-waste, which is better for our planet. Making environmentally-conscious choices is important, and DIY repair is a great way to start.
Accessing Quality iPhone Repair Tutorials
Using Online Resources Effectively
Finding the best tutorials for your device can make a big difference. Online resources are a goldmine for learning how to repair your phone. From written guides to video tutorials, there’s something for everyone.
Leverage community forums for support. These forums are full of people ready to help. You can ask questions and get advice from those who’ve been there before. It’s a supportive and knowledgeable community that’s just a click away.
Leaning on Expert Advice
Consult professionals for advanced tips. Sometimes, you might need a little extra help. Experts can offer advice that you might not find elsewhere. Their insight can make your repair process smoother and more efficient.
Preparing for Unexpected Challenges
Troubleshooting Tips
Even the best-laid plans require troubleshooting. Address common issues during repair to avoid setbacks. If you encounter a problem, don’t panic. Focus on finding a solution. Seek help when facing complex problems. Sometimes, asking for help is the smartest move you can make.
Planning for Smooth Repairs
Keep backup plans ready for hiccups. Having a plan B can be a lifesaver. If one approach doesn’t work, another might. Stay patient and persistent in your DIY journey. Perseverance is key. Don’t give up if things don’t work out immediately.
Embracing DIY Confidence
Finally, celebrate your successes and learn from mistakes. Every repair you complete boosts your confidence. Encouraging others to try DIY solutions is rewarding too. Sharing your knowledge helps others start their own repair journey. It’s all about building a community of skilled DIY fixers.
Unlock Your DIY Potential
You’ve learned that handling your phone’s screen repair yourself can save money and give a great sense of accomplishment. Using genuine parts means you keep your phone working well and looking great. Plus, this knowledge empowers you to tackle future repairs with confidence. Remember, you have the skills to make a real difference with just a bit of effort.
To get started, gather all the necessary tools and parts, making sure they are high-quality and reliable. Follow a trusted guide to understand each step clearly. Practice patience and precision to ensure success. If any step seems tricky, take a break and revisit it with fresh eyes. You have everything you need to succeed.
Now, it’s time to take action. Begin your repair journey and see the results firsthand. Dive in with confidence, knowing every tool and tip is at your fingertips. You can do this!